With the log4j vulnerability going around, making sure your systems are up to date with patches has never been more critical. While IBM Cloud offers an incredible service with its VMware Solutions, one of the key client responsibilities is to ensure that all systems and applications remain up to date.
This post will describe how you update a vRealize Operations instance that has been deployed through IBM Cloud automation. This is the seconds in a series of blog posts discussing updating the most relevant components of a VMware Solution. The first, upgrading Log Insight, can be found here.
Based upon the VMware KB article, the correct sequence to update your solution is:
- vRealize Suite Lifecycle Manager (vRSLCM)
- vRealize Log Insight (vRLI)
- vRealize Operations (vROPs)
- vRealize Network Insight (vRNI)
- vRealize Automation (vRA)
- vSphere Replication (VR)
- vCenter Site Recovery Manager (SRM)
- NSX-T
- vCenter Server
- ESXi
- VMware Tools
- Virtual hardware
- vSAN / VMFS
Prerequisites
- Determine the current version of vRealize Operations you are running. To do so, log into the vRealize Operations console using the supplied credentials located in the IBM Cloud portal and from the Overview page click on your user (admin) in the upper-right corner of the webpage and choose About. In the example below we can see that the version installed is 8.2.0.

- Download both the pre-assessment check and the upgrade package from VMware. These packages should be downloaded to the computer that will perform the upgrade. In our example as the current version of vRealize Operations is 8.2.0 the upgrade will be to 8.6.2.
Pre-Assessment Check
Once we have both packages downloaded the next step is to run the pre-assessment check.
- Browse to the FQDN or IP address of the vRealize Operations Manager master node/admin, and log in with the admin credentials as provided in the IBM Portal.
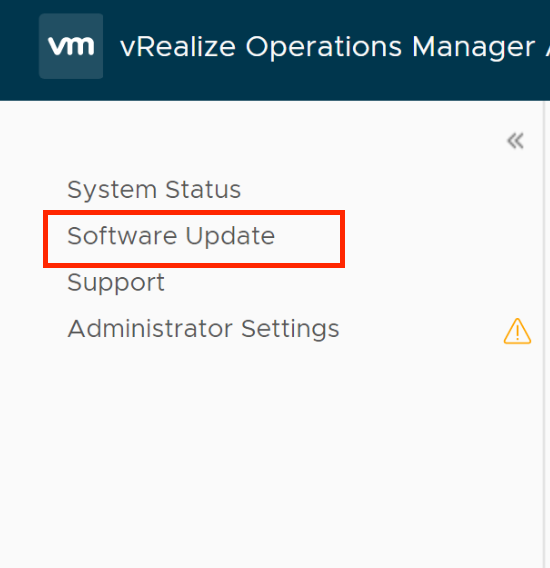
- In the left hand navigation click on Software Update.
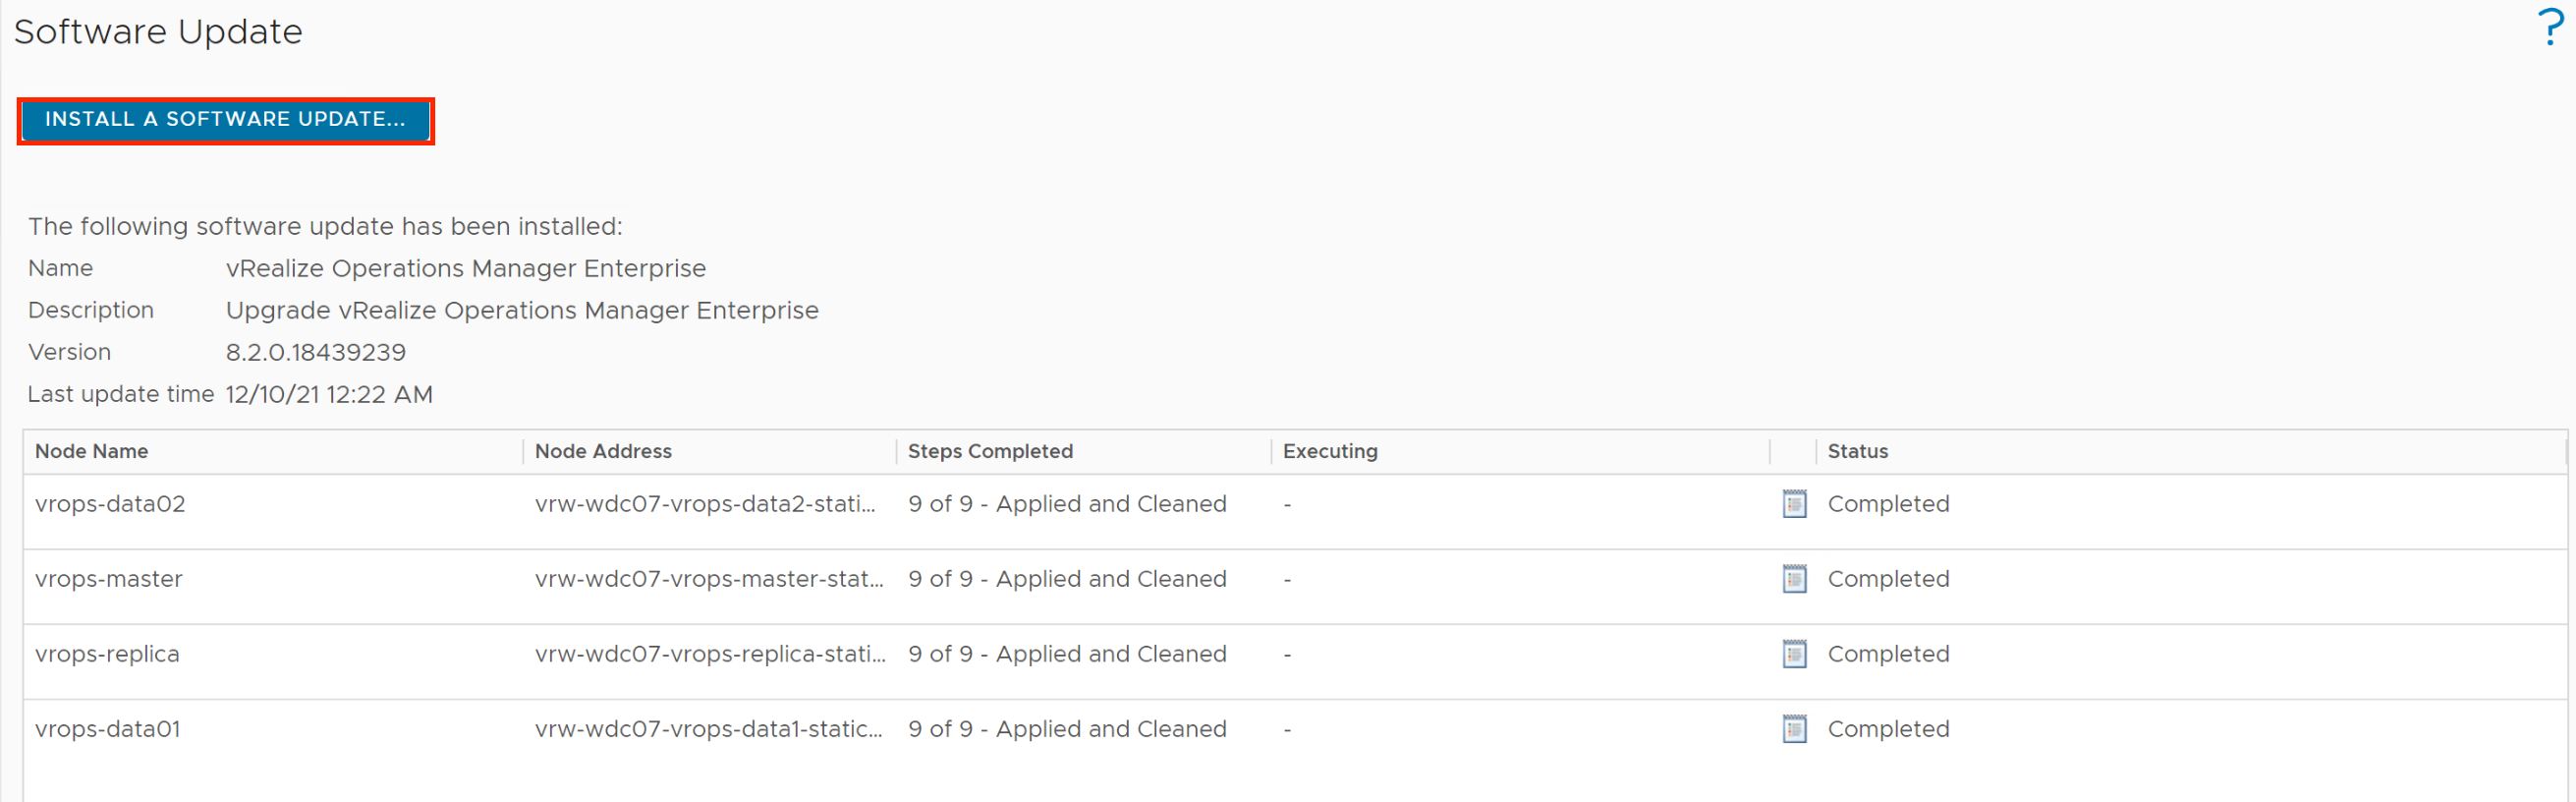
- In the Software Update pane click on Install a Software Update.
- The software update wizard will appear. Click on Browse then navigate and select the pre-assessment pak downloaded earlier.
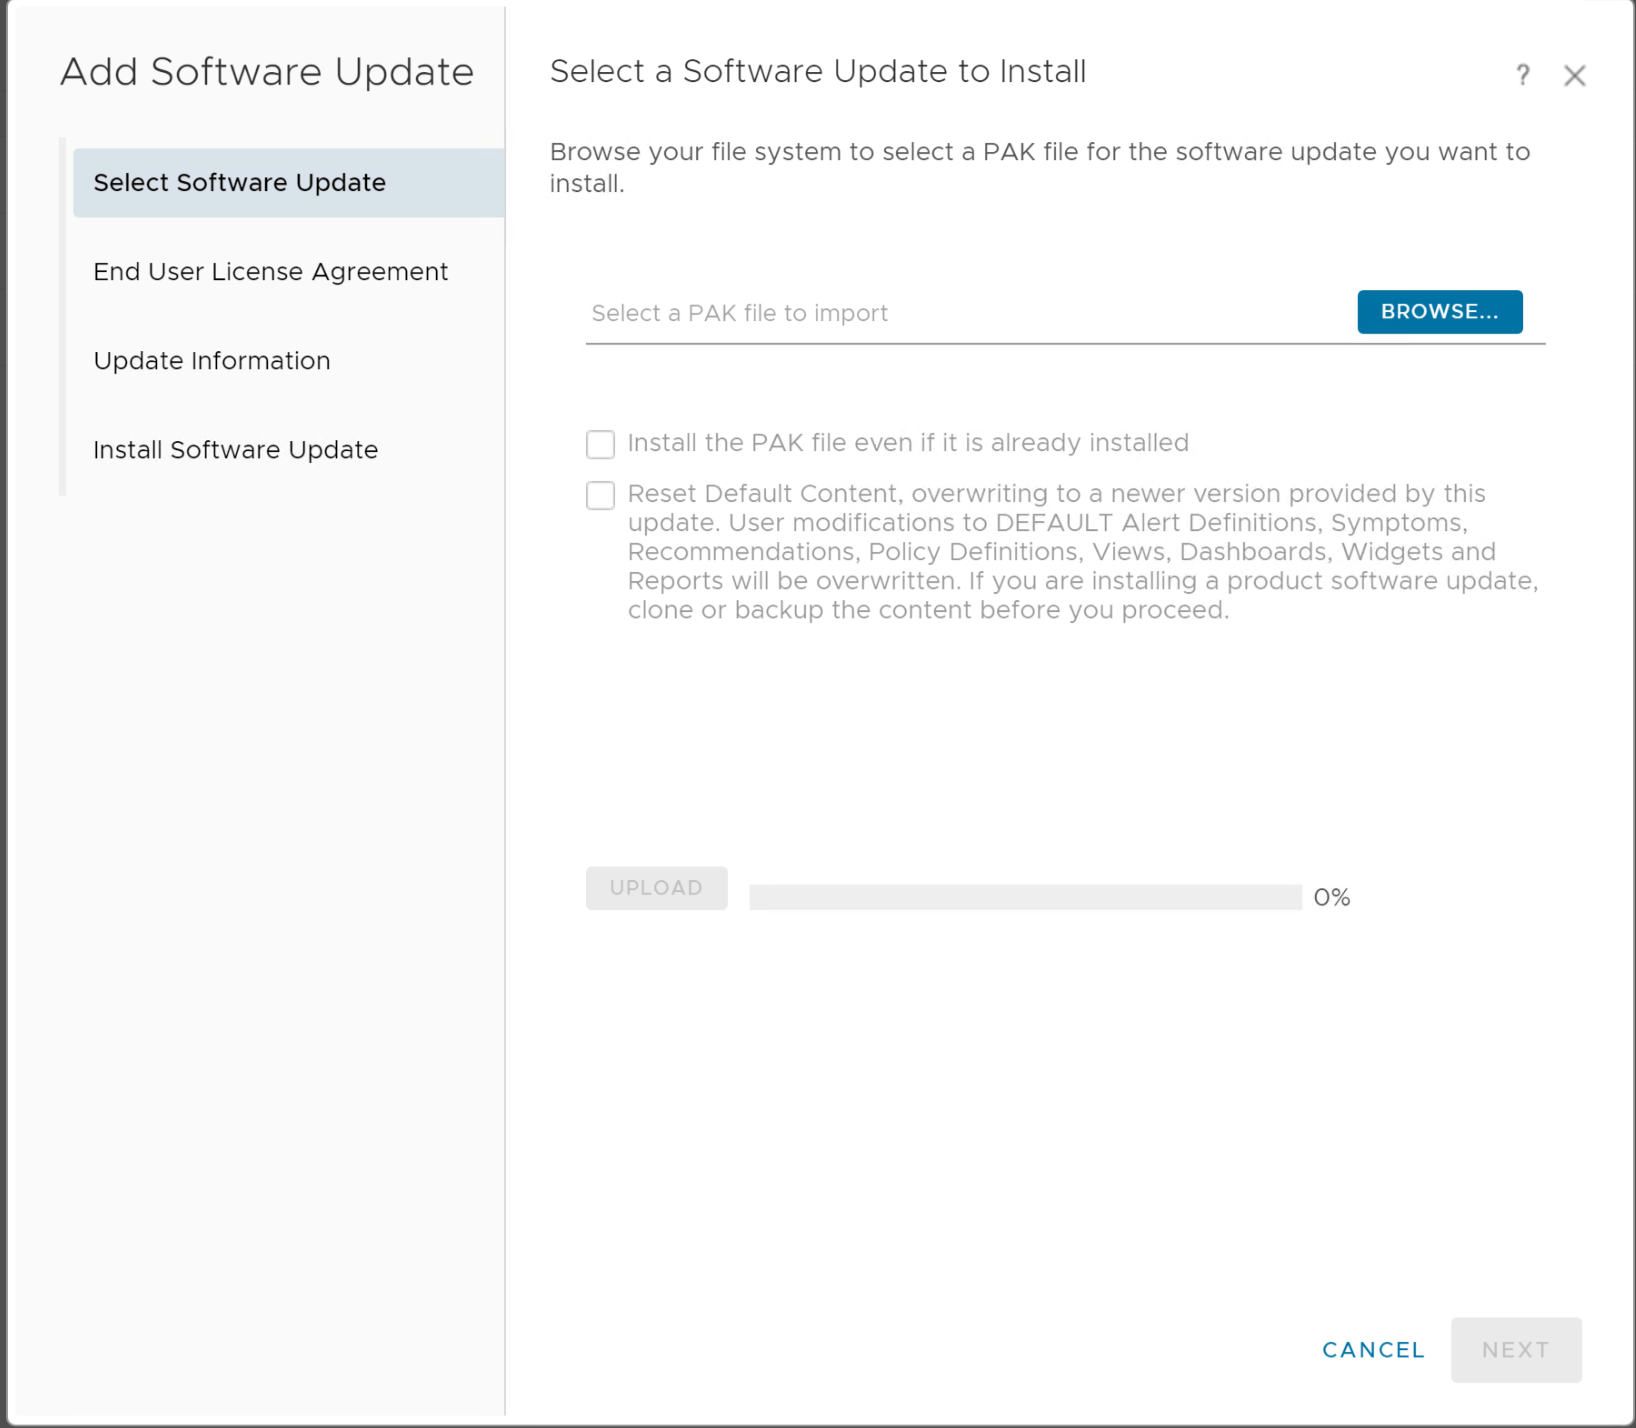
- Click on Upload to continue.
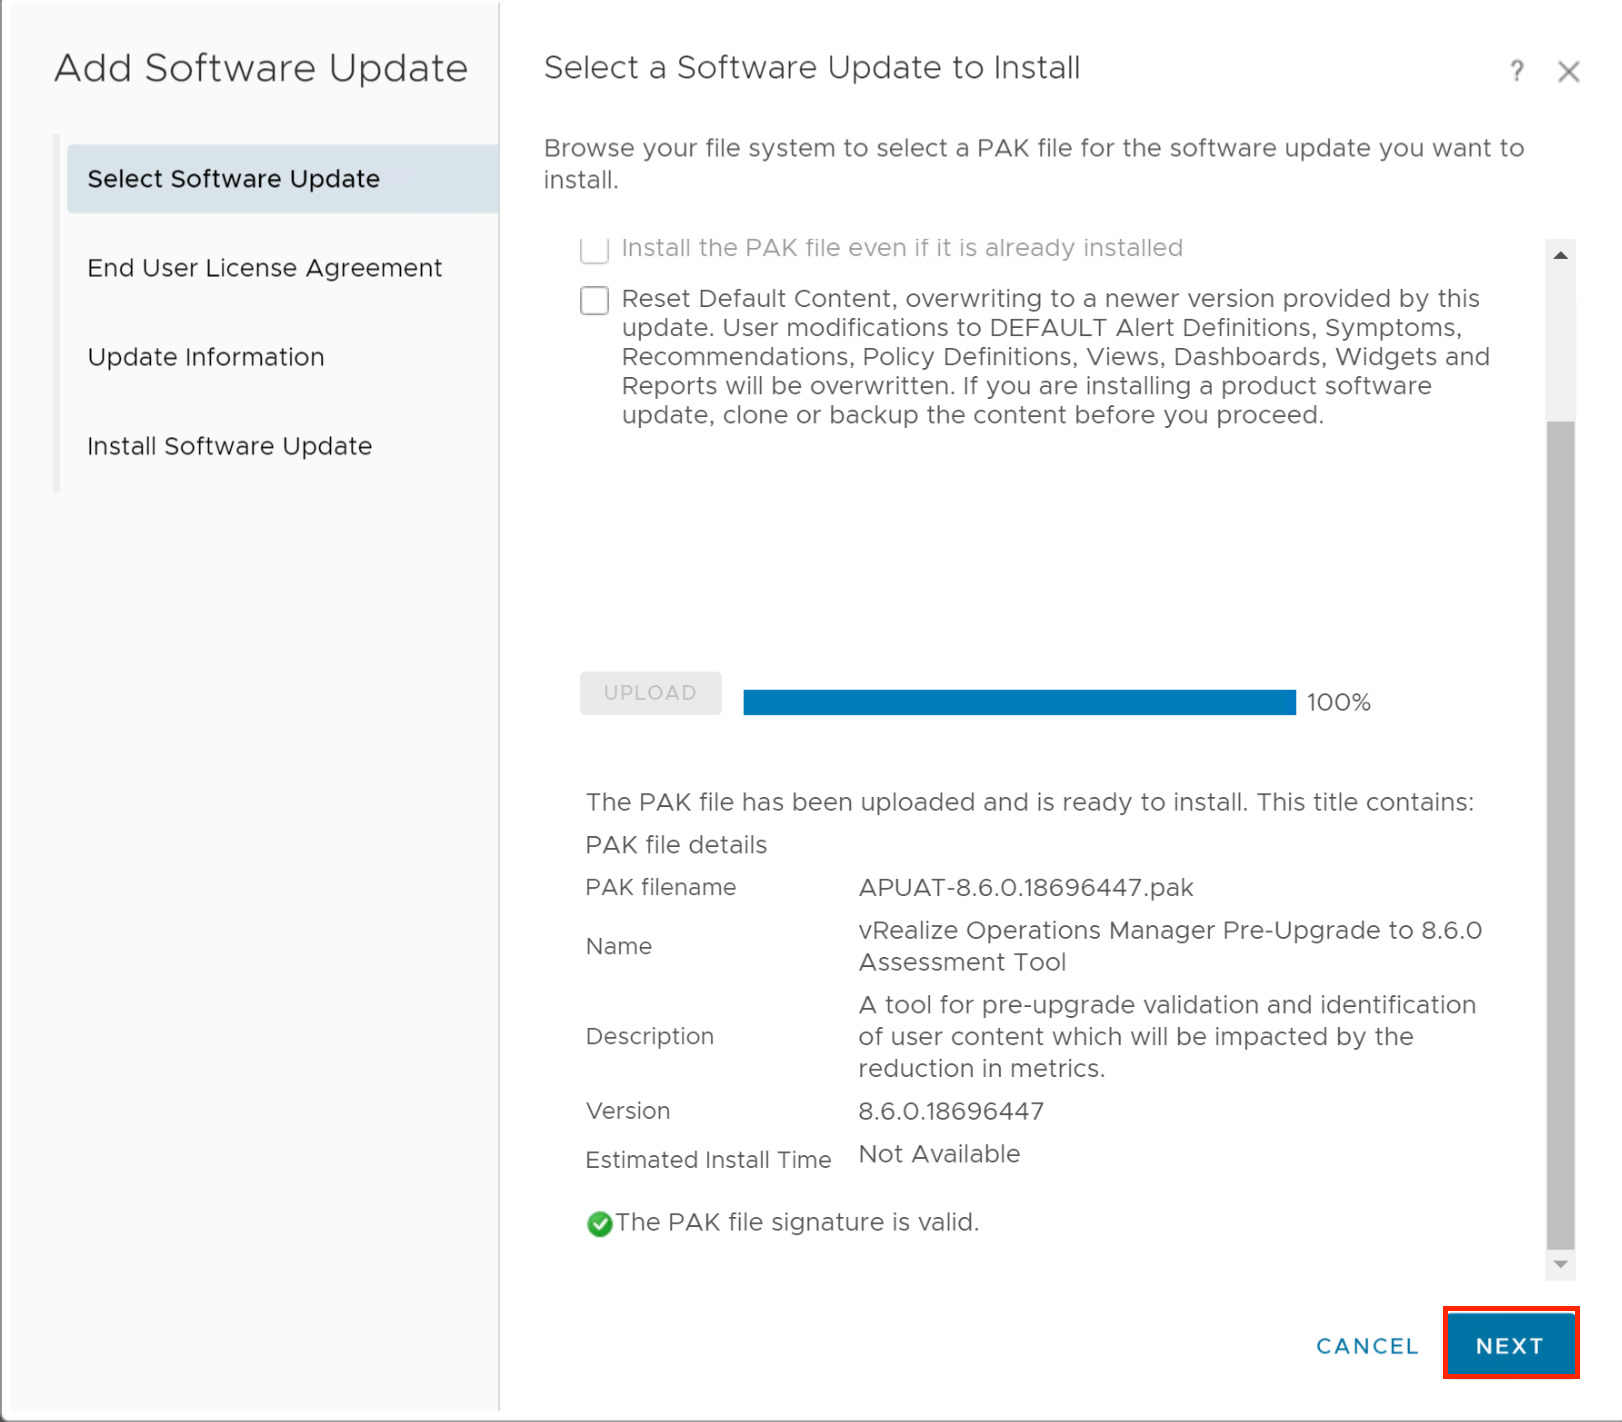
- Once uploaded and staged verify you have uploaded the pre-assessment check pak and click on Next to continue.
- Click on the checkbox to agree to the license and click on Next to continue.
- Read the update and release information and click on Next to to continue.

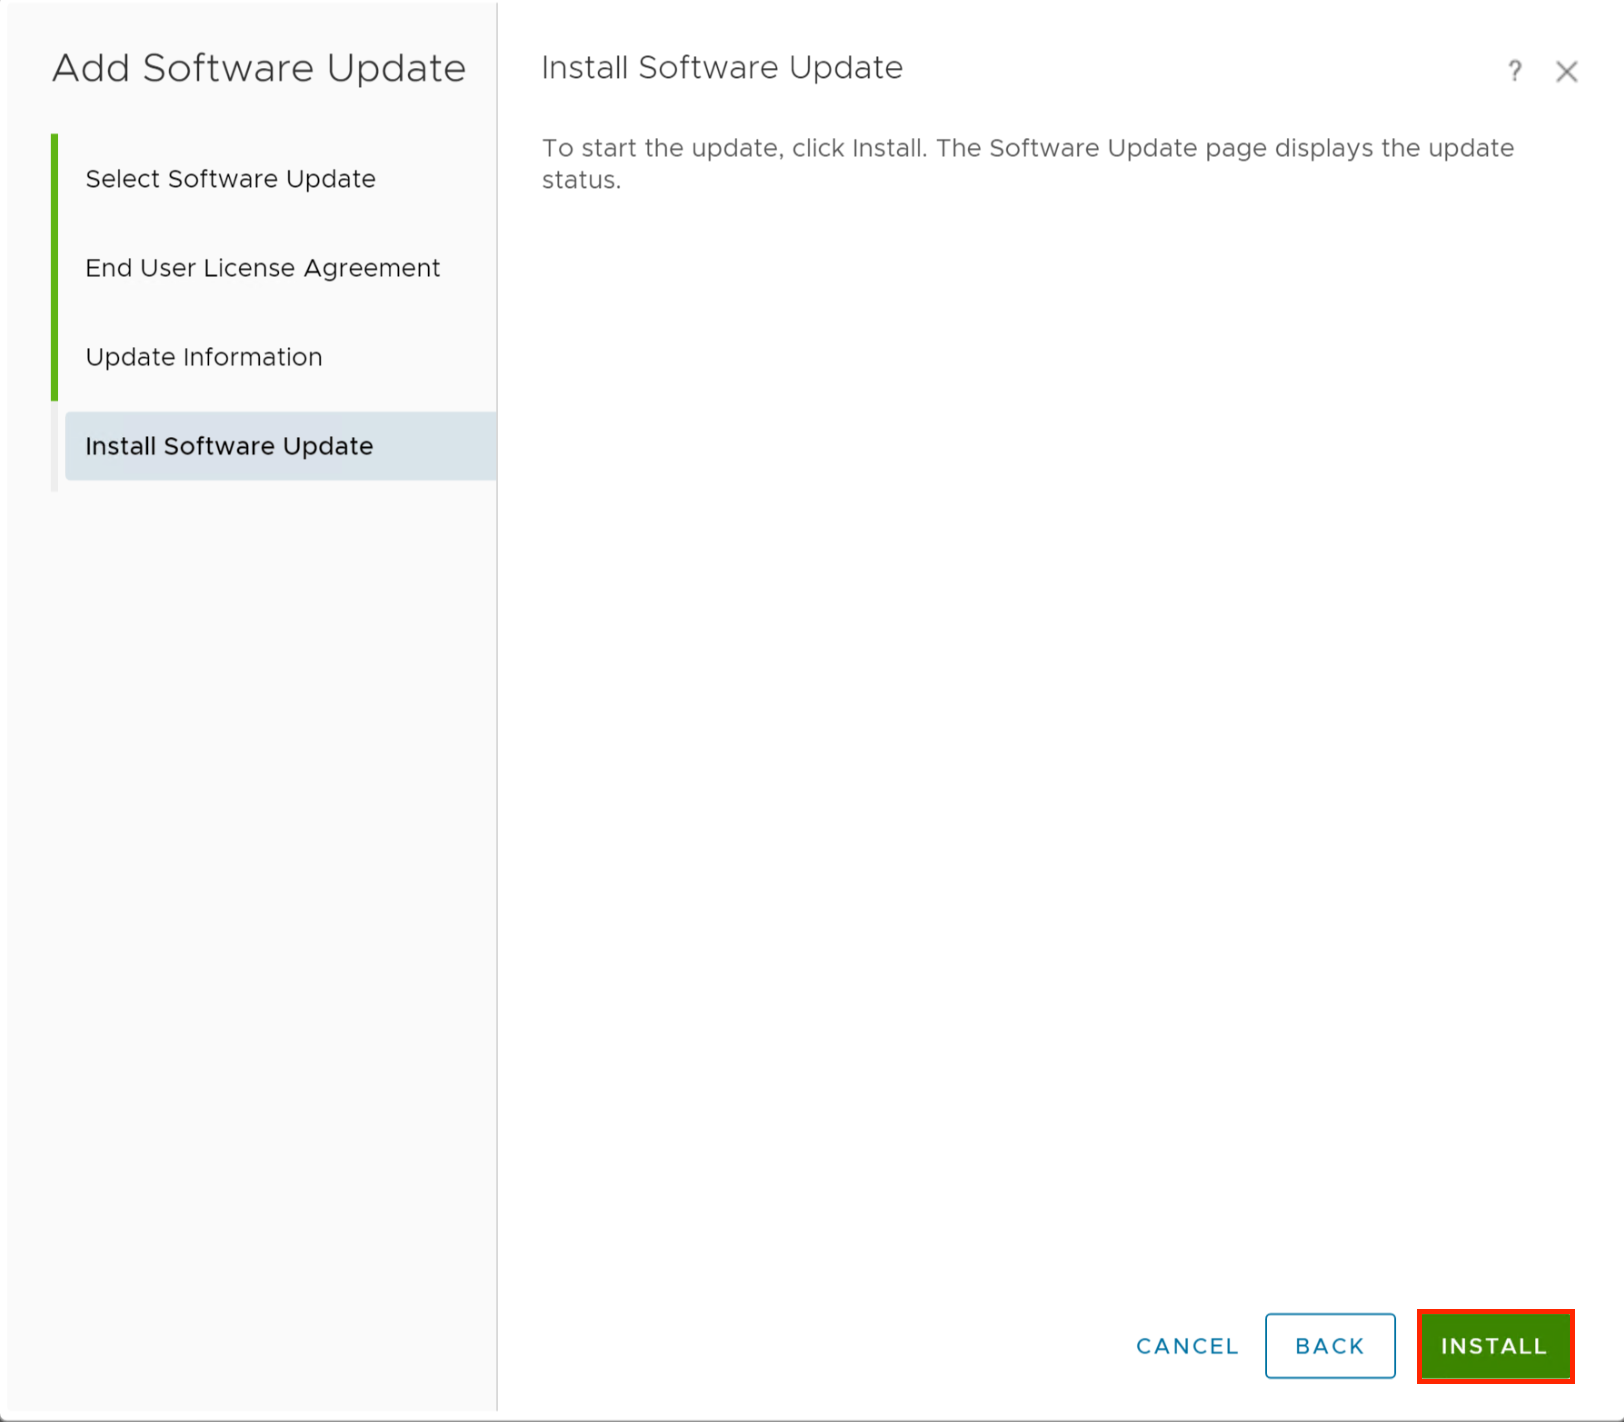
- Click on Install to begin running the pre-assessment check.
Check the status of the software bundle from the Software Update tab. Once complete, click Support and Support Bundles. Highlight the bundle and click the download icon to obtain a copy of the report.

Extract the downloaded zip file and expand the apuat-data and report folders. Open index.html.

System validation checks and impacted components can be viewed. For any impacted components you can drill down into the depreciated metric and view any applicable replacements.

Upgrade Steps
To upgrade you perform the same steps as above – this time selecting the upgrade pak as opposed to the pre-assessment pak.
During the upgrade after about 5 minutes you will be logged out as the node reboots. Once rebooted you can log back in and monitor the status of the upgrade.
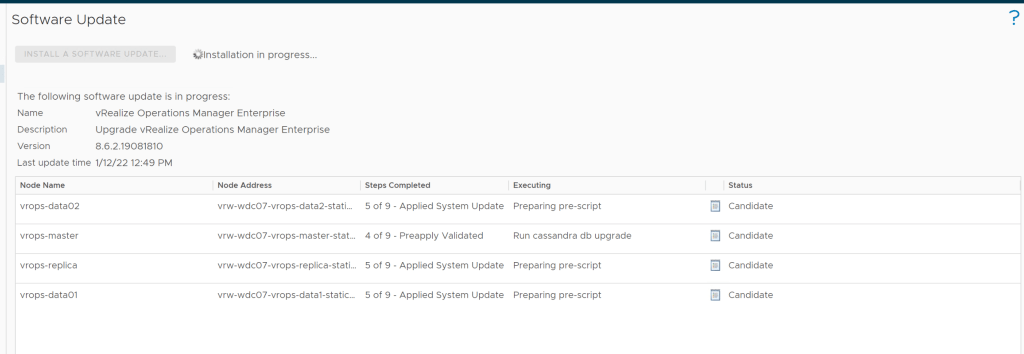
Depending on the version you are upgrading from this process can take some time – 25-30 minutes is not unusual. Continue to monitor the status as it progresses.


Leave a comment