Recently I had a client I was working with who required their vCenter to be updated. However, this vCenter had absolutely no Internet access, so I could not connect to updates either directly or via proxy.
So how do we update a vCenter like this? The vCenter patch .iso to the rescue. It feels a bit old-fashioned updating this way, but it gets the job done.
Download the patch ISO from VMware.
The first task is to retrieve the updates from VMware. To do so:
- Using a browser from a system that will be the same one you will do the update from, go to https://customerconnect.vmware.com/patch and log in when prompted.
- Using the pull-down selectors select VC as the product and the version you wish to patch to (7.0.3 in this case) and then click on Search.
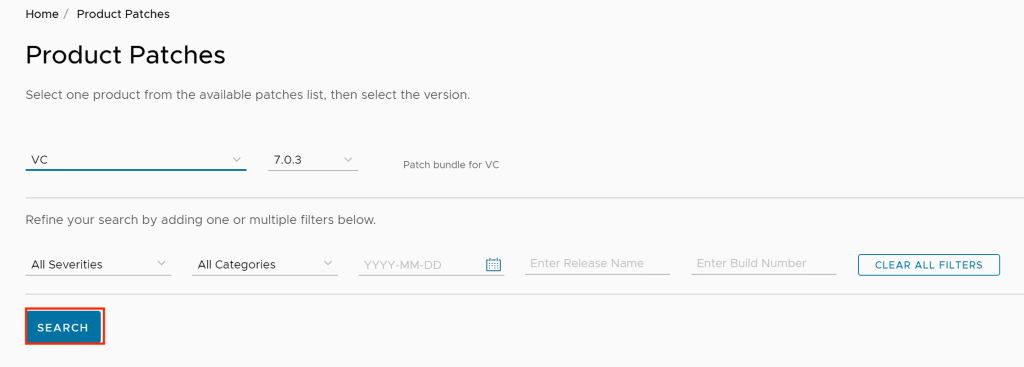
- Located the iso file and click on Download Now.
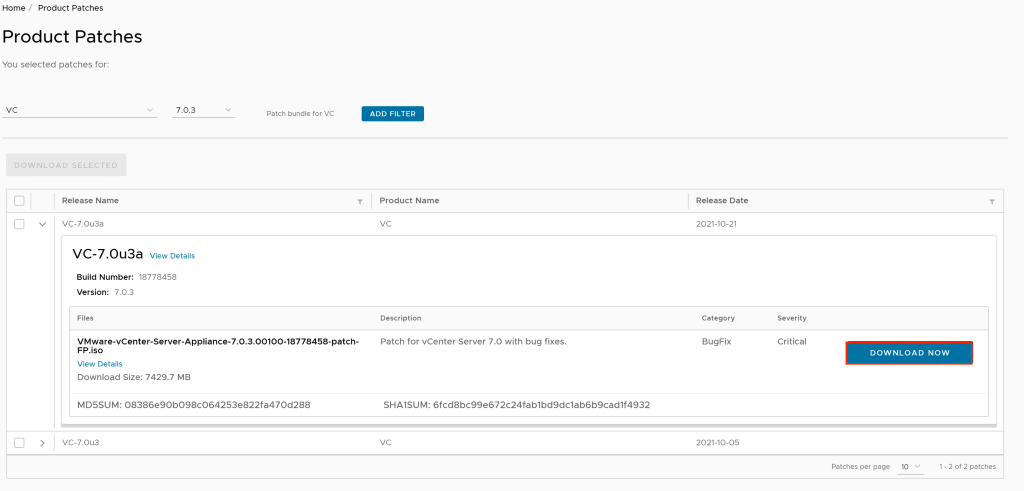
Once the download is complete move on to the next step.
Step Two: Upload ISO to vCenter
The next step is to attach the .iso to the vCenter Server CD or DVD drive. While there are three ways to do this (client mount, datastore mount, or content library mount) for this example I will upload the .iso to a local datastore for the host vCenter Server currently resides on and mount the .iso through there.
- Using the IP address and credentials log into vCenter Server.
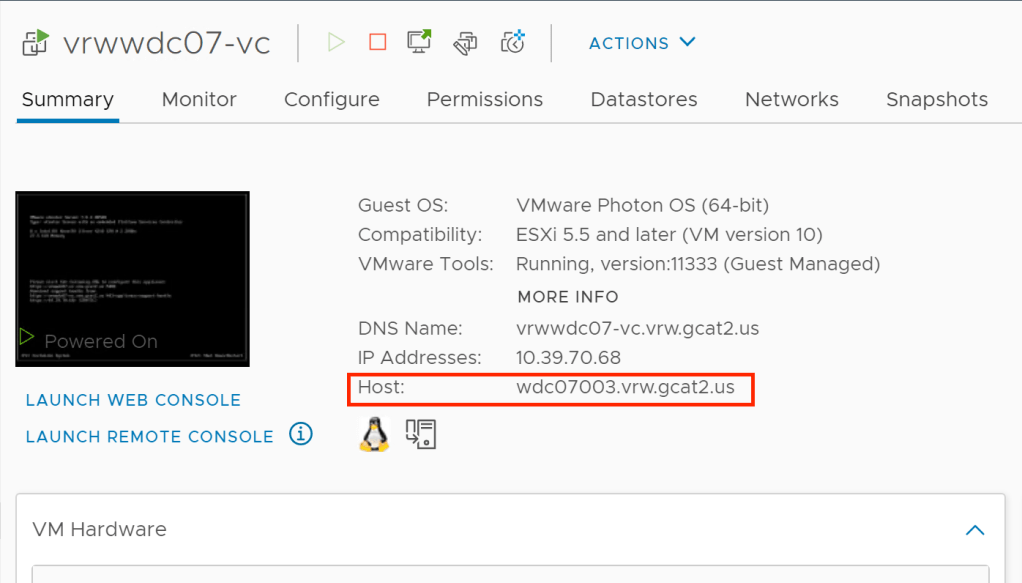
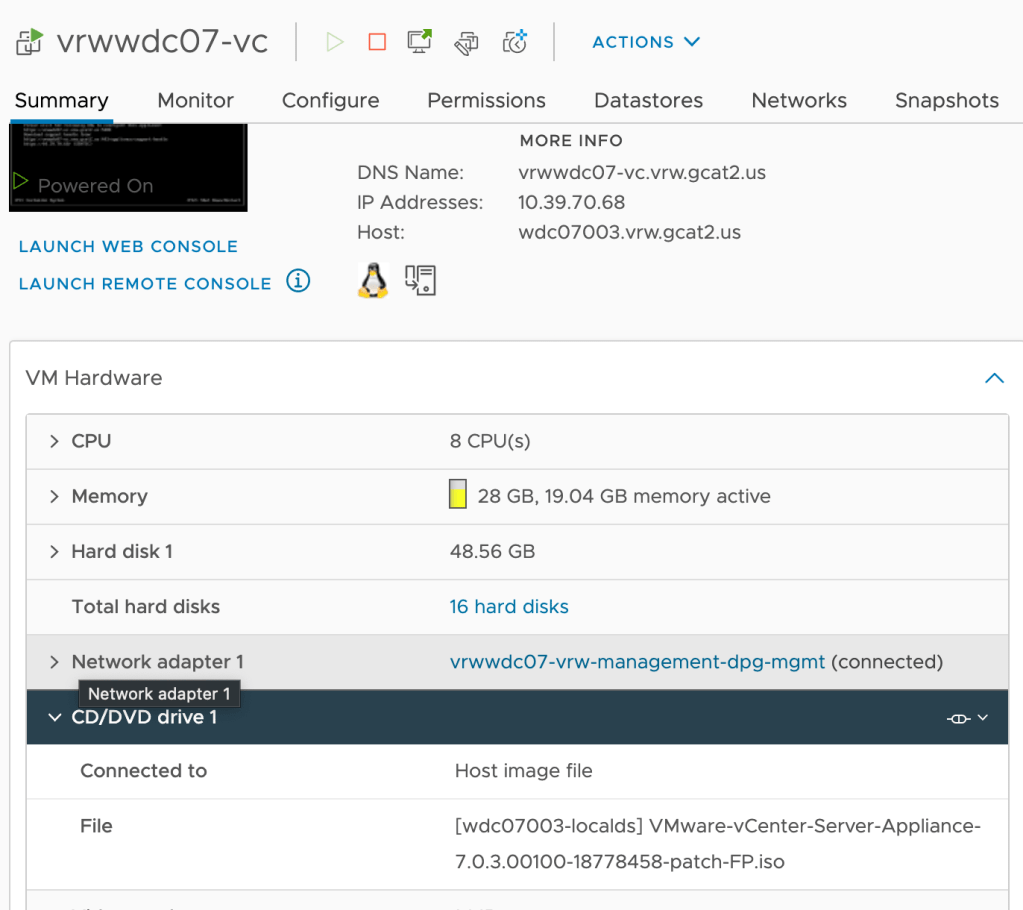
- Determine the host vCenter Server currently is on. This is easily located on the summary tab of the virtual machine. In the example below vCenter Server is running on host wdc07003.vrw.gcat2.us.
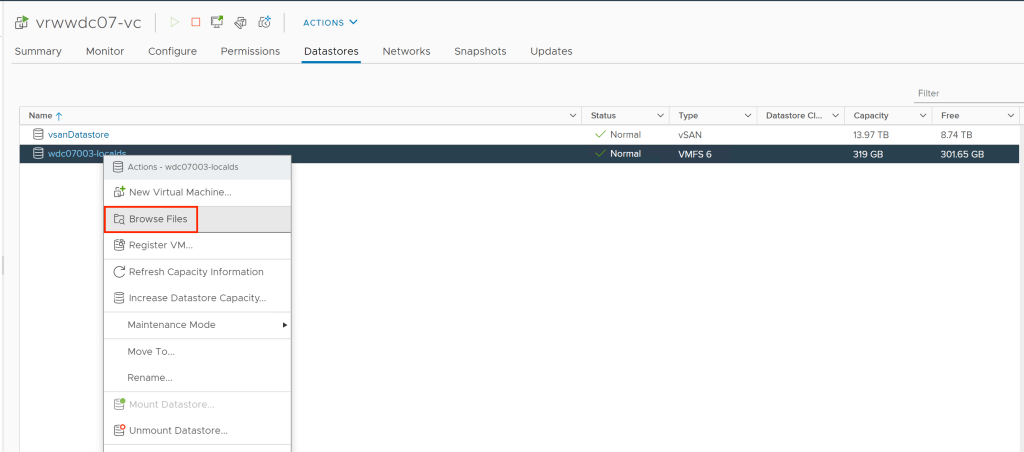
- Then if you click on Datastores in the top navigation you can see which datastores are accessible. In the example we will use wdc07003-localds and so will right-click on that datastore and choose Browse Files.
- Click on Upload Files to upload the .iso file to the datastore.

- Once uploaded edit the settings of your vCenter Server to attach the .iso.
Step Three: Update to vCenter
Our last step us to update vCenter Server. To do so:
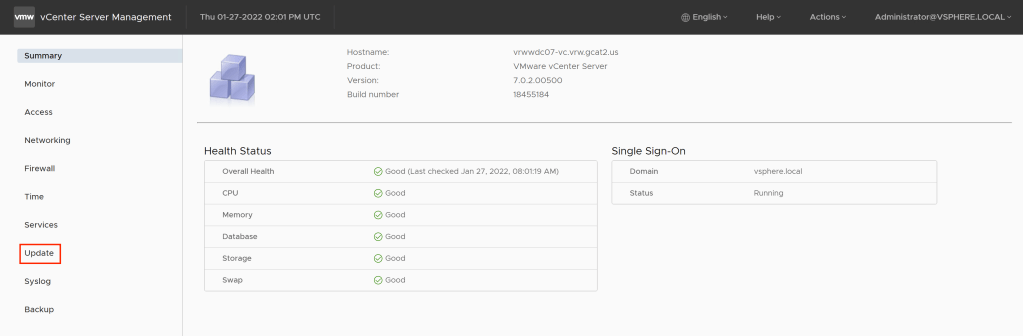
- Log into the vCenter Server Management Interface at https://<IP ADDRESS OR FQDN>:5480
- Click on Update.
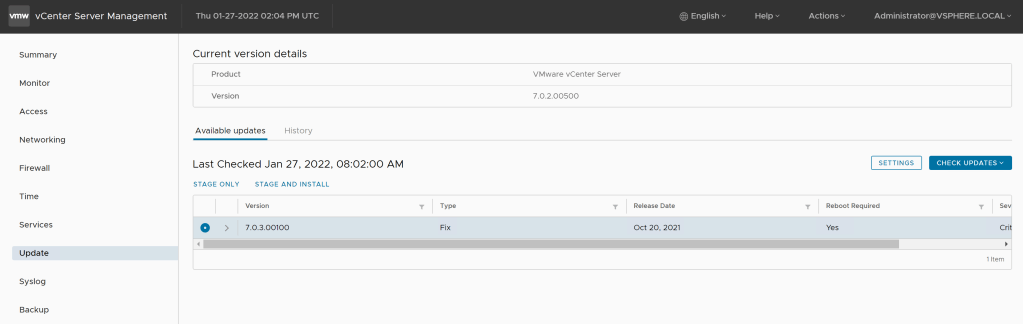
- The update panel will appear. It make take a minute or two to stop working as the system is attempting to reach the Internet. Assuming the .iso is mounted correctly once fully loaded the latest update from the .iso image should appear.
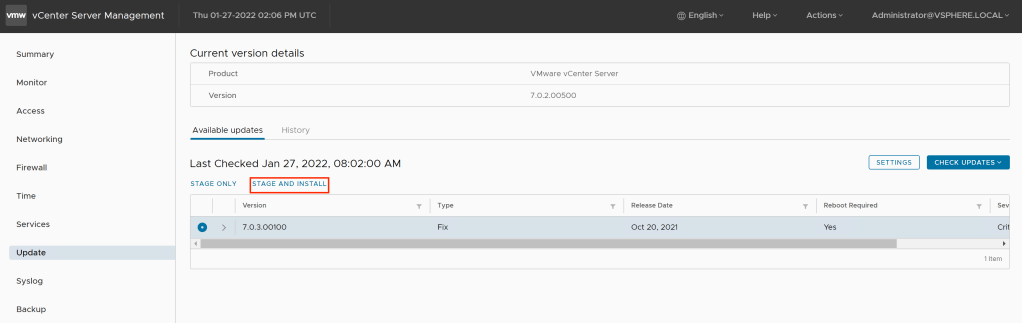
- To start the update now click on Stage and Install.
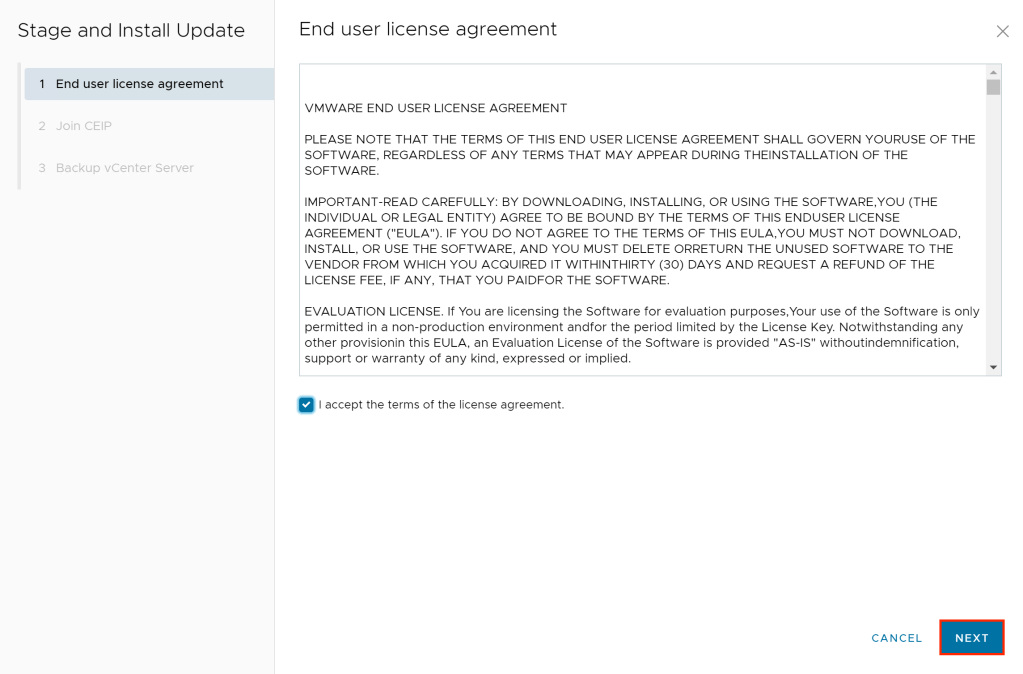
- Accept the license agreement and click on Next.
- Choose whether or not to join the VMware Customer Experience Improvement Program and click on Next.

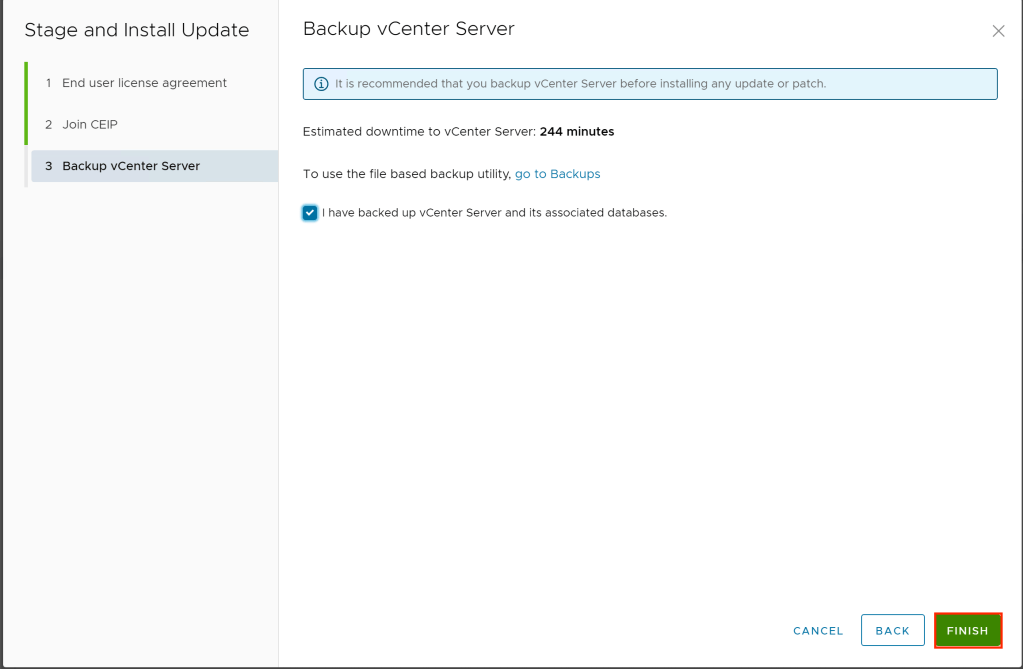
- Verify you have backed up vCenter and click on Finish to begin the update.
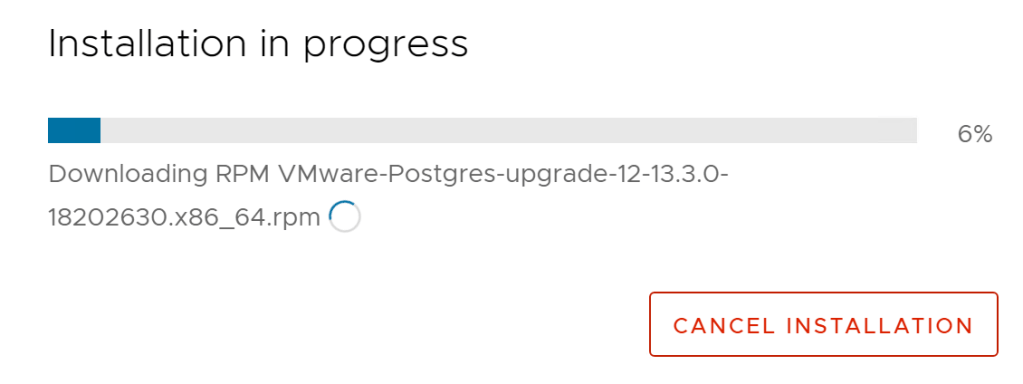
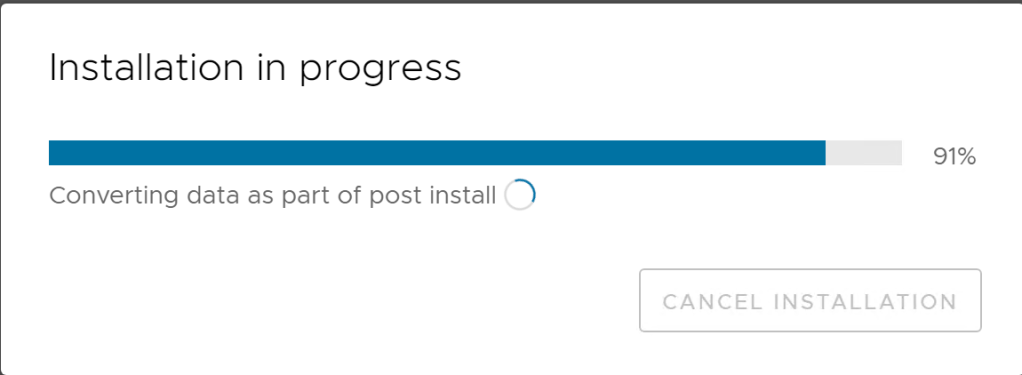
- The installation progress bar will appear to monitor progress of the update.
- During the update you will be logged out. Wait 4-5 minutes and you should be able to log in again and continue to monitor progress.
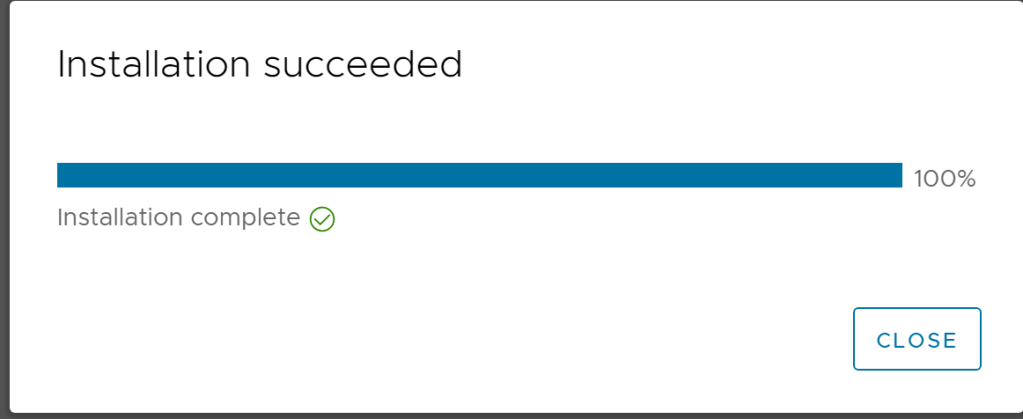
- Once complete you will be logged out again. Logging back in should see the complete status.


Leave a comment