vCenter HA eliminates a single point of failure of our vCenter by enabling the vCenter in a cluster mode. The process documented below is to enable vCenter HA (VCHA) on an IBM Cloud VMware Solutions – Dedicated instance running in IBM Cloud Classic Infrastructure.
Prerequisites
- At least three hosts are required for an ideal VCHA deployment.
- All three vCenter instances ( Active – Passive – Witness ) should be kept on different datastores.
- A dedicated network for the vCenter HA network – Ideally on a different subnet. For this the recommendation is to create a dedicated distributed port group and provision a private portable subnet on IBM Cloud. While a non-routable subnet can be used in case of issues it is better to have it routable.
- DRS must be enabled.
- HA must be enabled and working.
- Datastore clusters are not supported by vCenter HA deployment, pick a standalone datastore.
- Network latency between nodes should be under 10 ms.
- 3 free static IP’s are required for the vCHA network.
vCenter HA Configuration
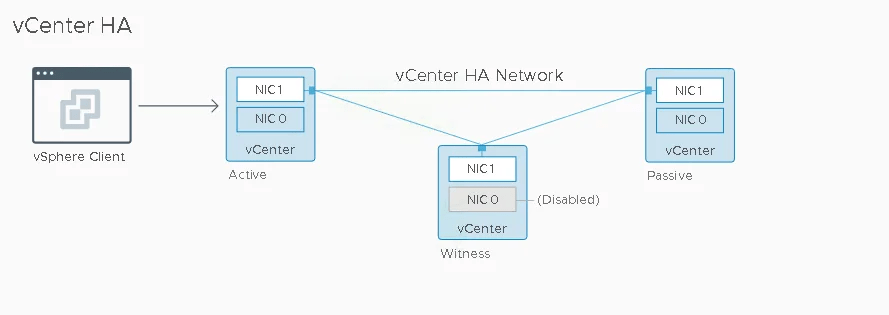
3 virtual machines form the VCHA cluster configuration:
- Witness Node – Acts as a quorum node to prevent a split-brain scenario
- Active Node – Runs the active instance of vCenter Server
- Passive Node – Runs the standby or passive instance of vCenter. The purpose of a passive vCenter is to take over the role of an Active vCenter in case our primary vCenter comes in inoperable.
Step One: Configure Distributed Port Group
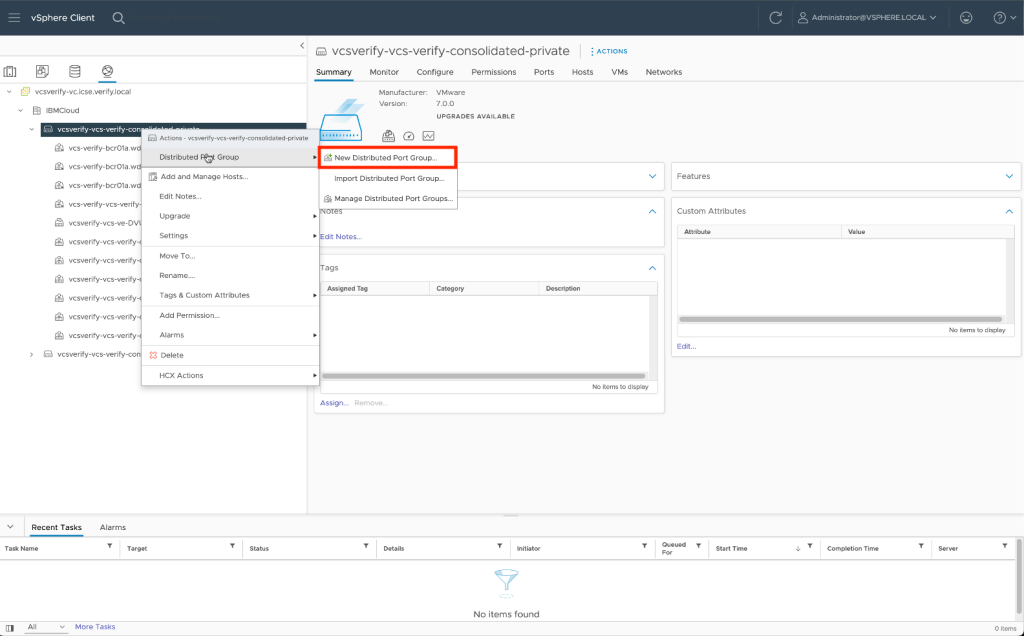
The first thing you will want to do is create a new distributed port group on your existing private distributed virtual switch. This switch was created as part of the IBM Cloud automation.
- From the inventory pane switch to the networking tab. Right-click on your private distributed virtual switch and choose Distributed Port Group –> New Distributed Port Group
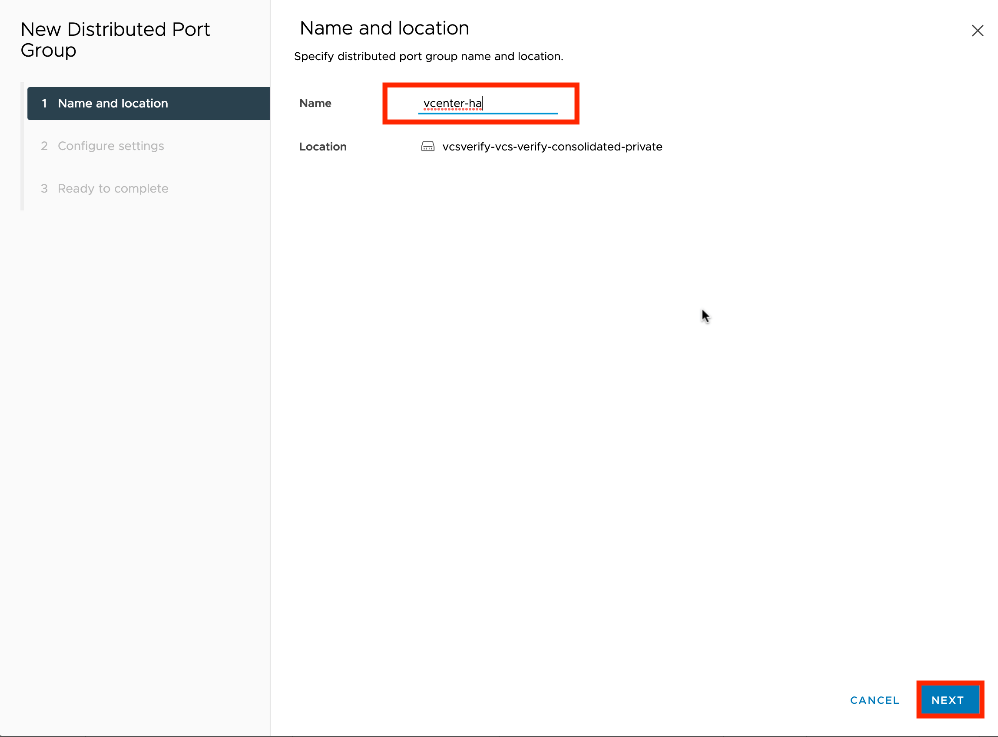
- Give the new distributed port group a name and click on Next.
- On the configure settings tab leave all settings at their defaults and click Next.

- Click on Finish to complete the New Distributed Port Group wizard.

Step Two: Disable VCHA anti-affinity
This step is optional if you are using vSAN. However, if you are using NFS (File Shares) there is a known VMware bug (https://kb.vmware.com/s/article/50121880) that will cause your installation to fail. To avoid this error on NFS we will initially install all three vCenter virtual machines on the same host and then migrate them after successful completion. To install successfully VCHA anti-affinity needs to be temporarily disabled.
- From your vCenter click on the Configure tab, then select Advanced Settings under Settings in the left navigation and click on Edit Settings.

- Set “config.vpxd.vcha.drsAntiAffinity” to False in vCenter Advanced settings and click on Save.

Don’t forget that this setting will need to be changed back to true after VCHA is provisioned.
Step Three: Deploy vCenter HA
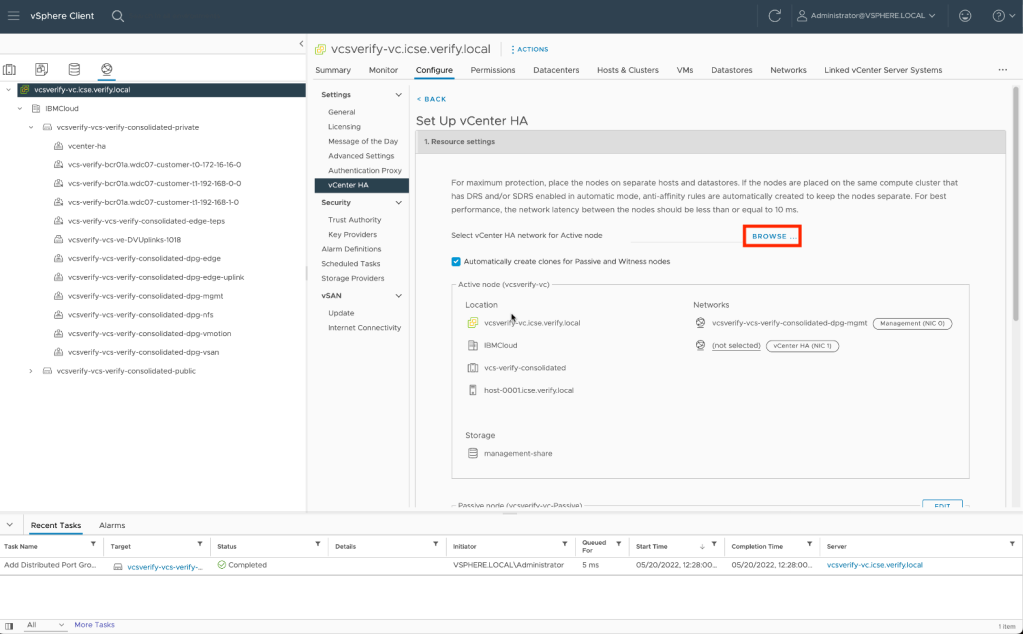
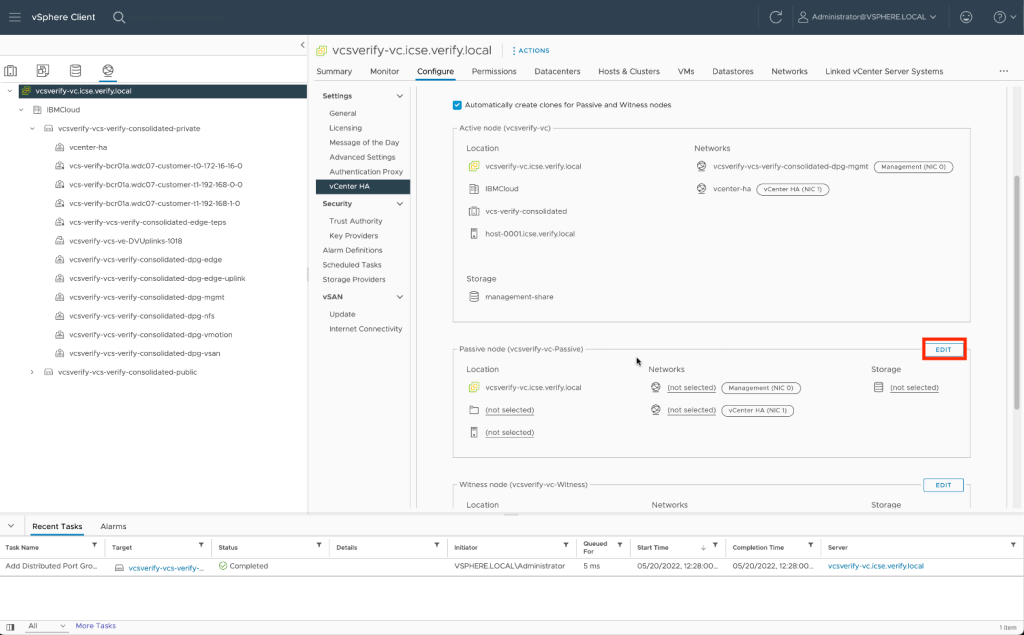
- From vSphere Web UI, Navigate to Configure –> vCenter HA and select Set Up vCenter HA.

- The first thing we need to specify is the network used for the vCenter HA network. Click on browse to select the distributed port group created earlier.

Next we need to configure the Passive node. Click on Edit next to the Passive node configuration.
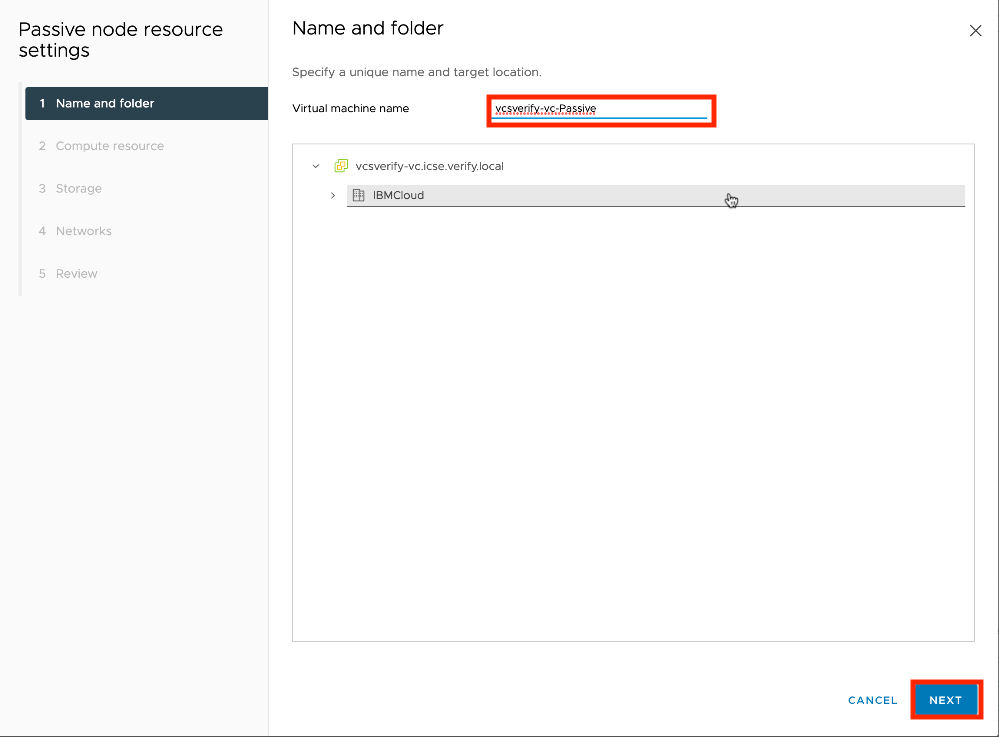
- Give the new virtual machine a name and click Next.
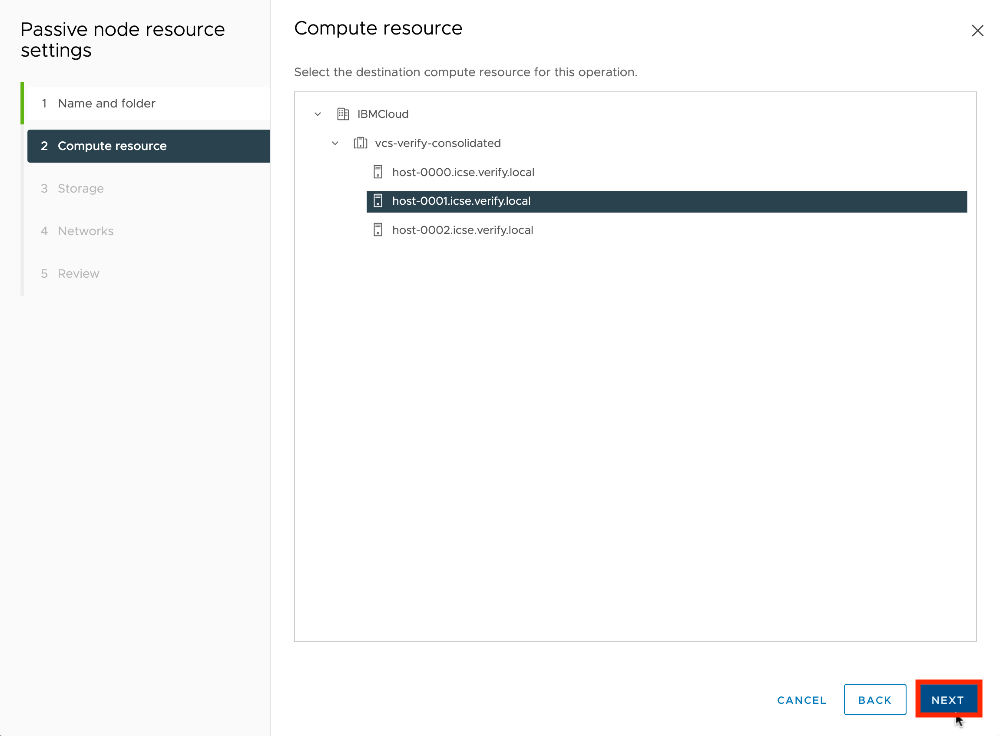
- Select the same compute resource as the active vCenter and click Next.
- Select the datastore to be used. Recommendation is for this initial setup a local datastore be used. In the example the local datastore of the host is used. Click Next.

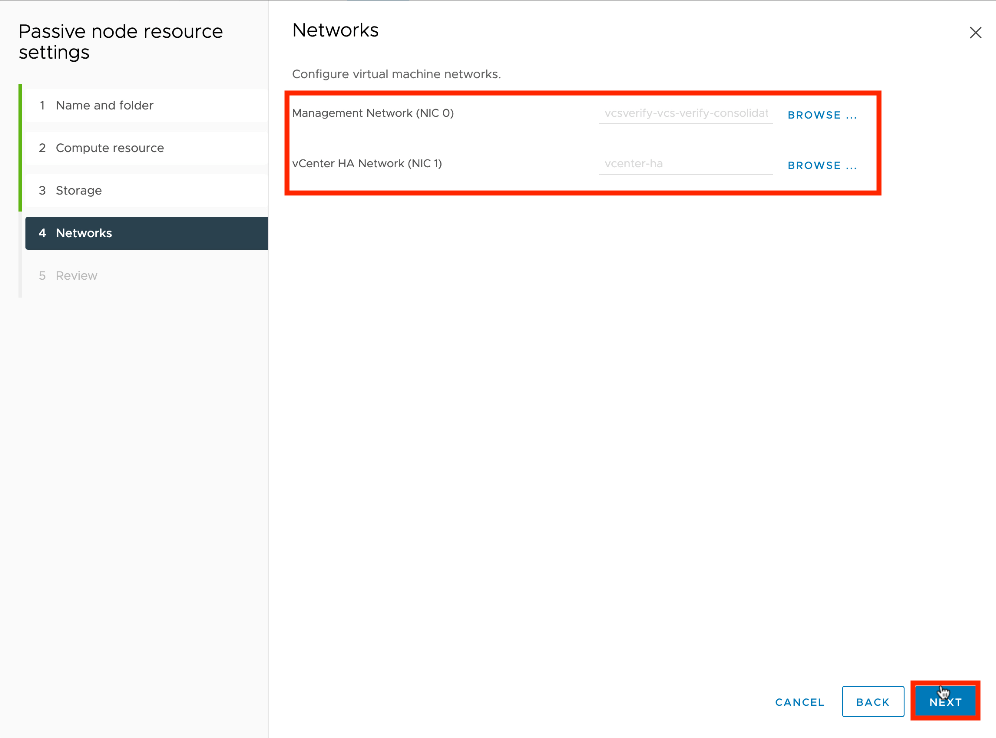
- Select the management and HA networks to be used. These should be the same networks as used by the Active node. Click Next to continue.
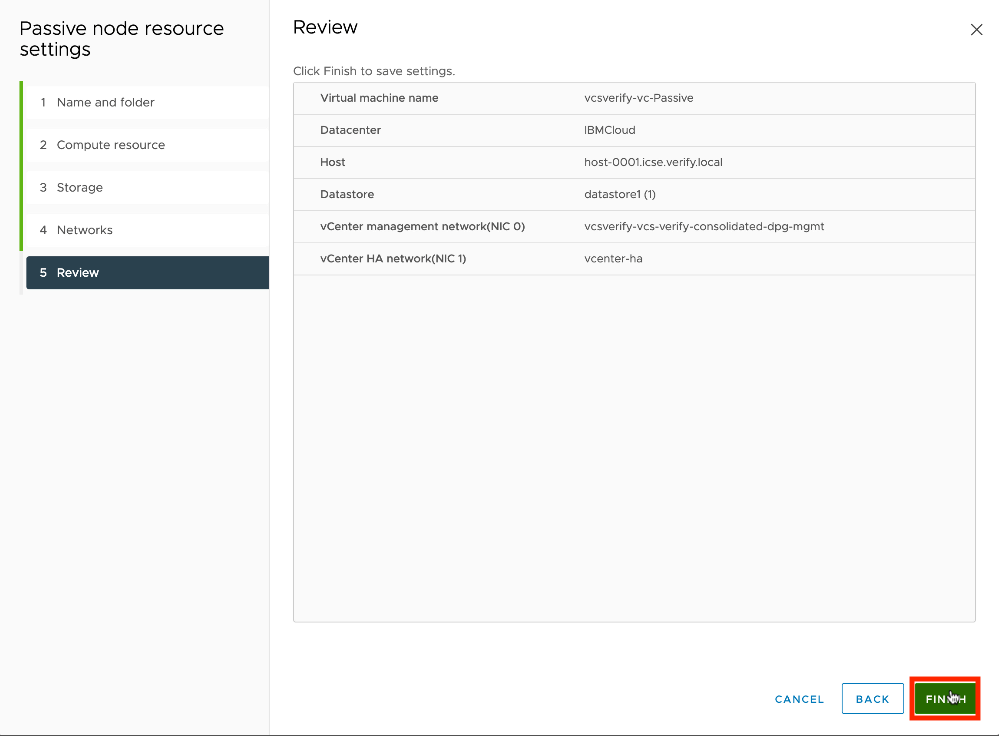
- Review the configuration and click Finish to complete the wizard.
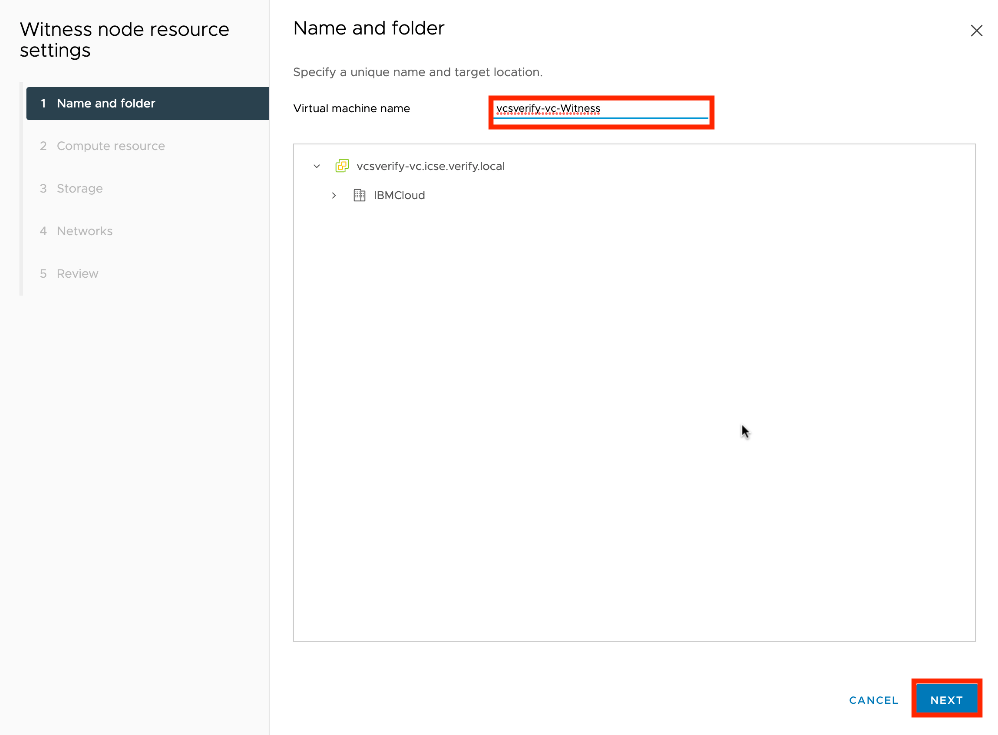
Finally we need to configure the Witness node. Click on Edit next to the Witness node configuration.

- Give the new virtual machine a name and click Next.
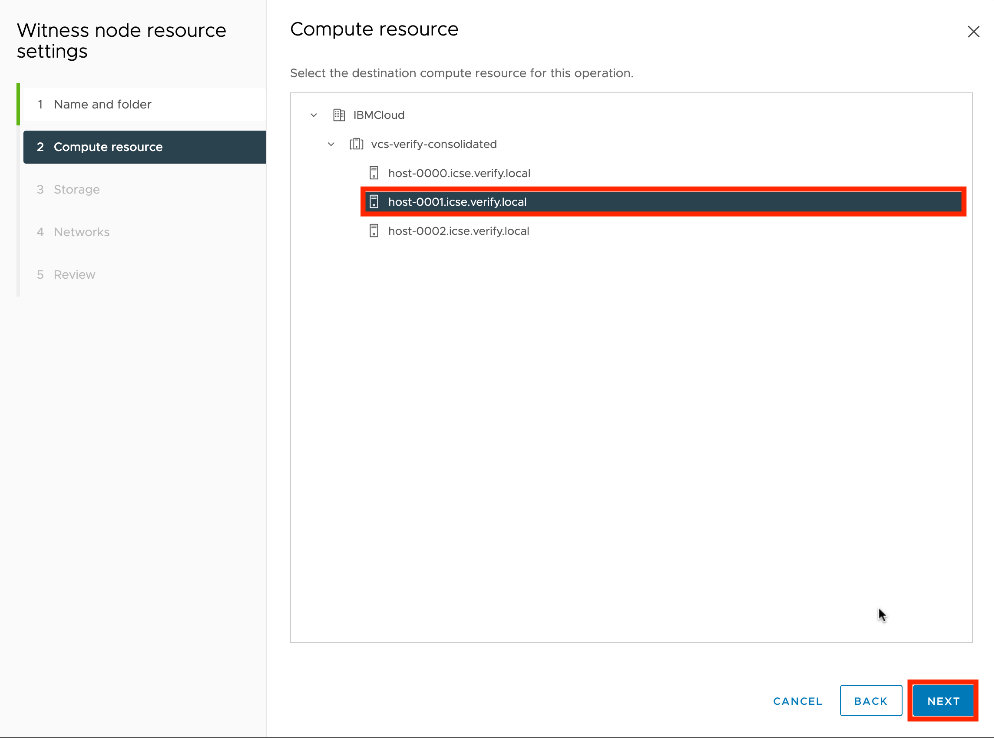
- Select the same compute resource as the active vCenter and click Next.
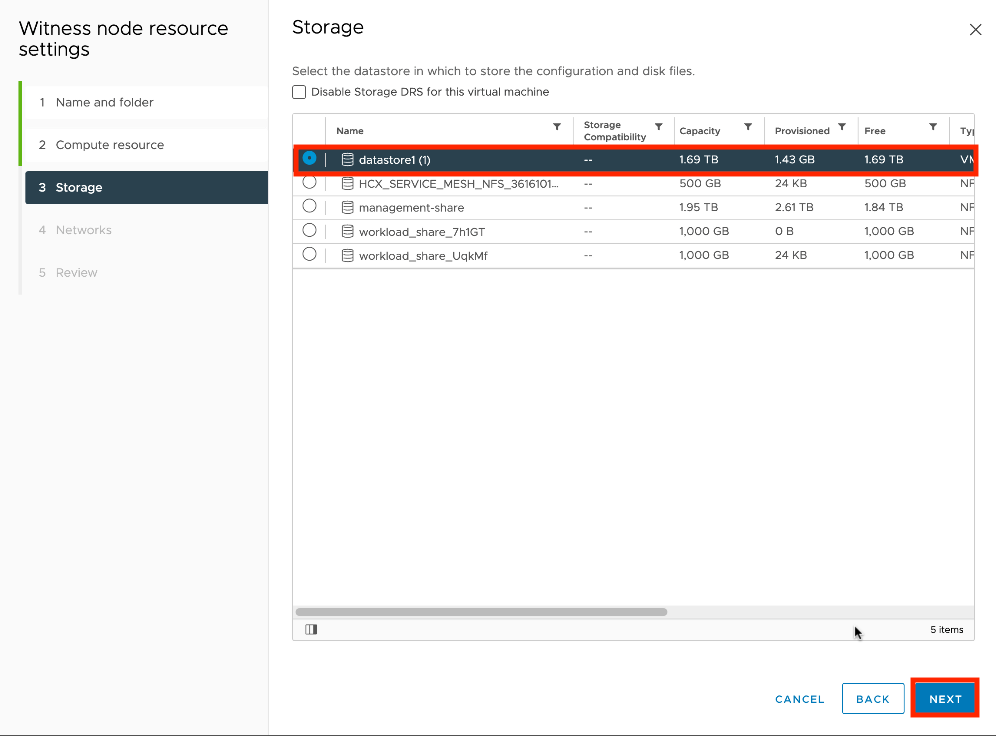
- Select the datastore to be used. Recommendation is for this initial setup a local datastore be used. In the example the local datastore of the host is used. Click Next.
- Select HA network to be used for the witness. Note that there is no management network for this virtual machine. This should be the same network as used by the Active and Passive nodes. Click Next to continue.
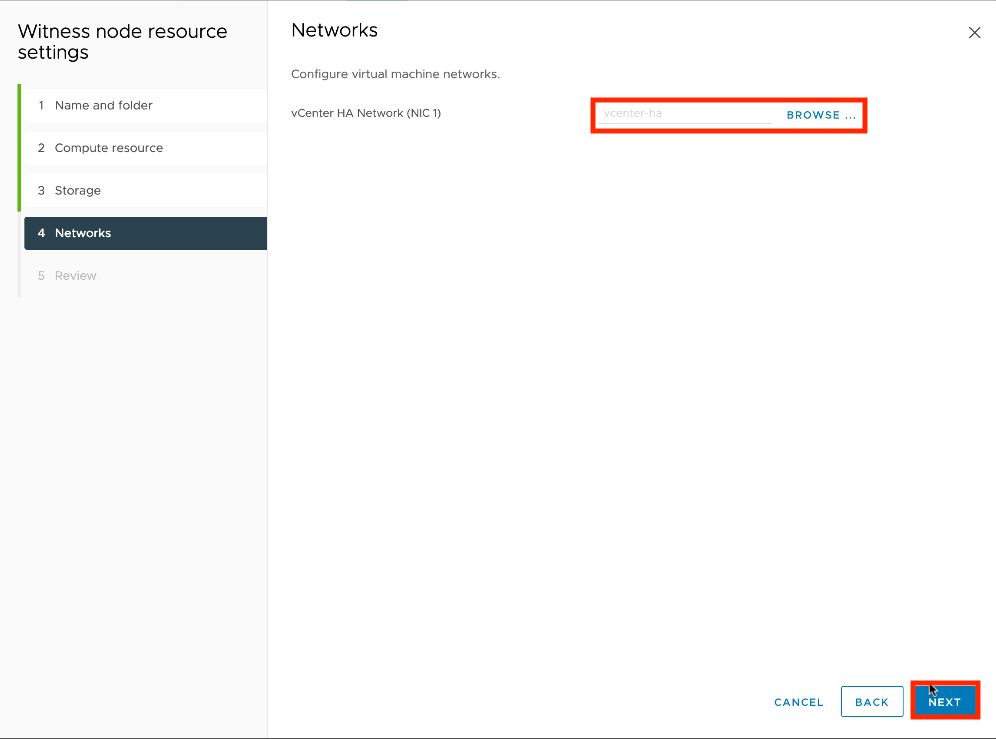
- Review the configuration and click Finish to complete the wizard.

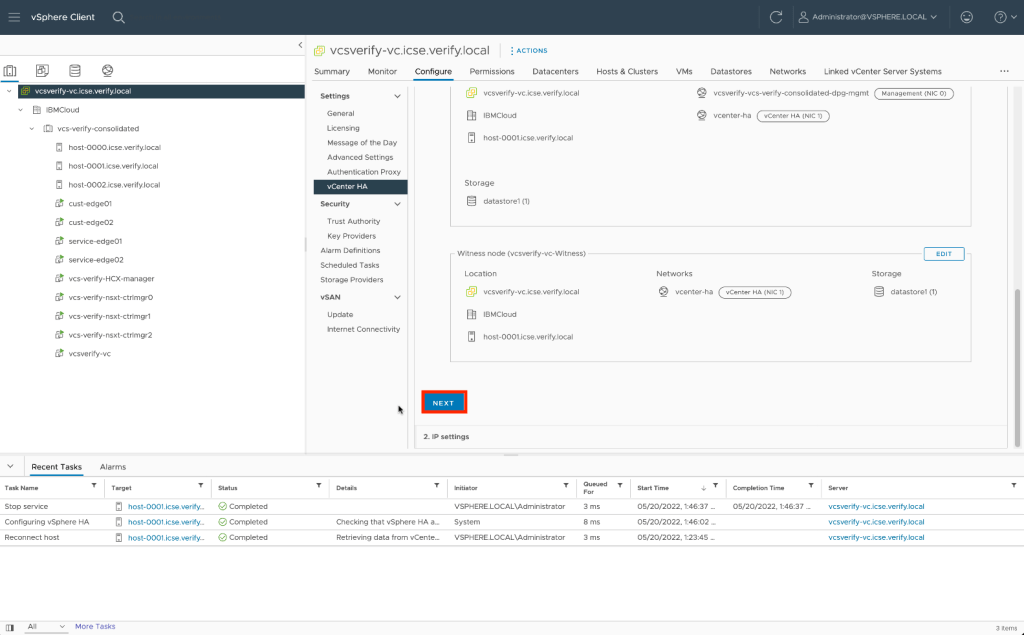
Review all settings and click Next to proceed.
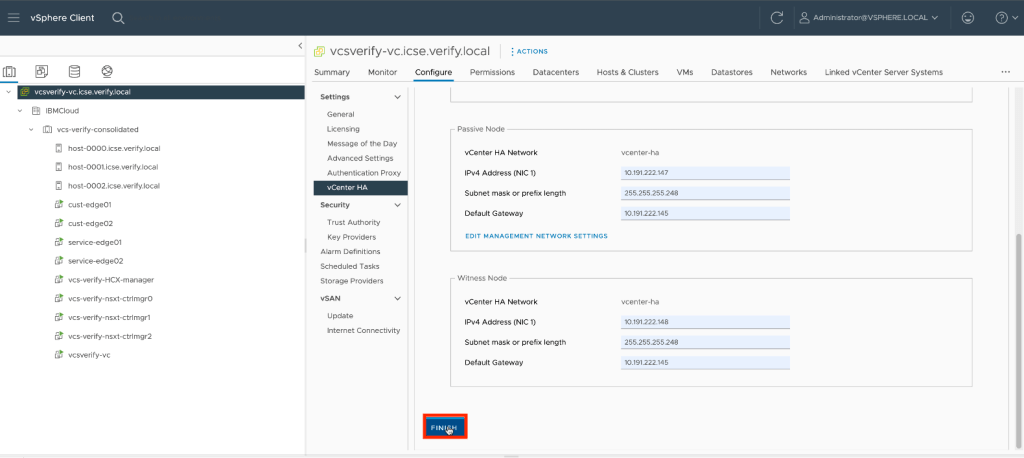
Finally, we need to set the IP address for the HA interfaces on all three virtual machines. The recommendation for IBM Cloud Classic Infrastructure is that these IP addresses be provisioned through a private portable subnet. While a non-routable IP address schema can be used this technique reduces future conflicts.
Here is the Active and Passive virtual machines and their IP settings using IBM Cloud Classic Infrastructure IPs:

And here is the Witness virtual machine. Check to make sure all settings are correct and click Finish to continue.
The installation and configuration can take some time, you can monitor progress via the Recent Tasks pane. When complete the setup should look something like this:

Cleanup
- If you disabled VCHA anti-affinity reenable the service.
- If you chose to install all virtual machines on the same host and datastore (recommend) remember to migrate them to new hosts and datastores.
- Document all IP addresses.


Leave a comment