One of the great advantages of IBM Cloud VMware as a Service – single tenant over the previous IBM Cloud VMware Solutions Shared offering is that it allows for you to bring your own licenses (BYOL) for Red Hat Enterprise Linux and Windows. Through this you are able to take advantage of your existing licensing agreements with these two vendors and not end up in a situation where you are being double charged for licenses.
In this post I will take you through the steps in creating a Red Hat Enterprise Linux virtual machine and performing the steps necessary to license the image, allowing you to access updates and patches.
This tutorial assumes you already have a Red Hat Enterprise Linux account and an available subscription license to use.
The steps we will follow to accomplish this are:
- Provision a network in IBM Cloud for VMware as a Service – single tenant
- Create an IP Set
- Create a firewall rule to allow traffic to flow to and from the Internet
- Create a SNAT rule to allow traffic to reach the Internet
- Deploy a Red Hat Enterprise Linux virtual machine using the public catalog
- Register your Red Hat Enterprise Linux virtual machine
If you already have a Red Hat Enterprise Linux virtual machine deployed and if that VM has access to the Internet you may skip to the last step of this tutorial.
Provision a network in IBM Cloud for VMware as a Service – single tenant
The first thing you want to do is provision a network for your virtual machine. To do so:
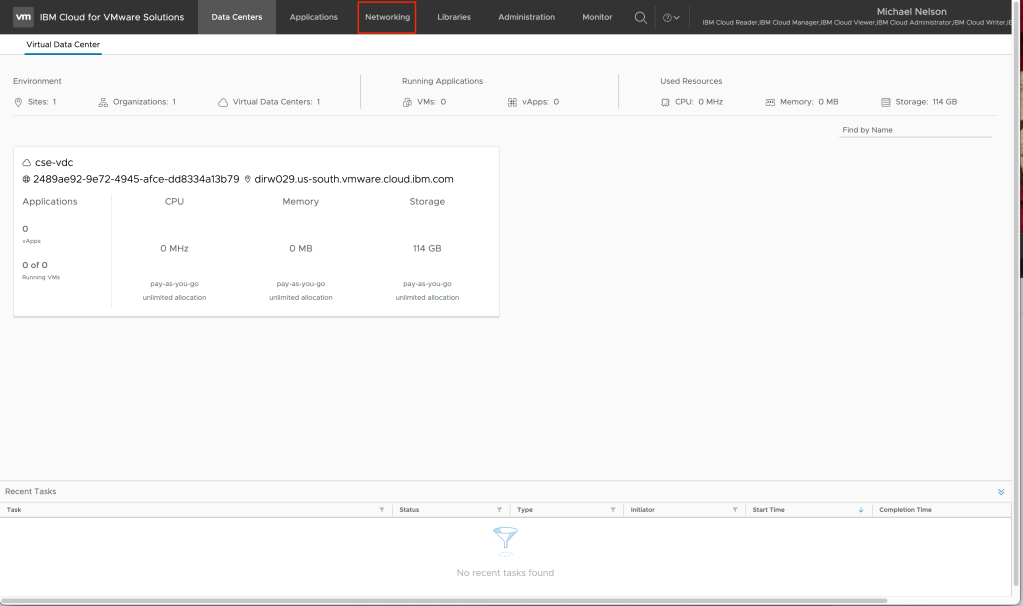
- Log into your IBM Cloud VMware as a Service – single tenant instance. You can either sign in via username and password or use single sign-on which is integrated into IBM Cloud IAM.

- From the home page, click on Networking.
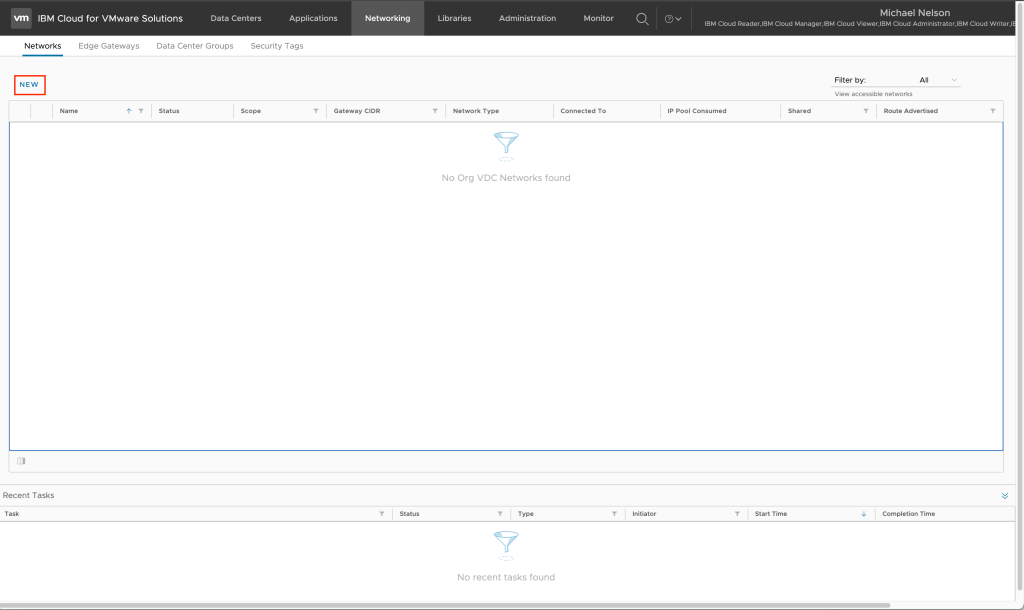
- Click on New to create a new virtual data center network.
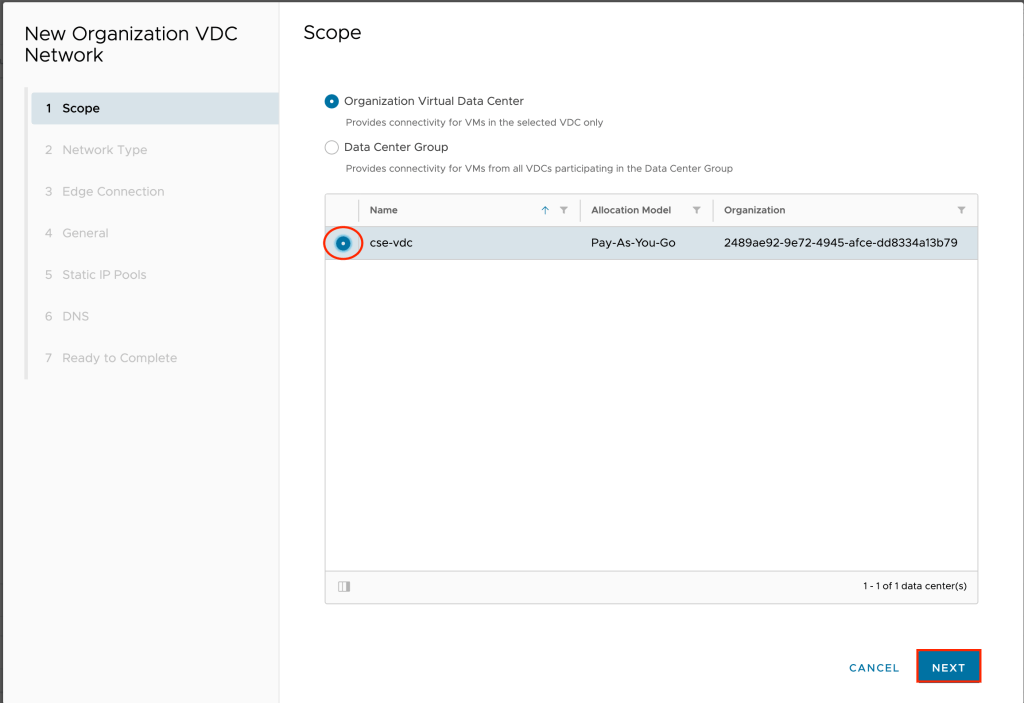
- The new organization VDC network wizard will appear. Leave the scope to organization virtual data center and click on the radio button next to the VDC you wish to create the network in. Click on Next to continue.
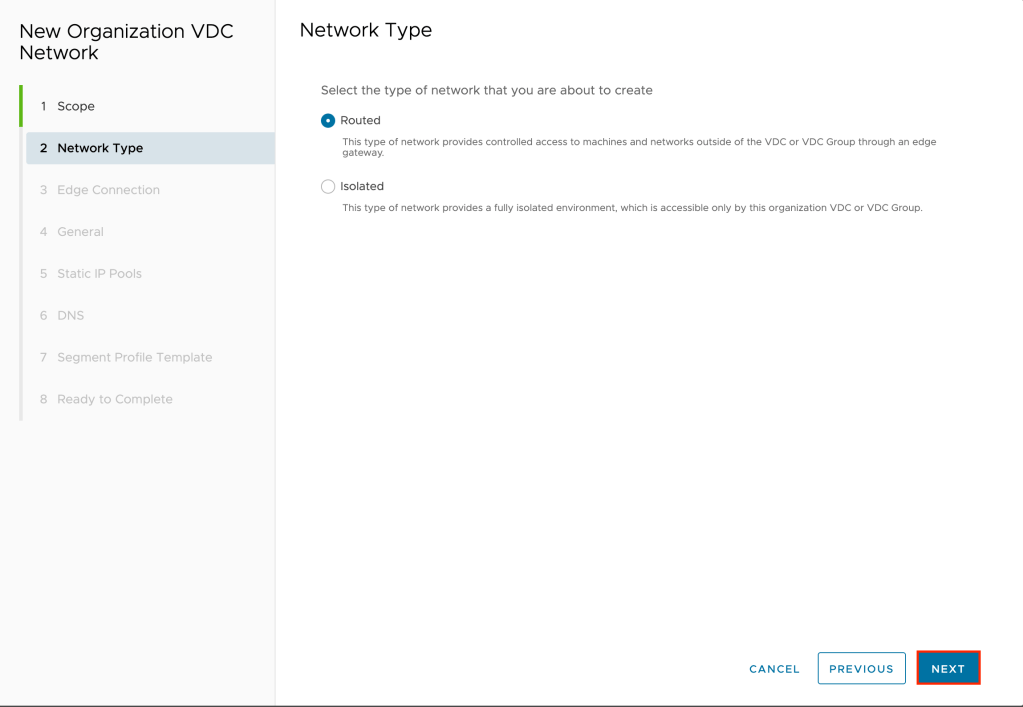
- Leave the default selection of routed and click Next to continue.
- Select the edge you wish to connect to this network and click Next to continue.

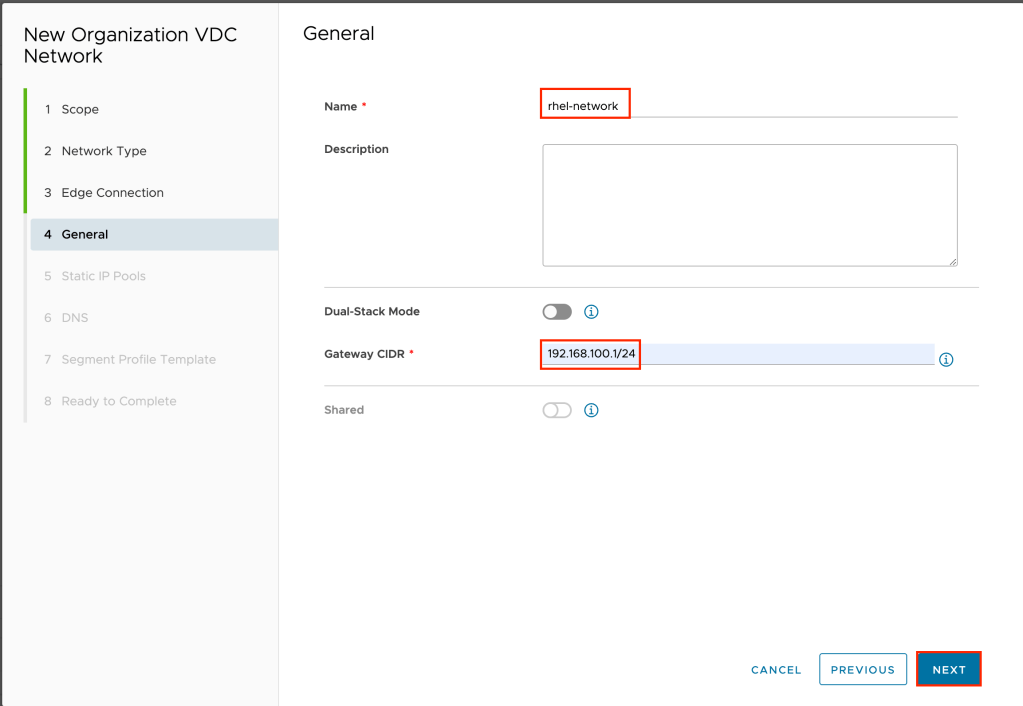
- Give your network a name and select a CIDR block to use for the network. In the example
rhel-networkis used as the network name and192.168.100.1/24as the CIDR. Click next to continue.
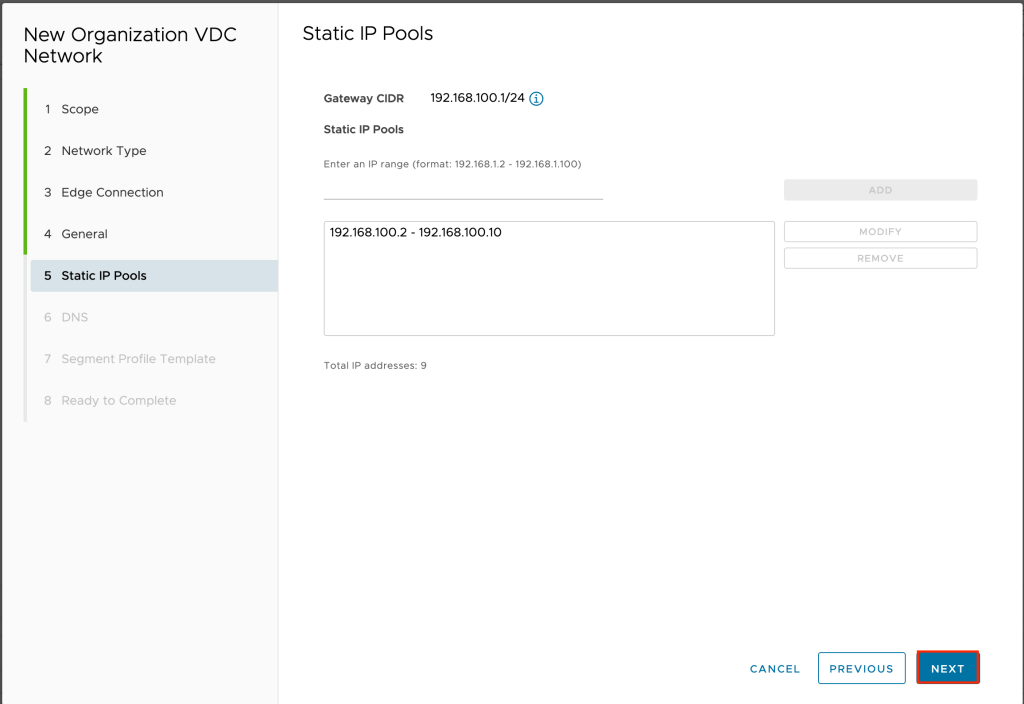
- Enter a static IP pool that will be used to assign IP addresses to the virtual machines using this network. In the example 192.168.100.2-192.168.100.10 is used. Click add to add the pool to the network. Click next to continue.
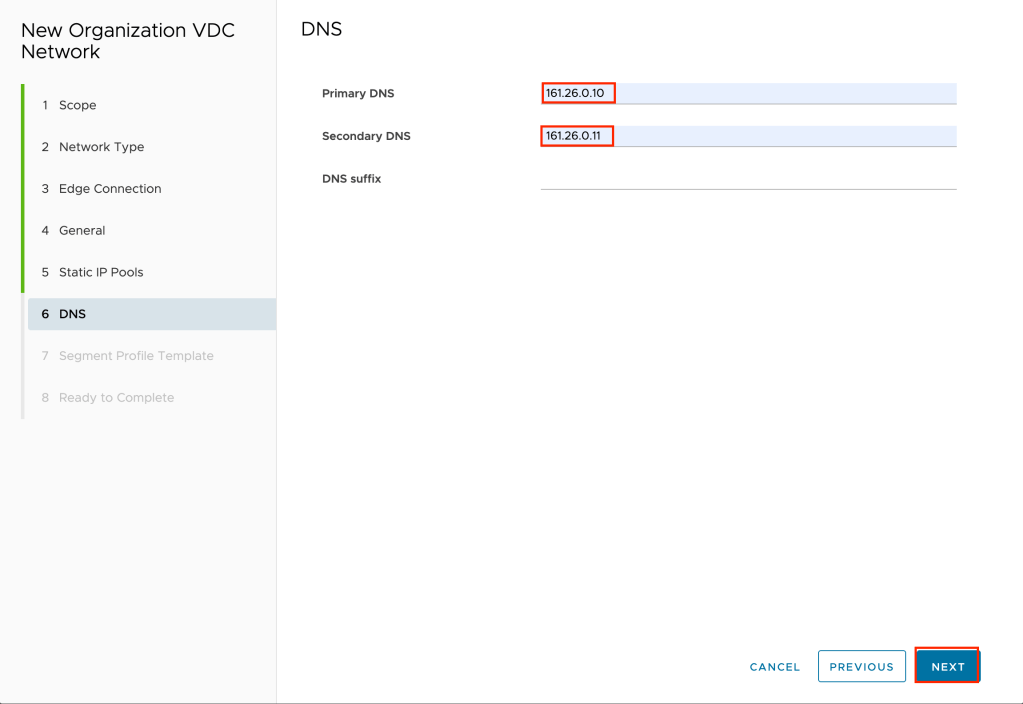
- For DNS input the IBM Cloud DNS servers at
161.26.0.10and161.26.0.11and click next to continue.
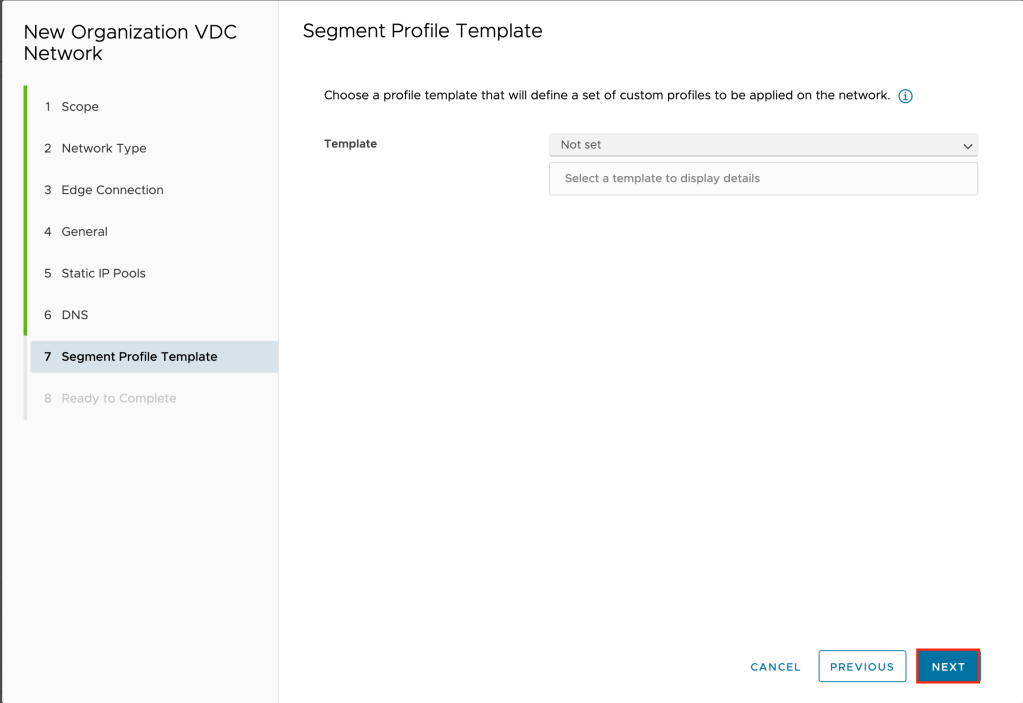
- Leave the segment profile template at Not set and click next to continue.
- Click finish to create your new network.
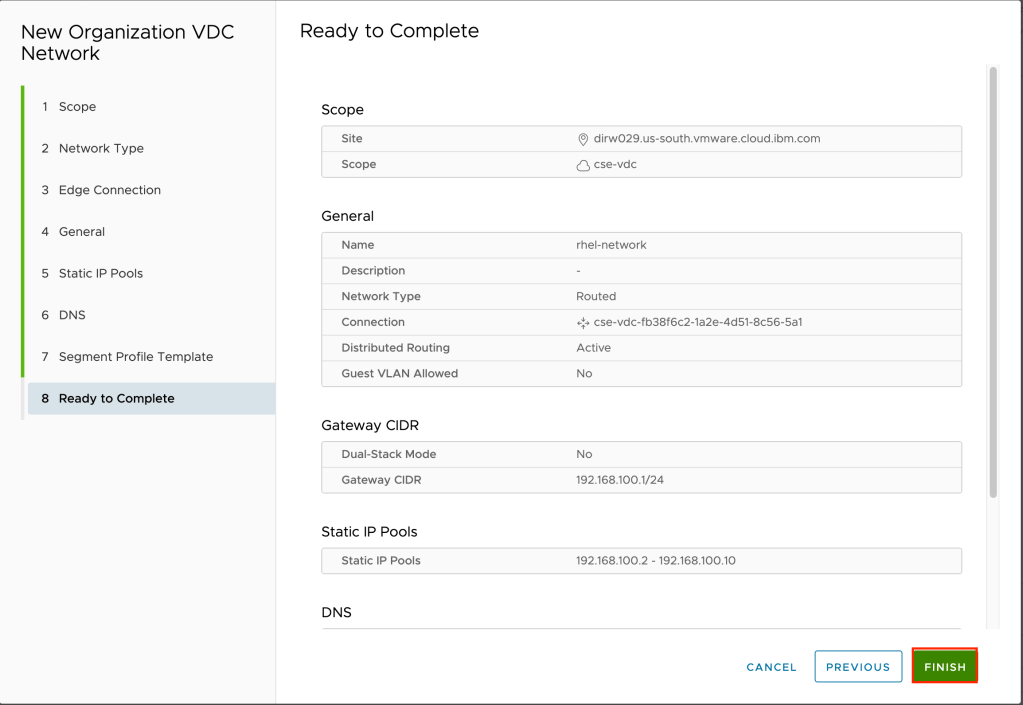
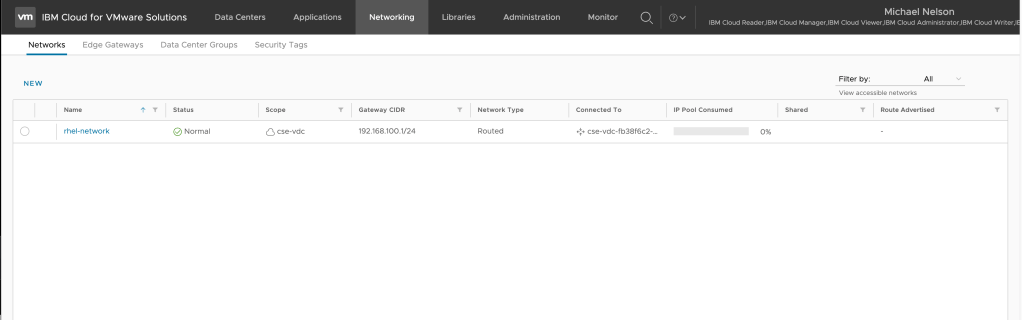
In a few seconds your network will appear in the list. Stay on this screen for the next step.
Create an IP Set
The next step is to create an IP set that will be used as part of your firewall rules.
To create an IP set:
- From the networking tab, click on Edge Gateways.
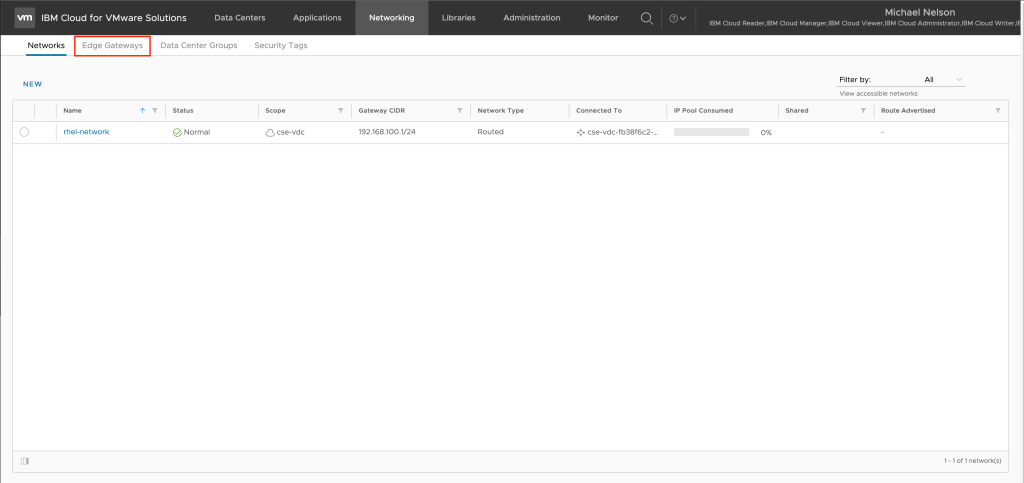
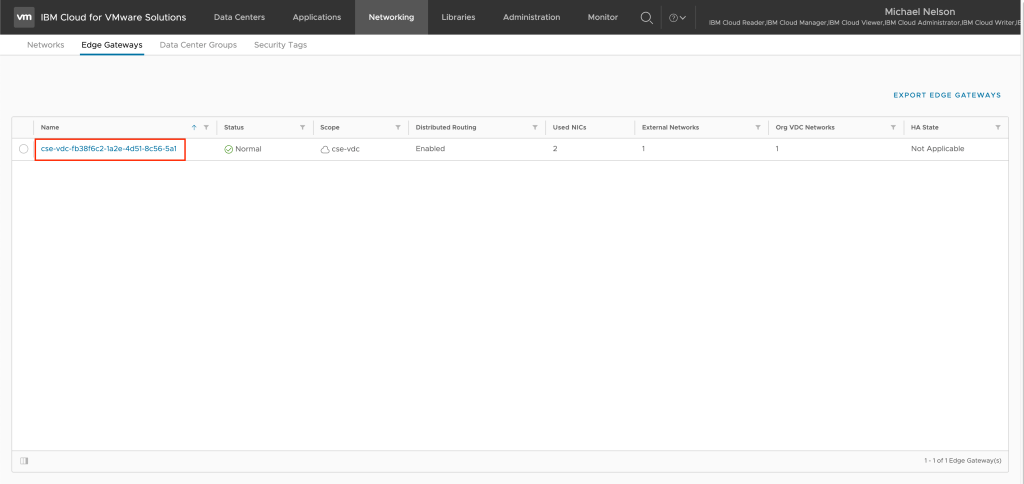
- Click on your edge gateway.
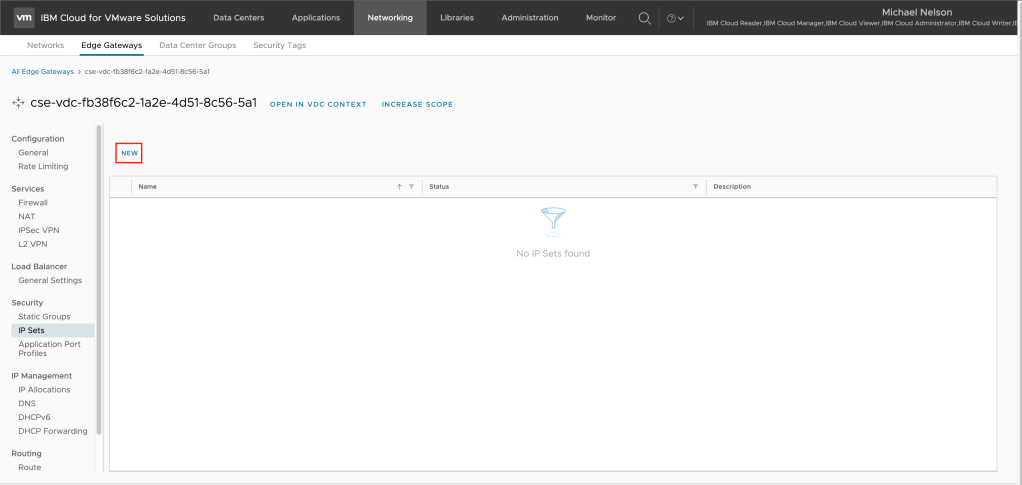
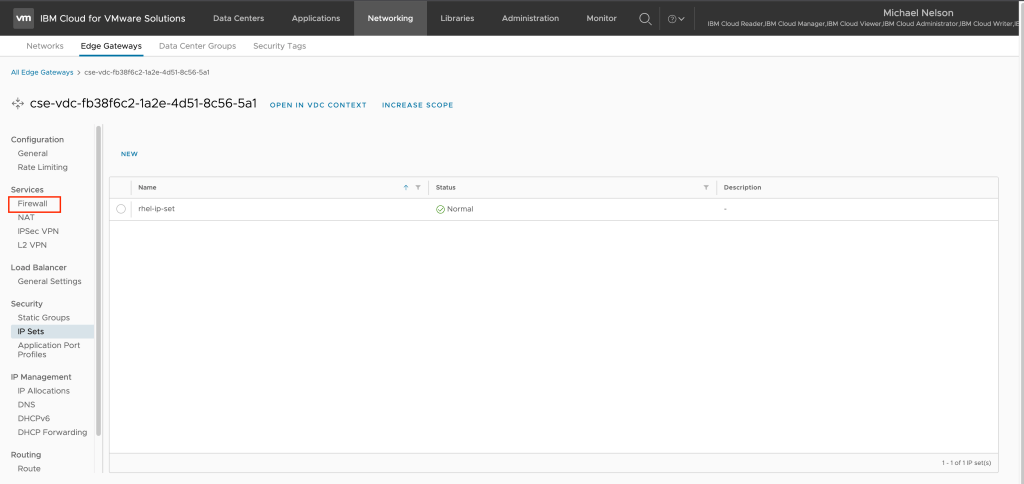
- In the left-hand navigation select IP Sets.
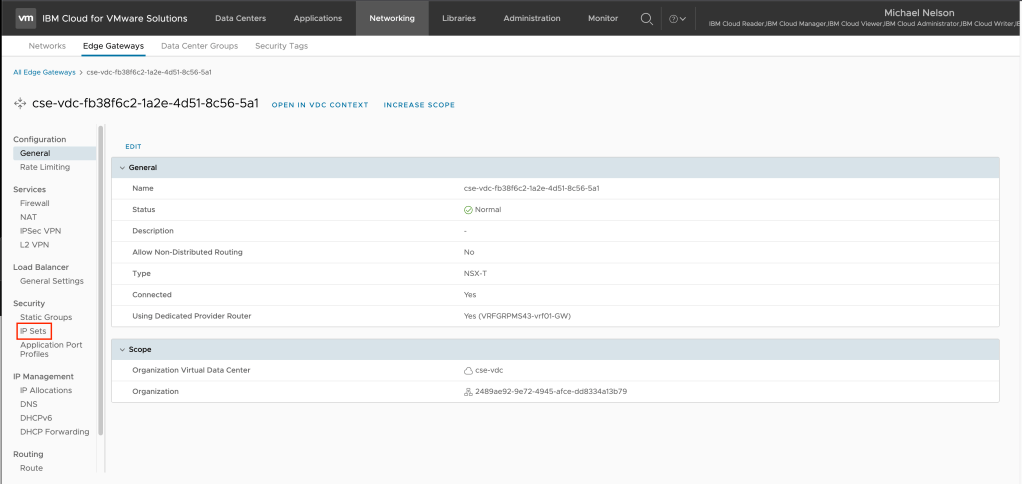
- Click on New to create a new IP set.
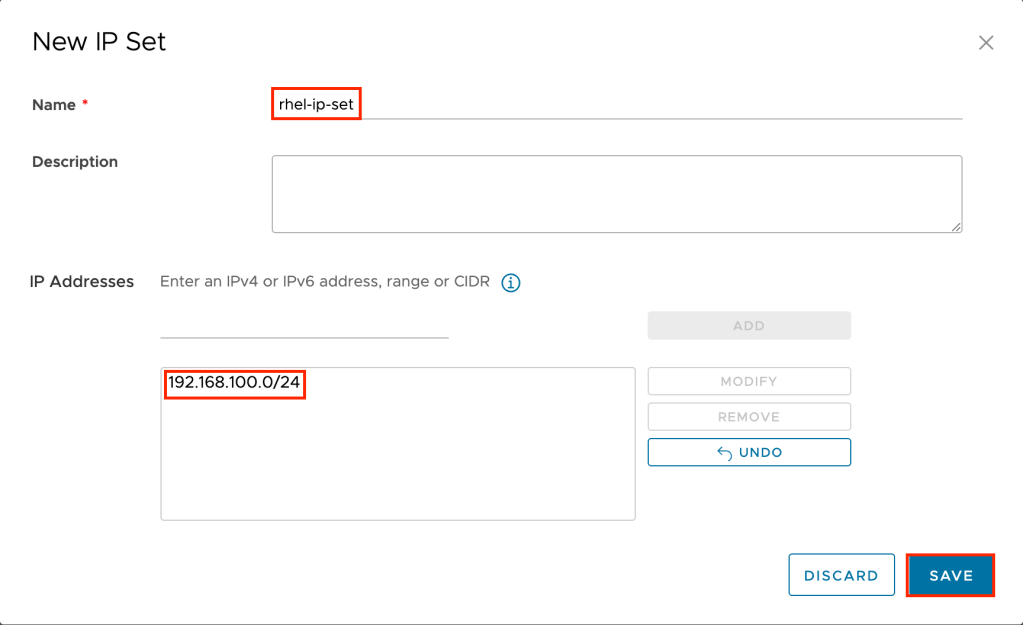
The New IP Set wizard will appear. Input a name and the IP address range you wish to include in this set and click Add to add the range to the set. Click on save to complete the wizard. In the example rhel-ip-set is used for the name and 192.168.100.0/24 as the IP address range.
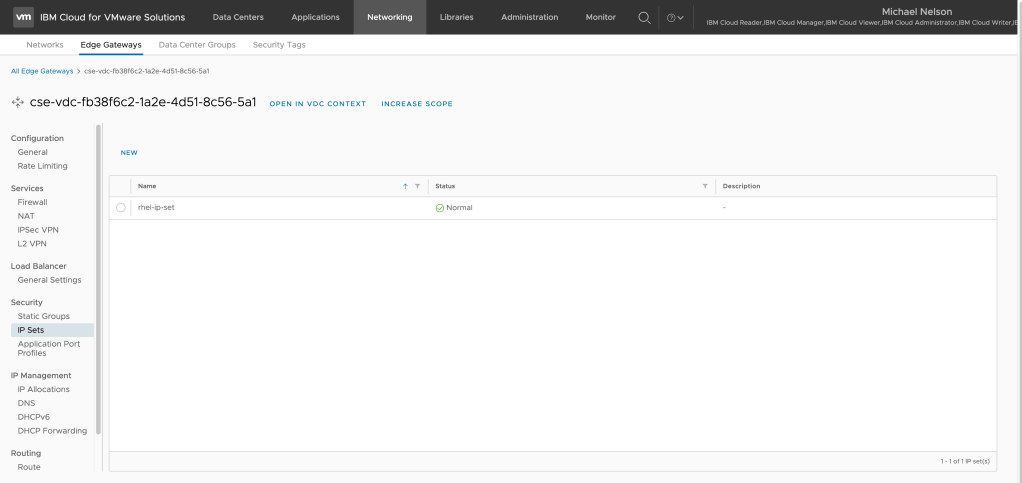
In a few seconds your new IP set will appear. Stay on this screen and proceed to the next step.
Create a firewall rule to allow traffic to flow to the Internet
The next step is to use the IP set created in the previous step to create a firewall rule, allowing your virtual machine to access the Internet. To create a new firewall rule:
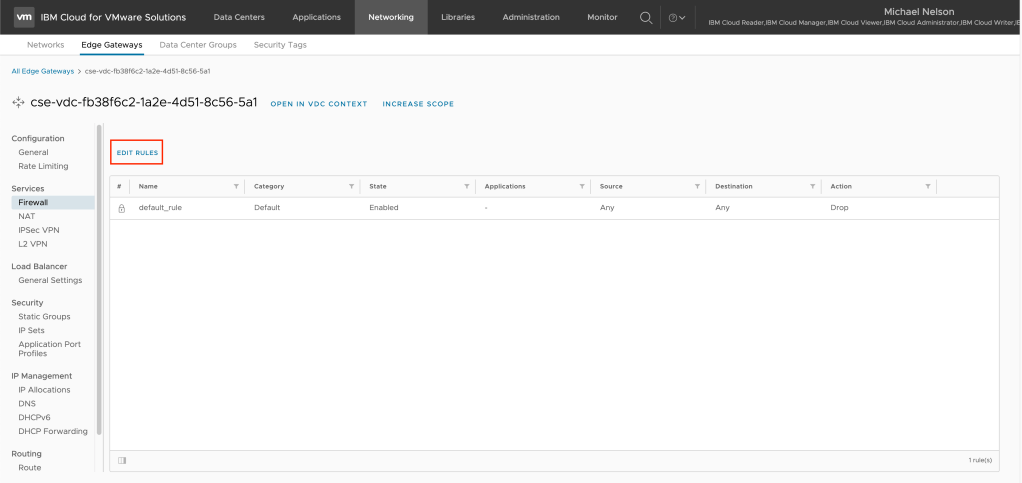
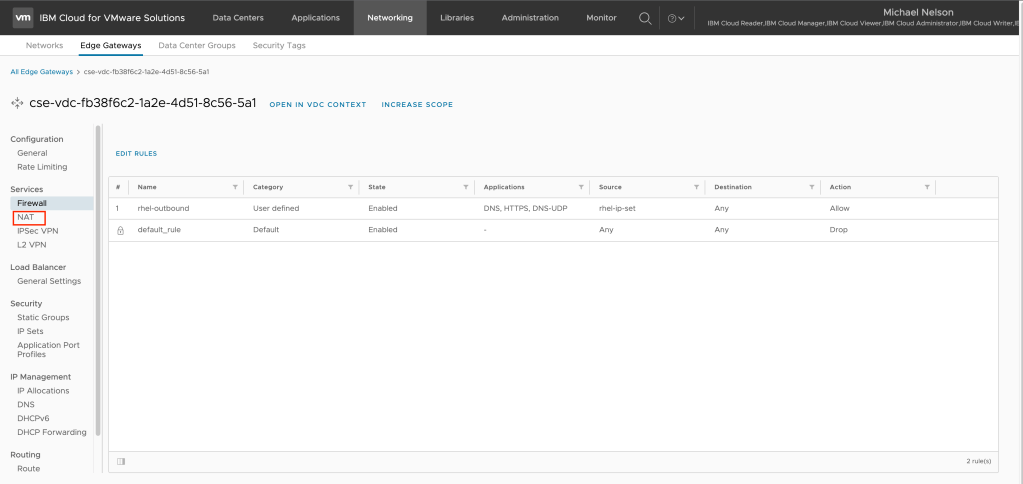
- From the previous step, click on Firewall.
- Click on Edit Rules to modify the existing firewall rule set. Note that there is a default rule dropping all traffic, protecting your environment.
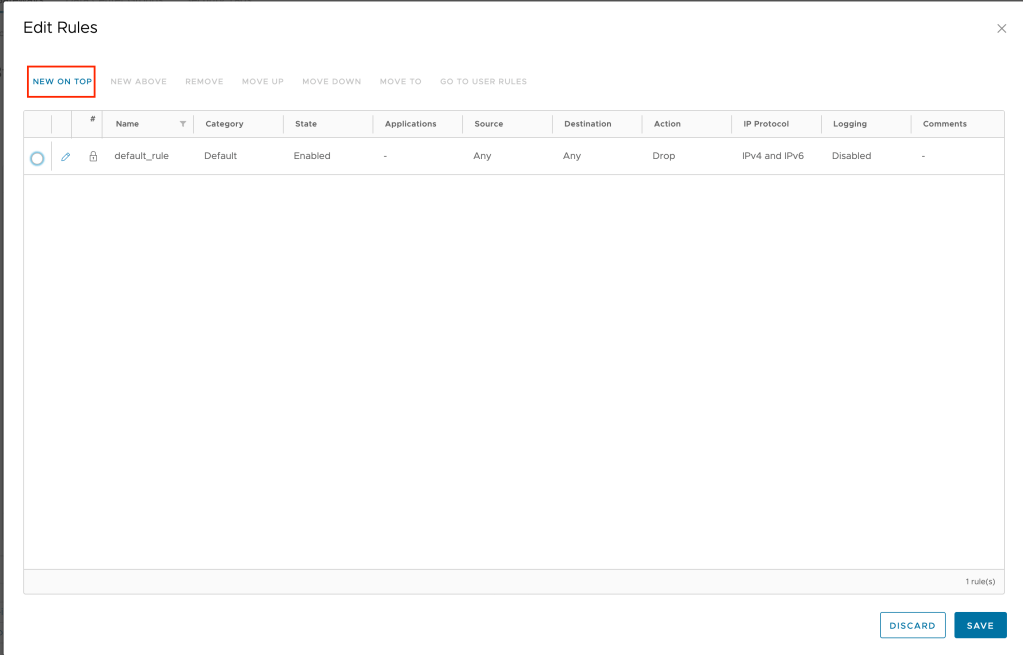
- Click on New On Top to create a new rule before the default drop rule.
- Create your new rule:
- For name – choose a name. In the example rhel-outbound is used.
- For applications – click on the pencil icon and switch the toggle to choose a specific application to enabled (green). Select the following applications:
- DNS
- DNS-UDP
- HTTPS
- ICMP ALL
- Click on save when complete.
- For source, click on the pencil icon and select the IP set created in the previous step. Click Keep when complete.
- For destination, click on the pencil icon switch the toggle to enabled for any destination. Click Keep when compelte.
- Click on save in the edit rules panel when complete. You entry should look similar to below.
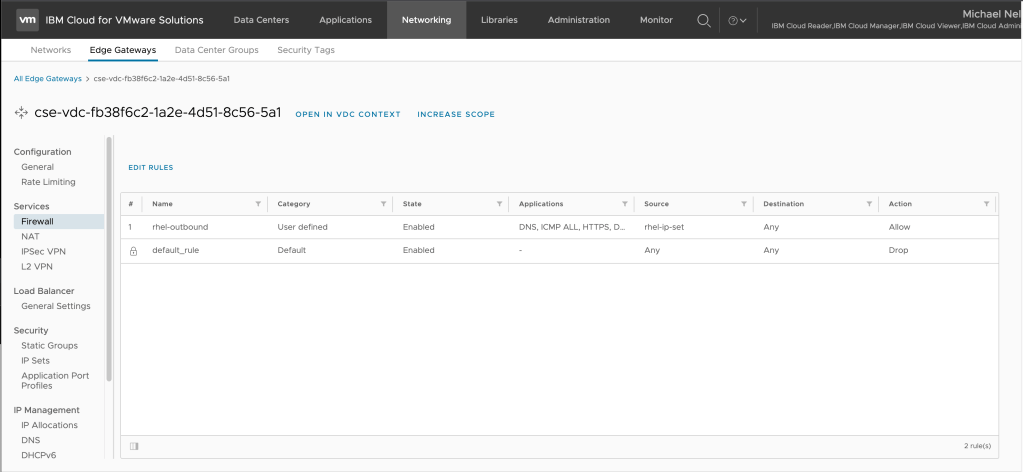
Stay on this screen and proceed to the next step.
Create a SNAT rule to allow traffic to reach the Internet
The next step is to create a source NAT (SNAT) rule to allow your virtual machines to reach the Internet in order to register and download updates. To create a SNAT rule:
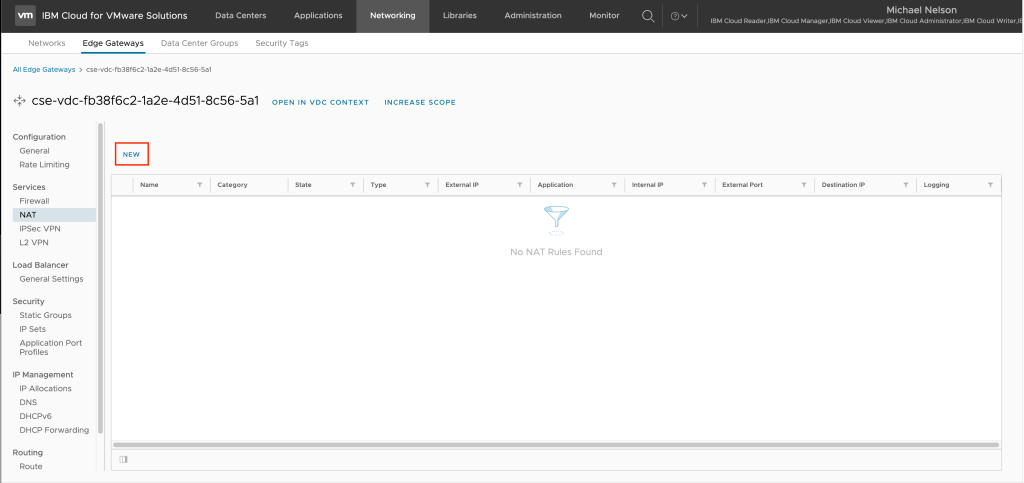
- From the previous screen, click on NAT
- Click on New to create a new NAT rule.
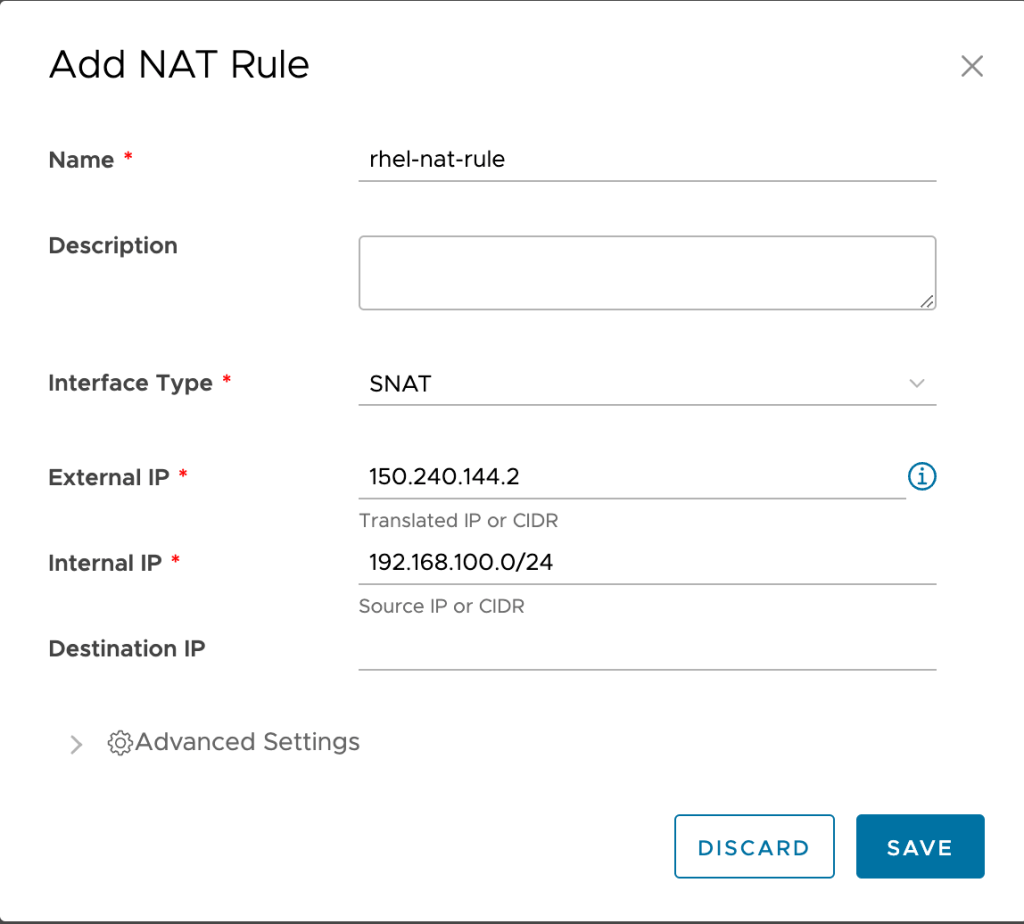
- The Add NAT Rule wizard will appear. There are four fields that must be filled out.
- Name – In the example
rhel-nat-ruleis used. - Interface type – Select SNAT (source NAT) as the interface type.
- External IP – Input one of the public IP addresses provided by IBM Cloud to your instance. You may click on the information button to the right of the field to see these IP addresses. In the example
150.240.144.2is used.
- Internal IP – This is the CIDR range of the network you created in the previous step. In the example
192.168.100.0/24is used.
- Name – In the example
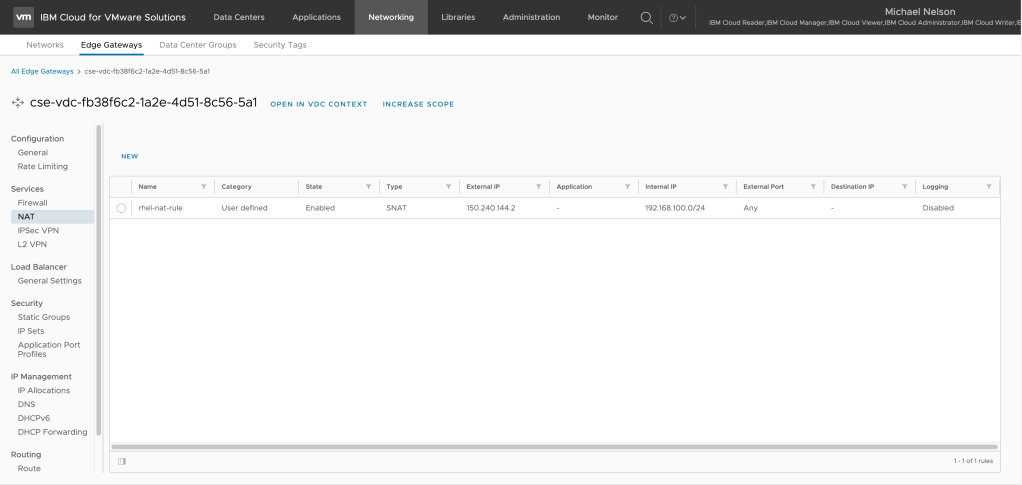
- Click Save when complete. The new NAT rule will be created.
In a few sections your new NAT rule will be created. Stay on this screen and proceed to the next step.
Deploy a Red Hat Enterprise Linux virtual machine using the public catalog
The final step is to create a Red Hat Enterprise Linux virtual machine. To create a virtual machine:
- In the top menu navigation click on Applications.

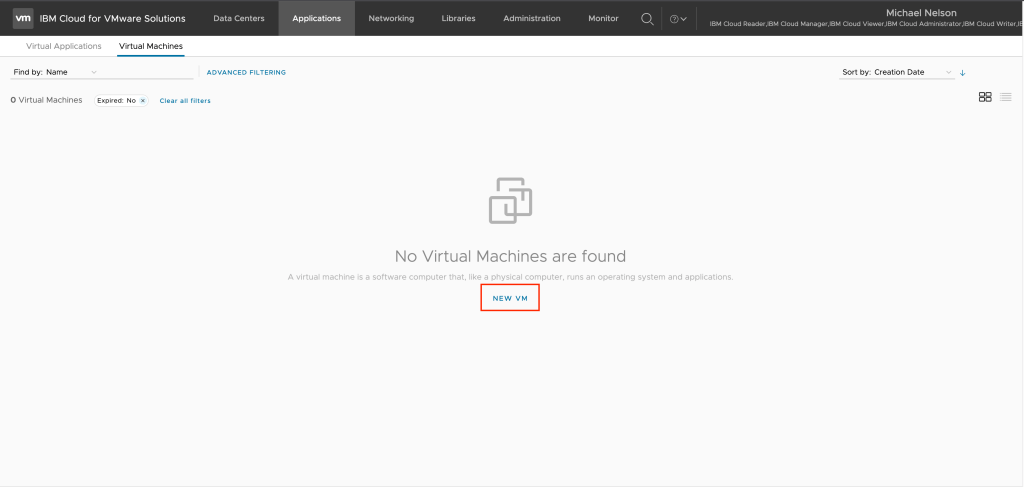
- Click on Virtual Machines in the sub navigation tab.
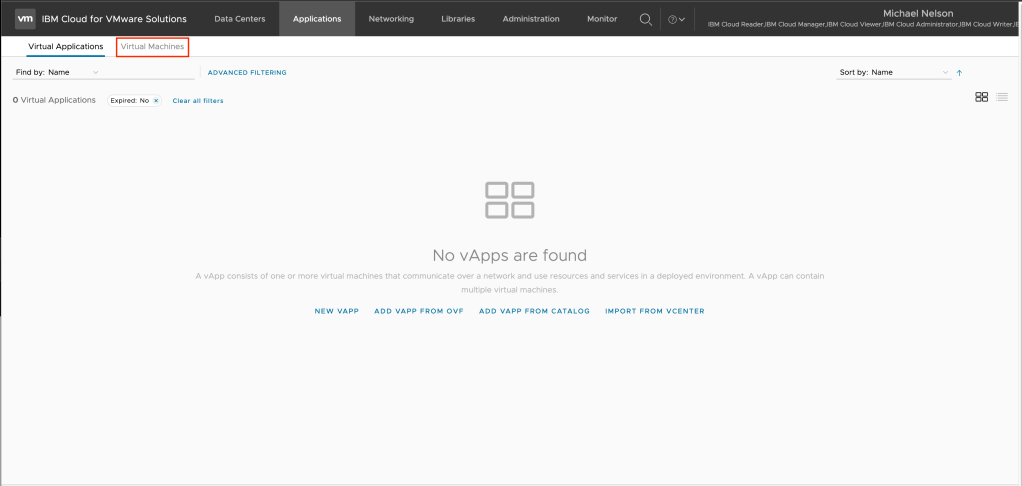
- Click on New VM to launch the new virtual machine wizard.
- The new VM wizard will appear. There are six fields that must be filled out. Note depending on the size of your display you may need to scroll down to see all fields.
- Name – in the example
rhel-vmis used. - Computer name – This field-is auto populated from the name. In the example
rhel-vmis used. - Templates – under templated select the
vm-redhat8template. - Storage policy. The values here depend on what was provisioned with the instance. In the example 2 IOPS/GB is used.
- NICs – Check the box for connected and then in the drop-down field below network select the network created in the first step,
rhel-networkin the example. In the drop-down field below IP mode select Static-IP Pool. - Custom Properties – for guest.hostname provide a hostname that this VM will be registered under. In the example
rhel-vm.testis used.
- Name – in the example
Leave all other values at their defaults and click OK when complete. The new virtual machine will be created.

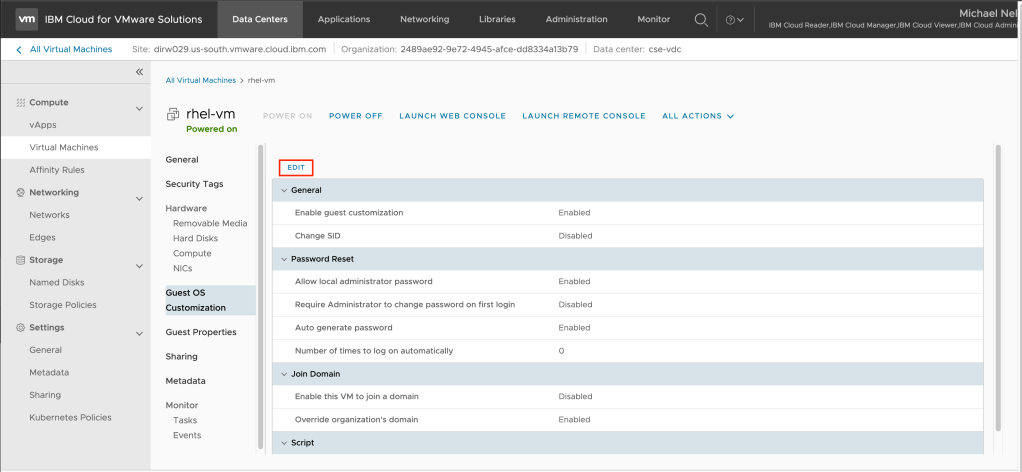
- Prior to logging into the virtual machine for the first time you will need to get the provisioned password. To do so click on Details on the virtual machine..
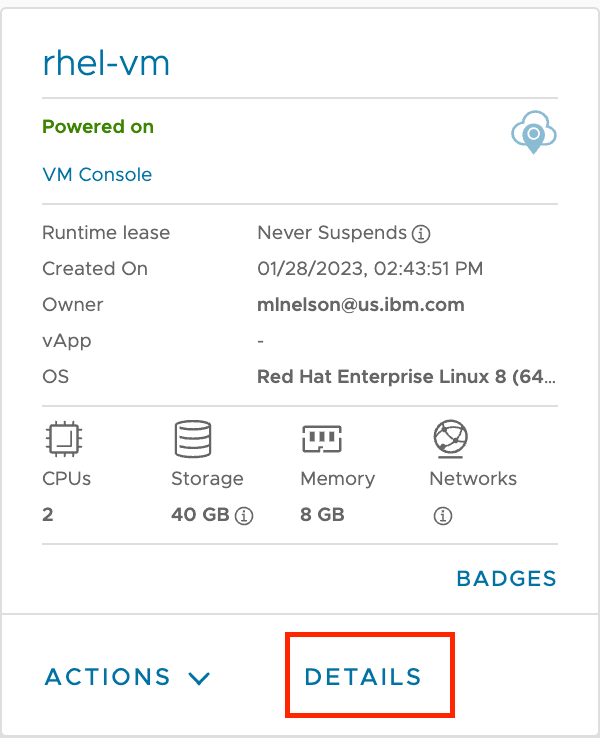
- Click on Guest OS Customization.
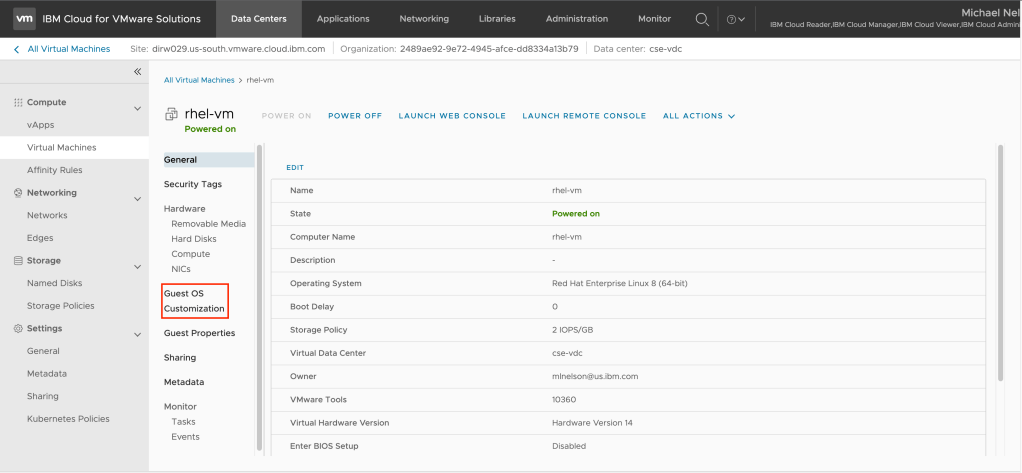
- Click on Edit.
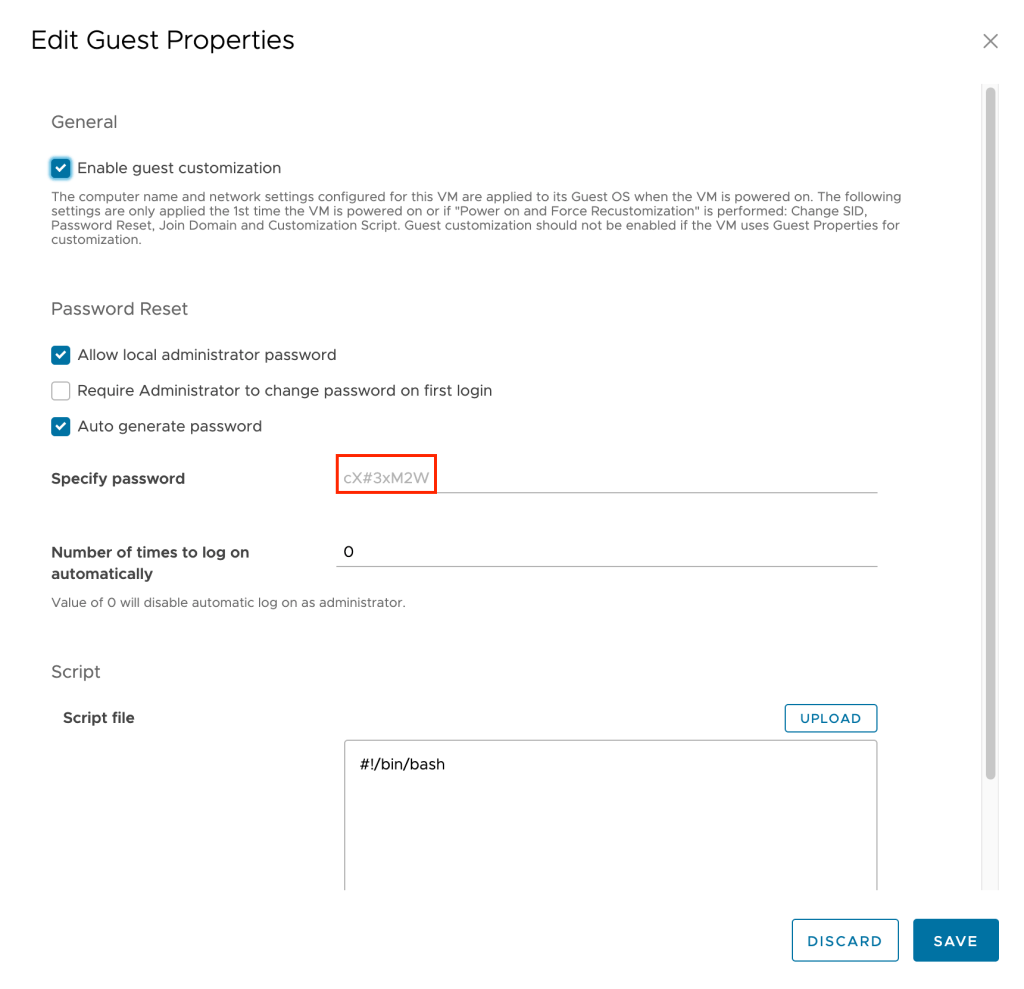
- Under Specify Password will be listed the password auto generated during virtual machine provisioning. Copy this password to a safe space to be used upon initial login. Click on Discard when this password has been saved.
- Click on Launch Web Console to open a local console to the virtual machine.
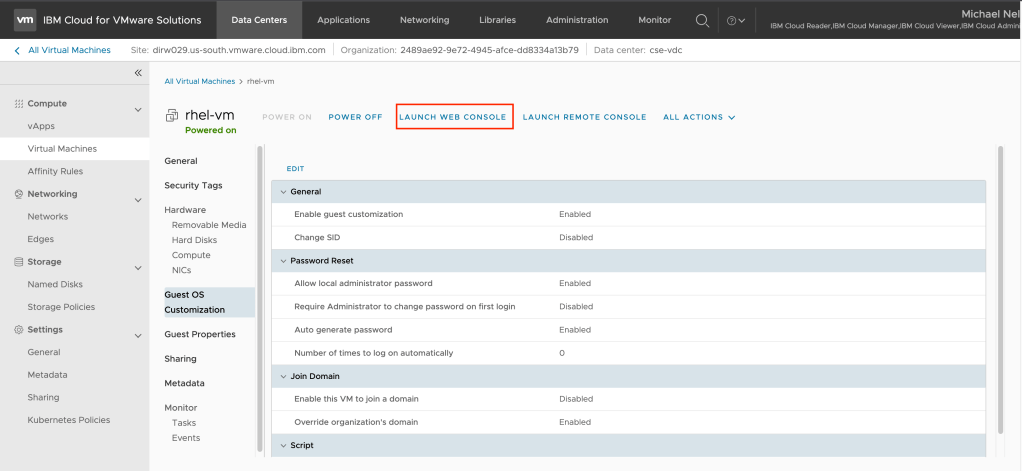
Using the web console, log into the virtual machine using root as the user ID and the password you captured from the previous step. You should then be able to ping Internet resources such as www.ibm.com, showing that the networking is complete and working.
Register your Red Hat Enterprise Linux virtual machine
The final step of this post is to register your virtual machine with Red Hat. To register your machine:
- Using the web console , log into your Red Hat virtual machine.
- From the command prompt run the following commands :
uuid='uuidgen`
echo '{"dmi.system.uuid": "'$uuid'"}' > /etc/rhsm/facts/uuid_override.facts
vi /etc/rhsm/rhsm.conf- Inside of
/etc/rhsm/rhsm.confchange the following lines:- Under Server hostname, change the hostname to
subscription.rhsm.redhat.com. - Under Server prefix, change the prefix to
/subscription. - Under Content base url, change the baseurl to
https://cdn.redhat.com. - Under default CA cert, change repo ca cert to
%(ca_cert_dir)sredhat-uep.pem.
- Under Server hostname, change the hostname to
Save and quit editing /etc/rhsm/rhsm.conf.
- From the command prompt run the following commands:
subscription-manager clean
subscription-manager register --username <username> --password <password> --auto-attach
Your system should now be registered with Red Hat, confirm run dnf update and you should see your system getting updates.


Leave a comment