In part one of this series, I covered the initial network deployment prior to installing the F5 appliance. In this second part, I will cover the installation of the F5 appliance.
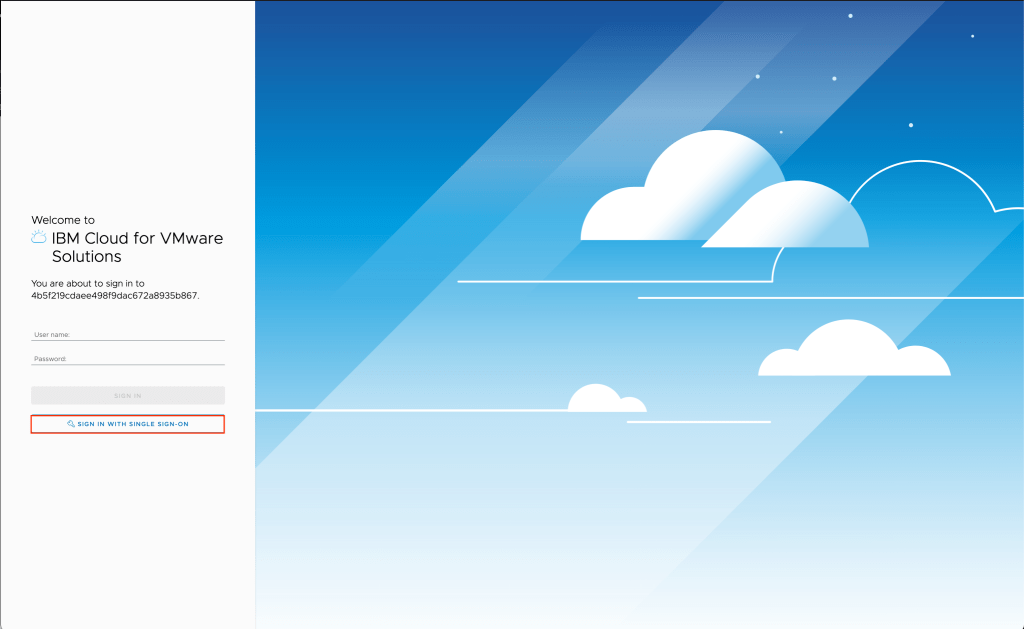
To begin, log into your Cloud Director or IBM Cloud for VMware Solutions Shared environment using the URL provided by the provider. Since my environment is integrated with IBM Cloud IAM, I will be logging in via SSO. Otherwise log in with your user name and password.
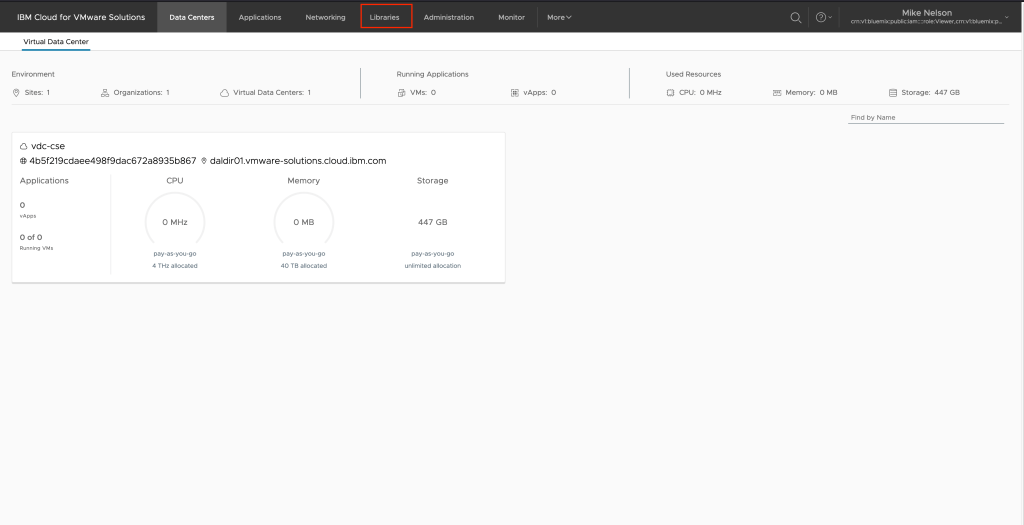
Since in the previous lesson we uploaded our F5 OVA as well as configured the network, we can move right into deployment. Click on Libraries in the top navigation.
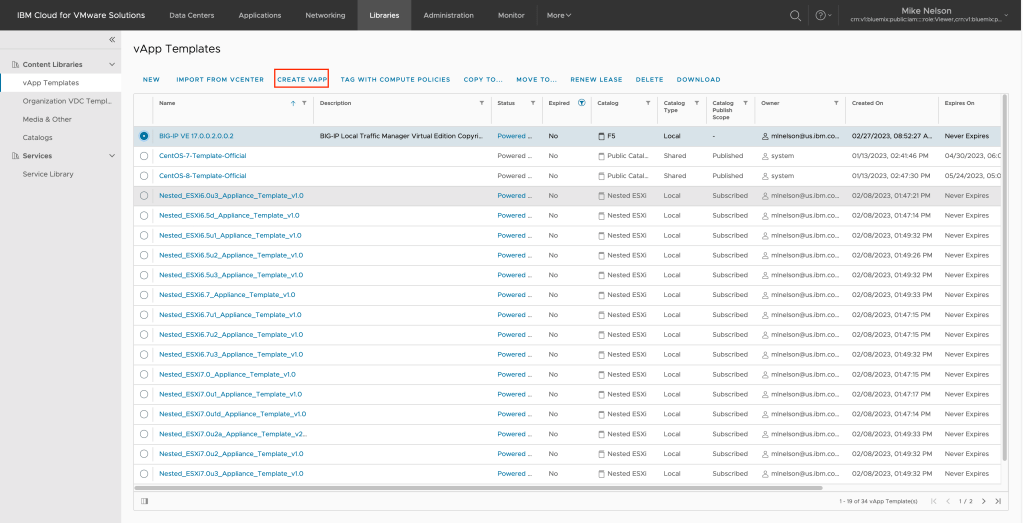
Select your BIG-IP vApp Template and click on CREATE VAPP to begin the vApp wizard.
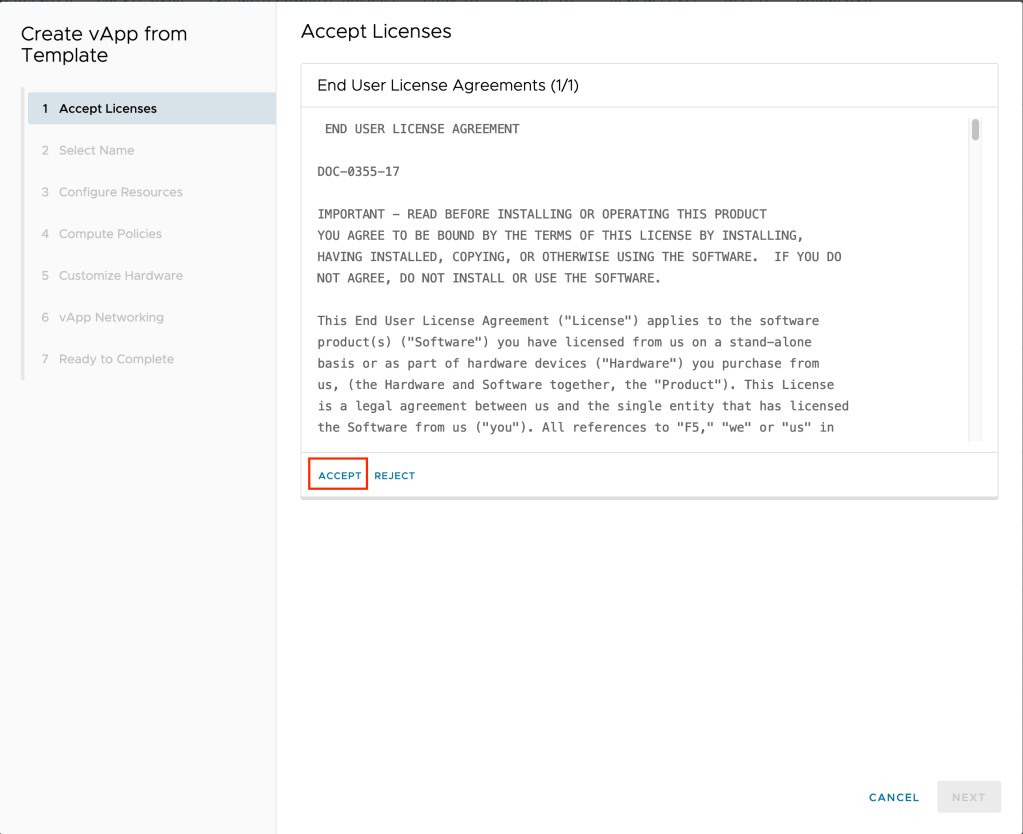
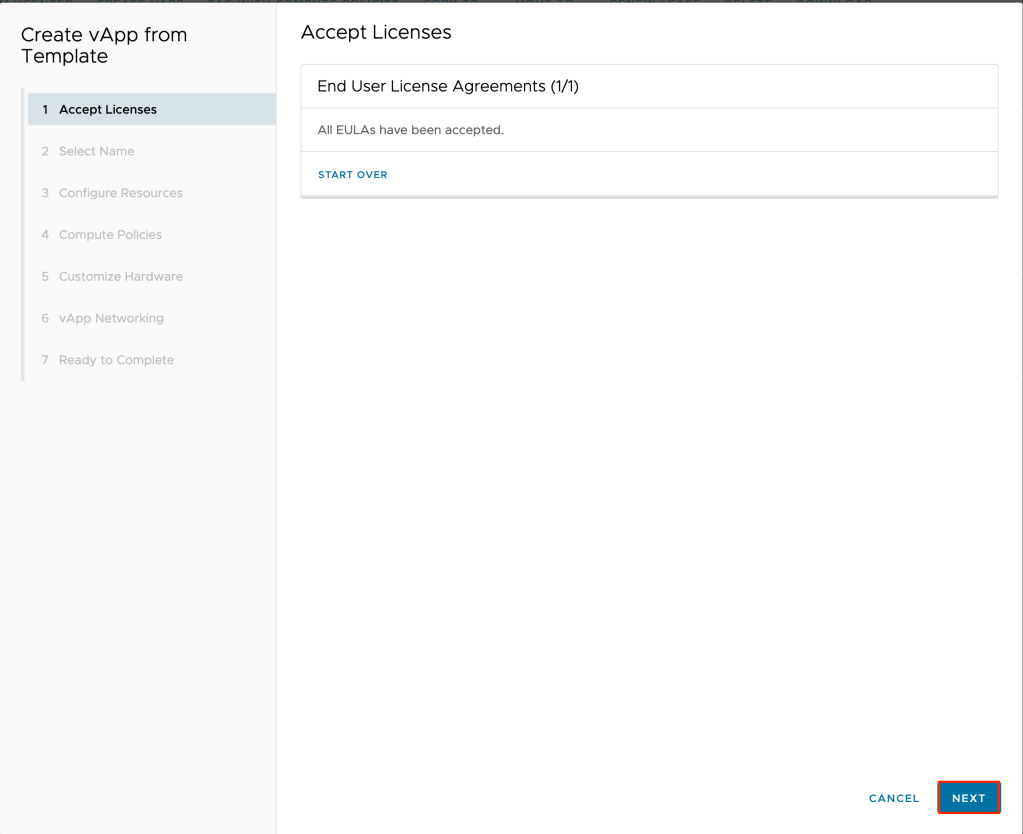
Accept the end user license agreement and click on NEXT.
Give your vApp a name and click NEXT. In the example F5-BIG-IP is used.

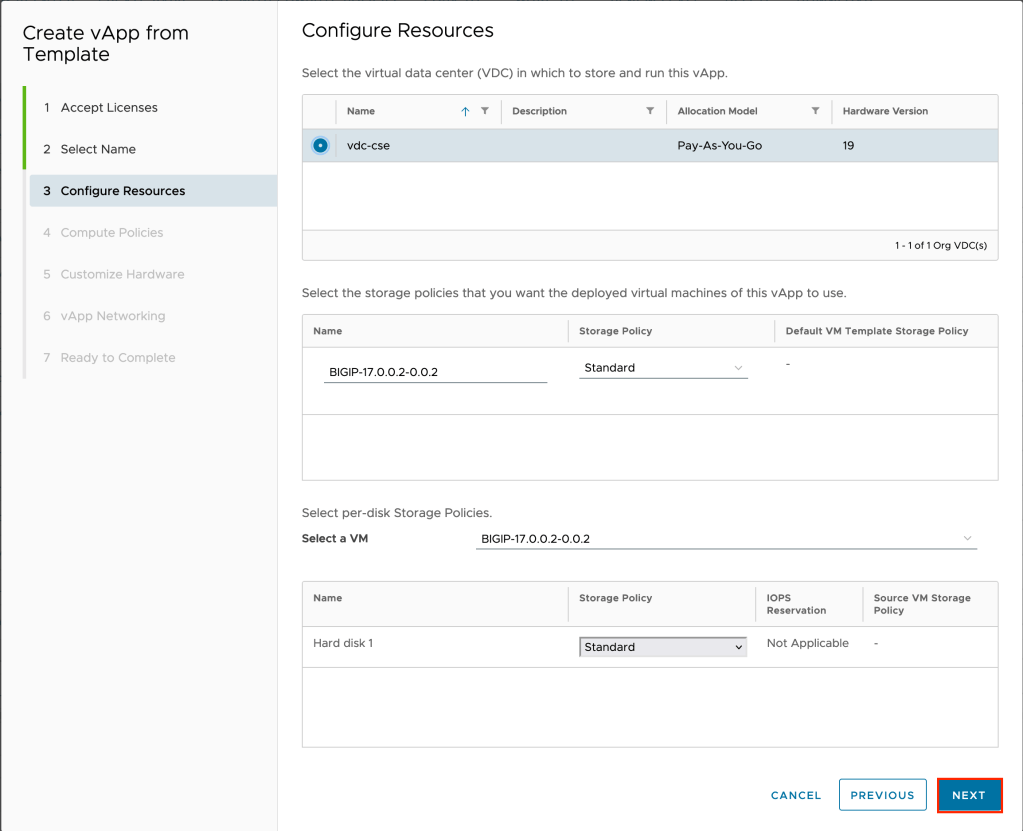
Select the virtual data center you wish to deploy the vApp. If needed, adjust the storage policies to match your desired configuration and click NEXT.
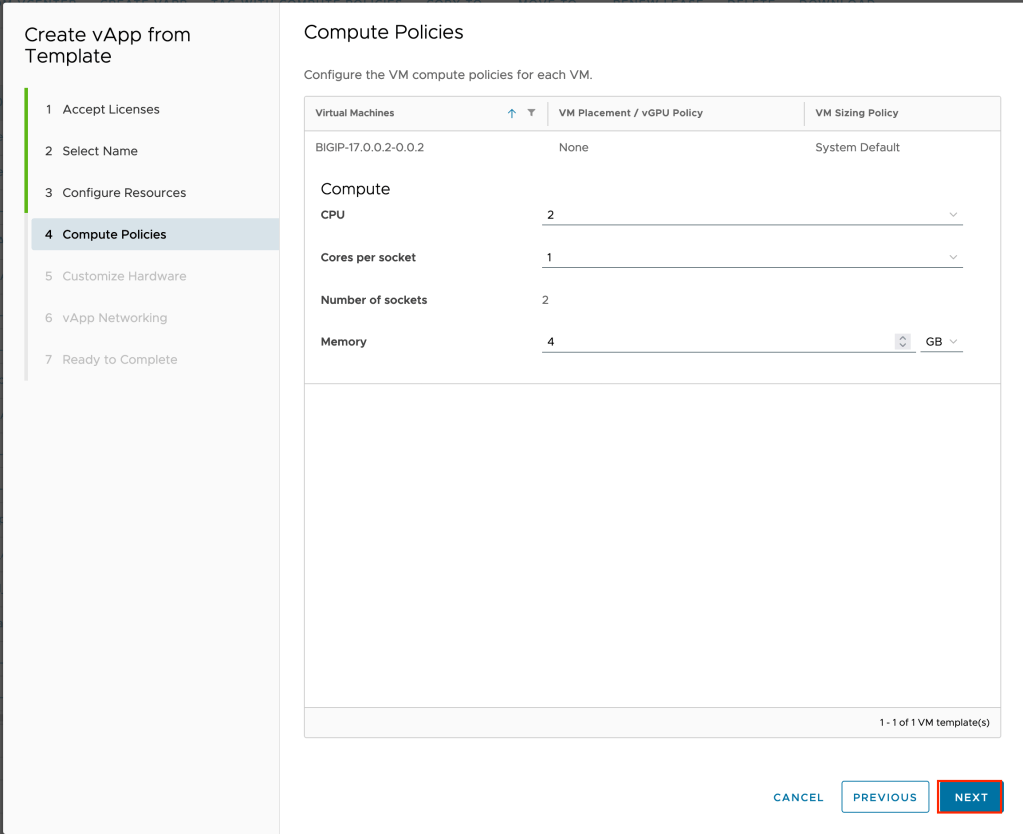
Adjust the compute policies (vCPU and vRAM) if needed and click NEXT to continue.
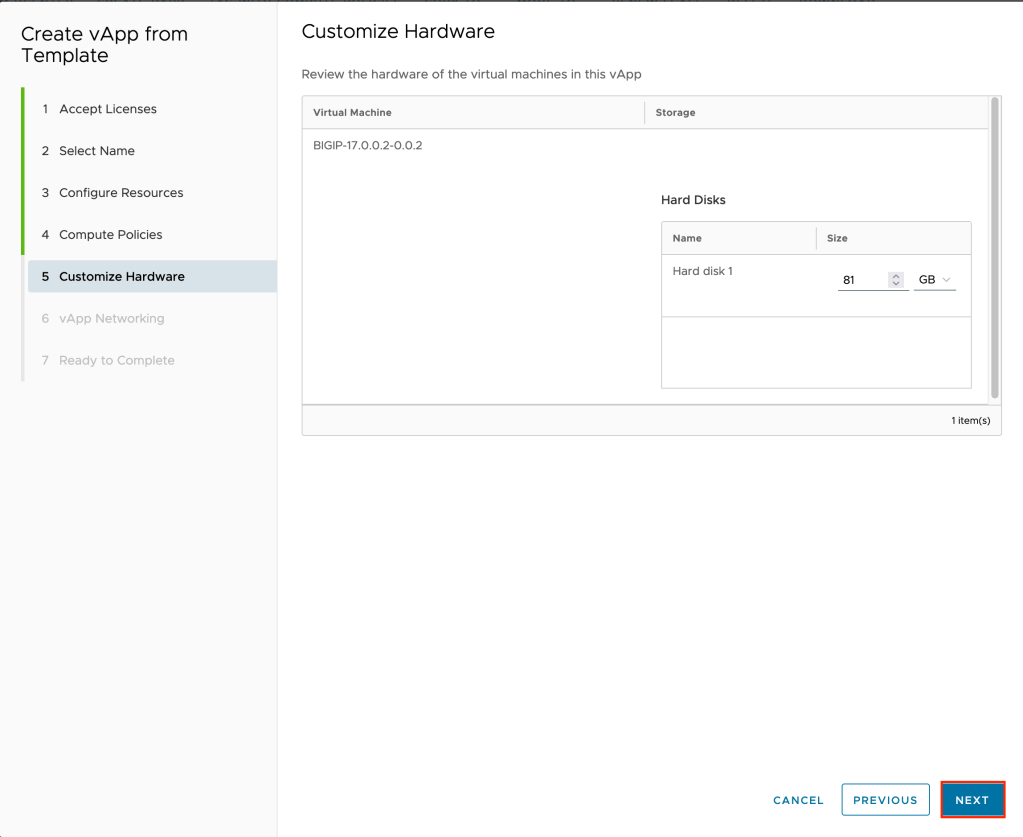
On the customize hardware step leave the settings at default and click NEXT to continue.
On the vApp Networking page, for the management network change the network type to Direct, then select the network you created in part one of this tutorial. At the bottom, toggle Configure VM Networking to the right or active. This is because want to manually assign the IP address of the management network. Click NEXT to continue.

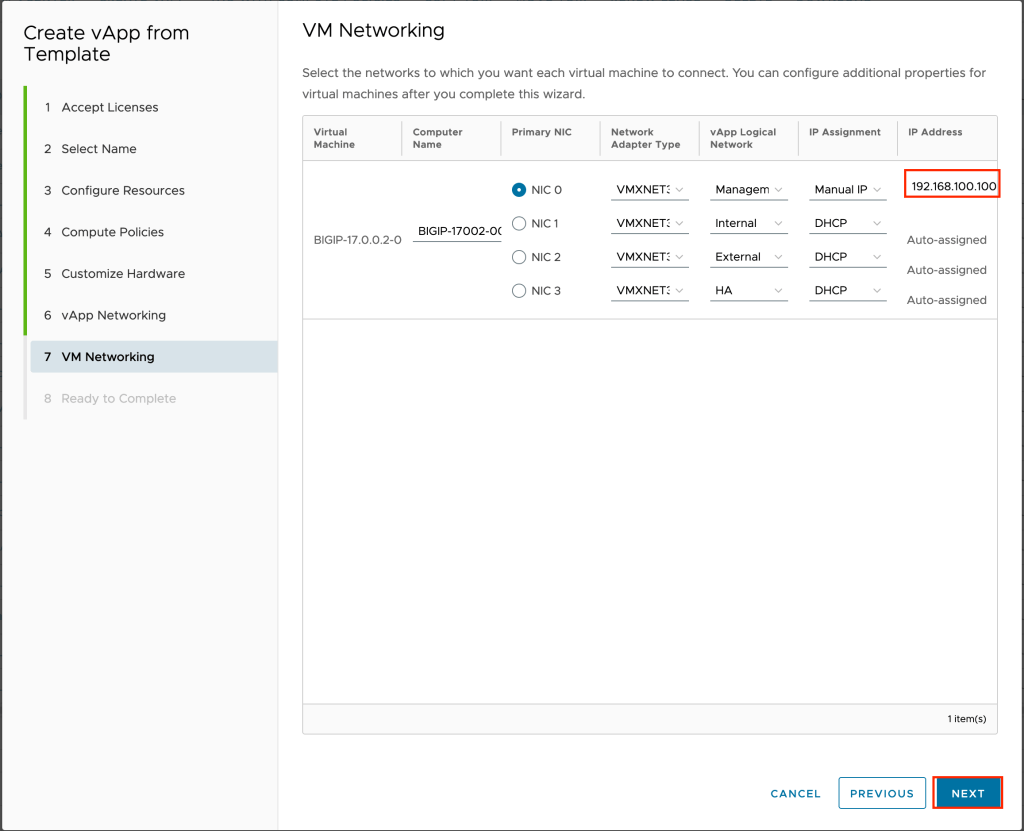
On the VM Networking page, for NIC 0 under IP Assignment select Manual IP, then type the IP address you selected in part one of this tutorial. In the example 192.168.100.100 is used. Click NEXT to continue.
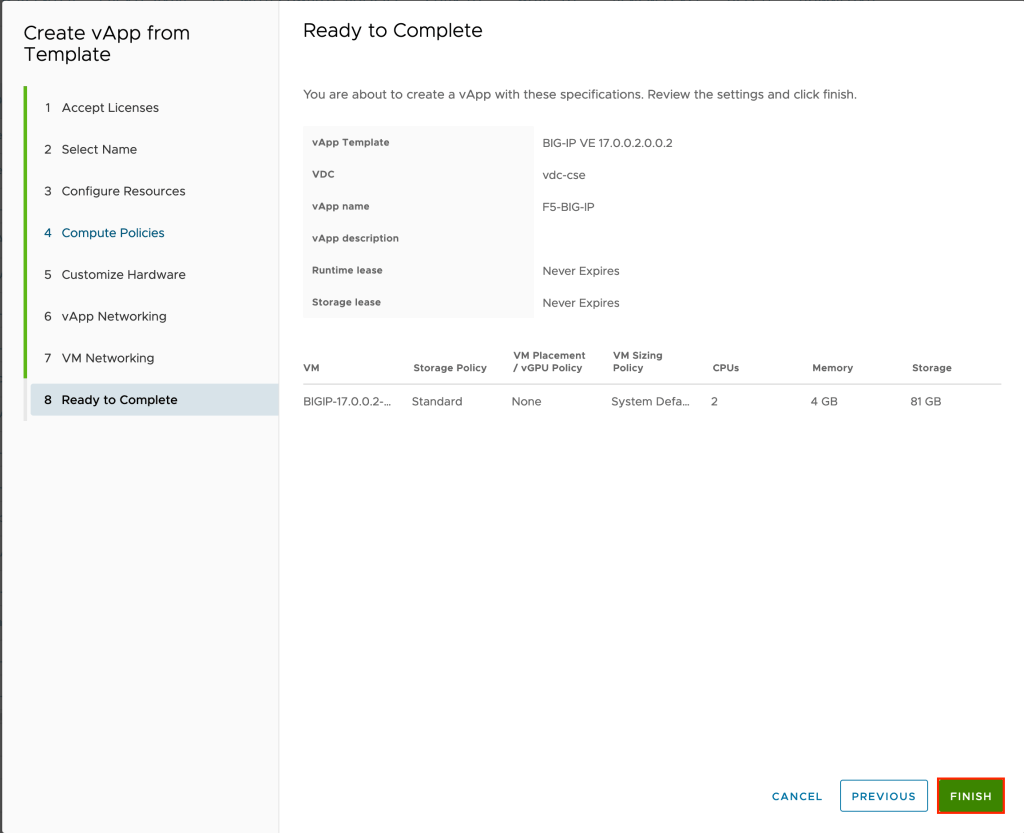
Review your inputs and click FINISH to complete the wizard.
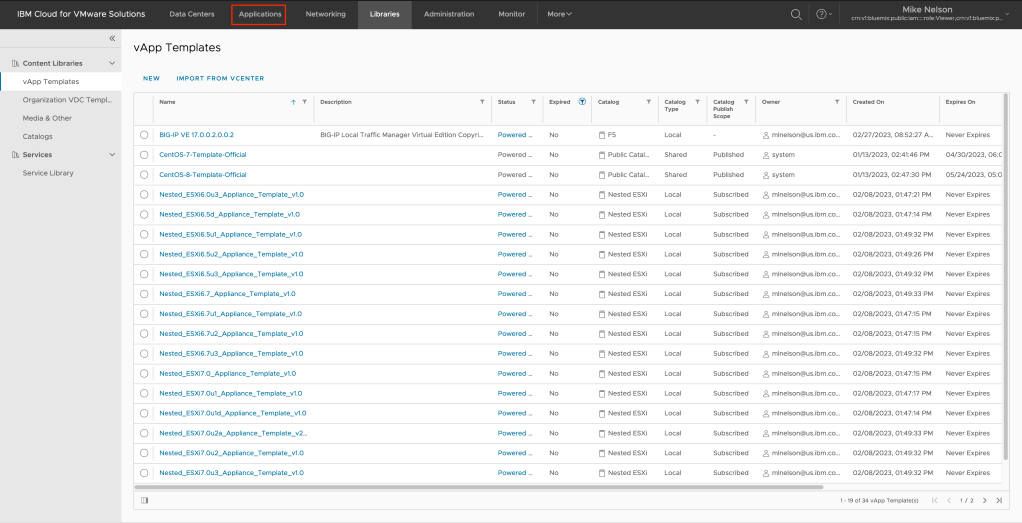
The vAPP will begin to deploy. This may take several minutes. Switch to the Applications page using the top navigation to monitor progress.
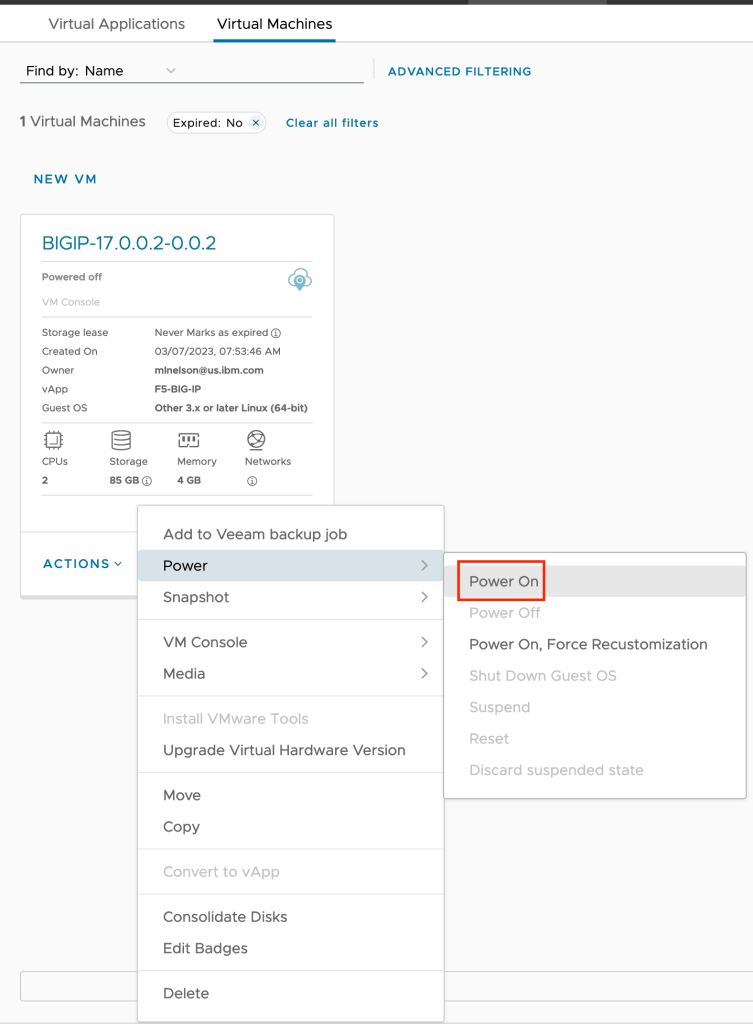
On deployment is complete, power on the new virtual machine by selection ACTIONS on the new VM and choosing Power –> Power On.
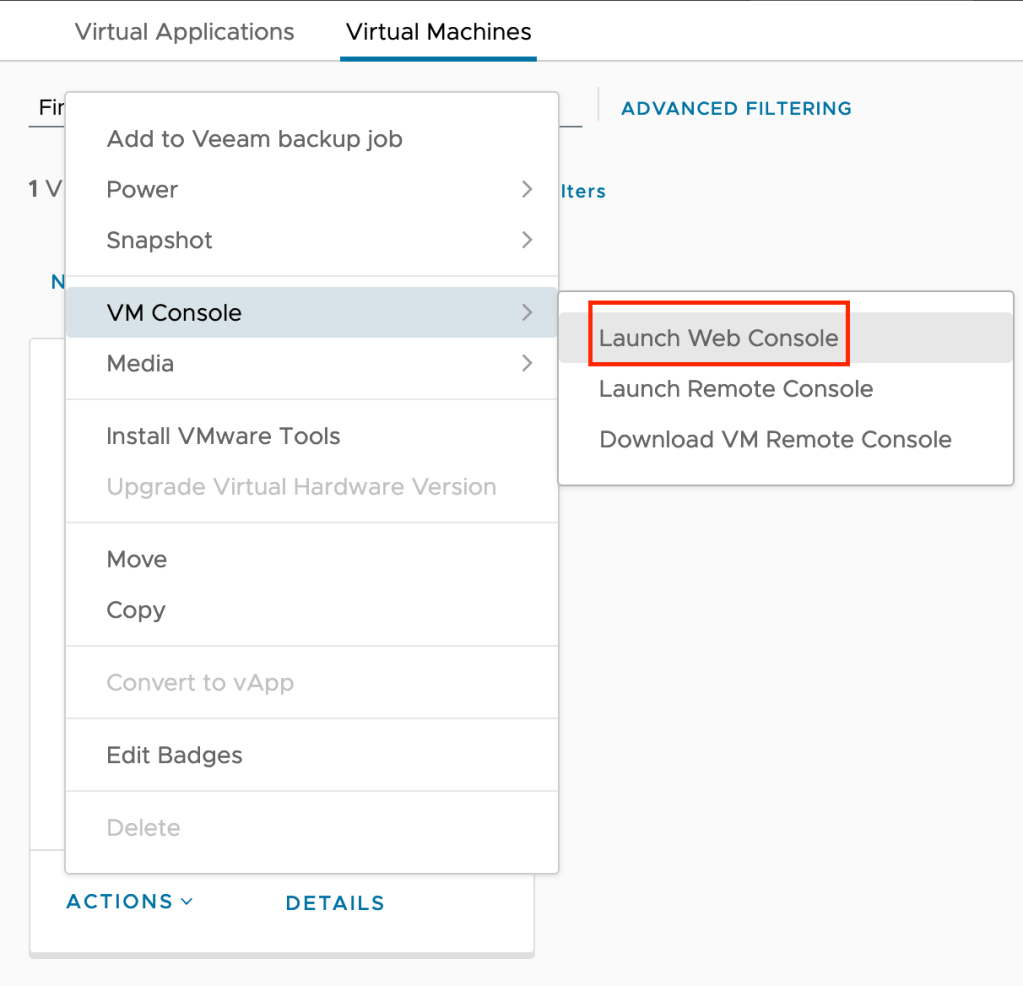
Once the virtual machine is powered on, launch the web console by clicking ACTIONS –> VM Console –> Launch Web Console.
Log into the F5 using the default login ID of root with a password of default. As soon as you log in you will be prompted to change the password. Type in root again then the new password you want to use. Note that you will also receive a notification that the admin password has been changed to the same value.
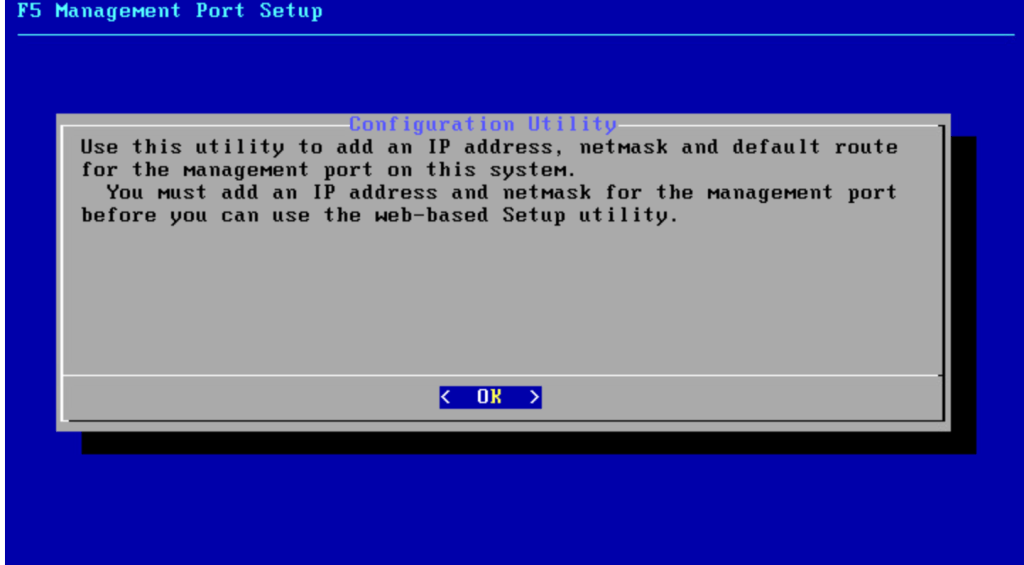
Once at the command prompt, type config and press Enter to move into the device configuration. The configuration utility will begin. Press Enter to continue.
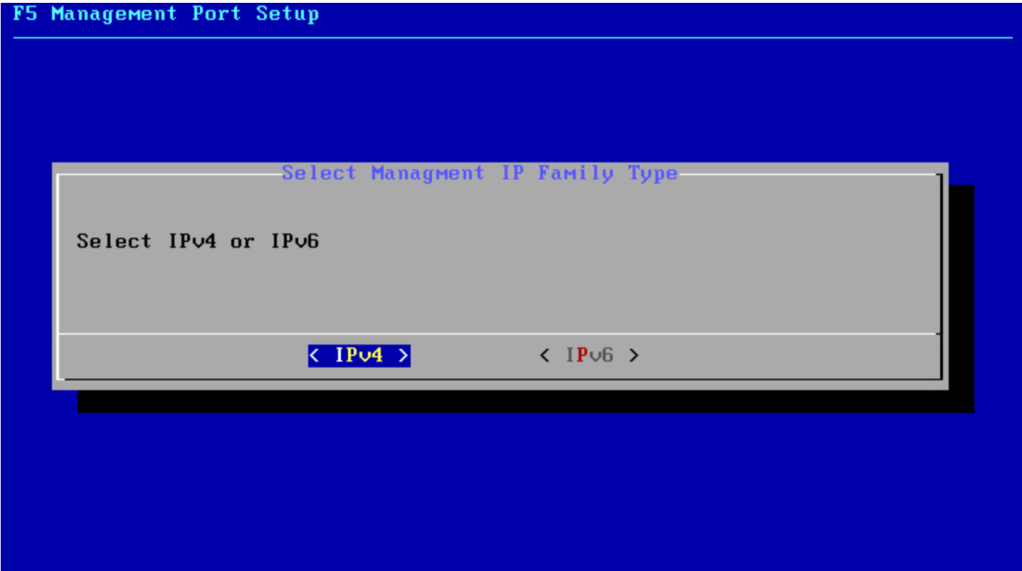
Leave the IP family type at IPv4 and press Enter to continue.
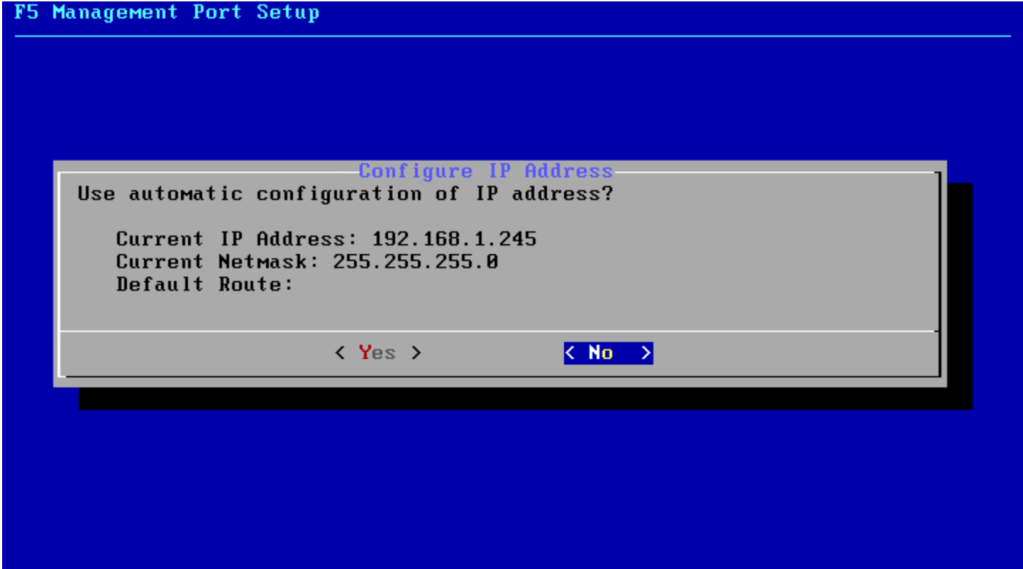
You will see that the default IP address has been automatically configured. Press Tab to move to No and press Enter to choose not to use the automatic configuration.
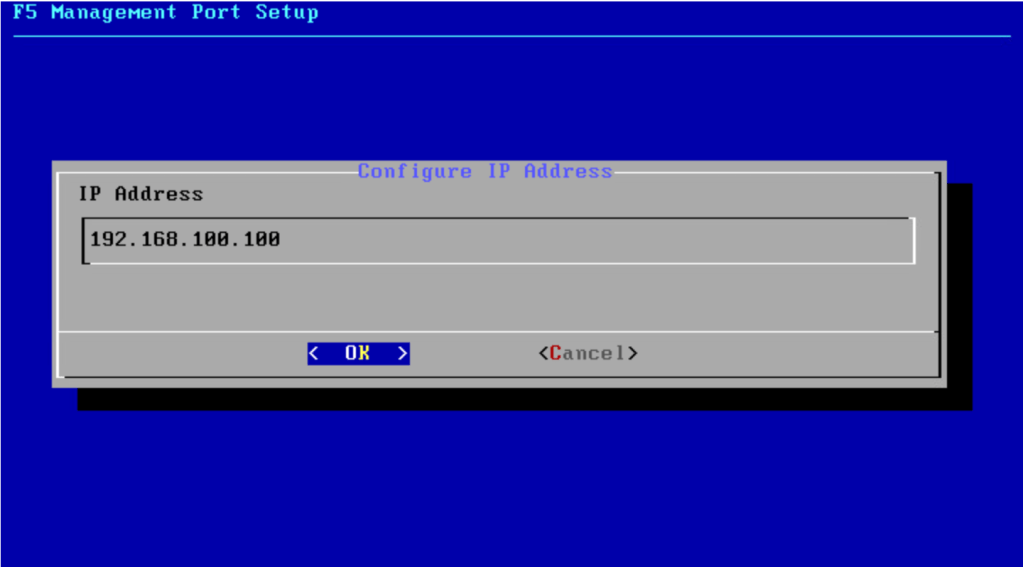
Type in the IP address selected in part one of this tutorial and press Tab to OK. Press Enter to continue. In the example 192.168.100.100 is used.
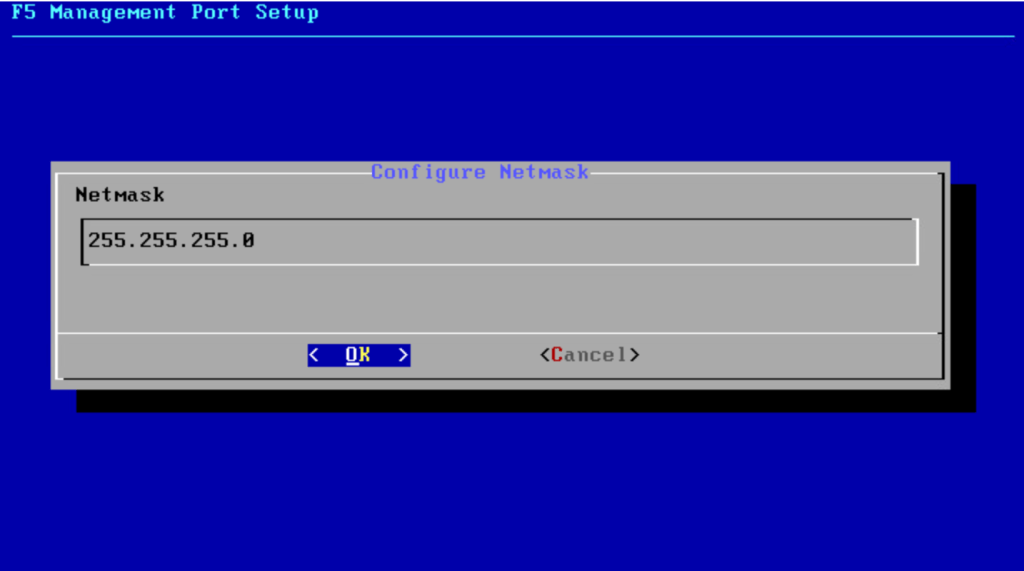
Ensure the subnet mask is correct and press Tab to move to OK. Press Enter to continue.
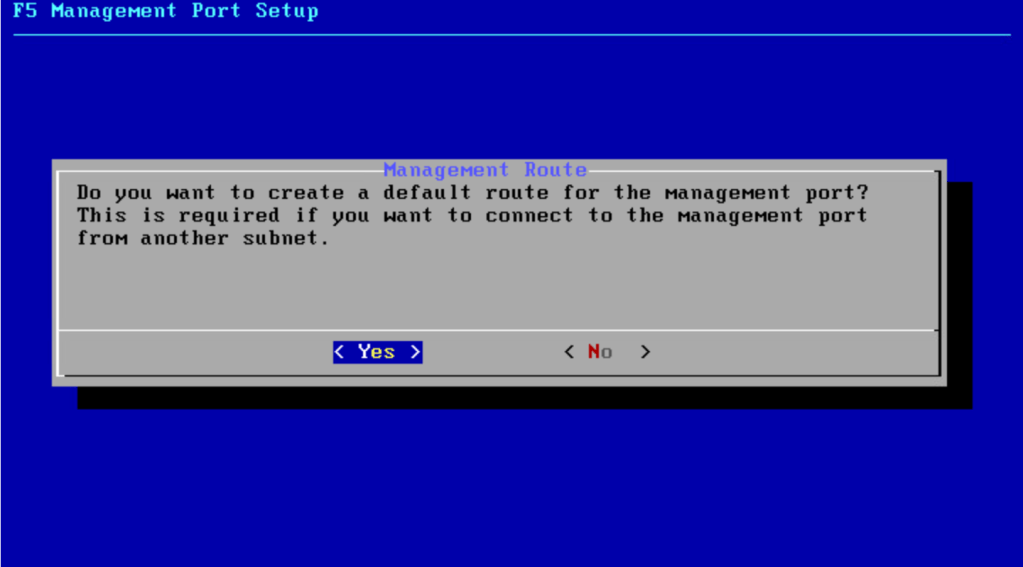
Press Enter to create a default route for the management port.
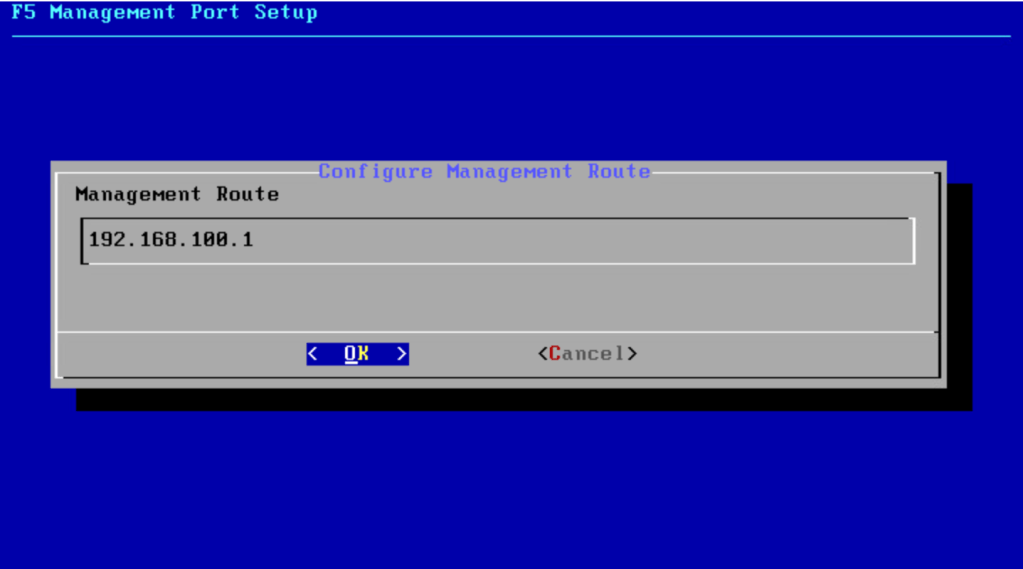
Verify the management route and press Tab to move to OK. Press Enter to continue.
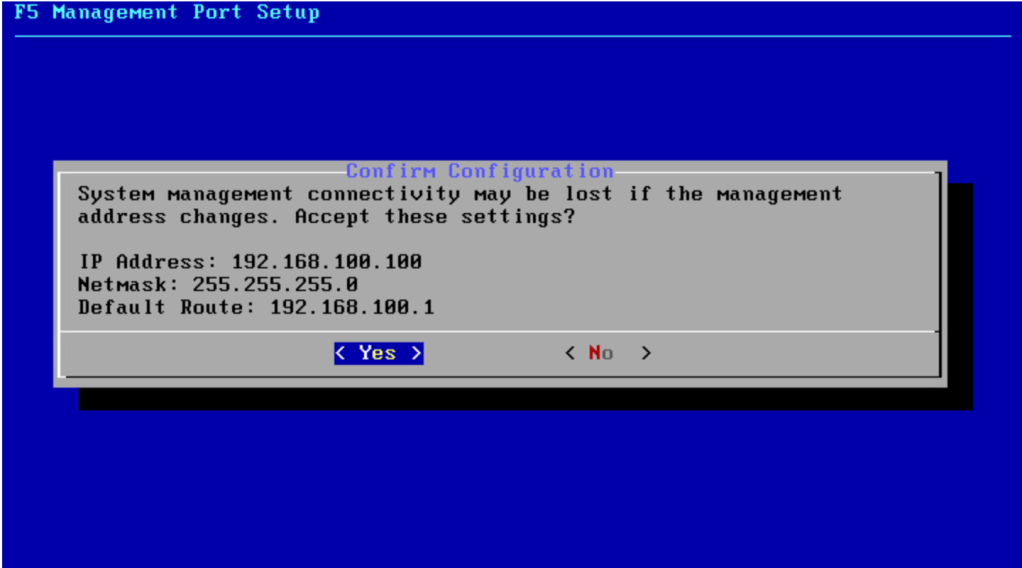
Review your inputs and press Enter to configure the management network.
Once complete you will be returned to the command prompt.
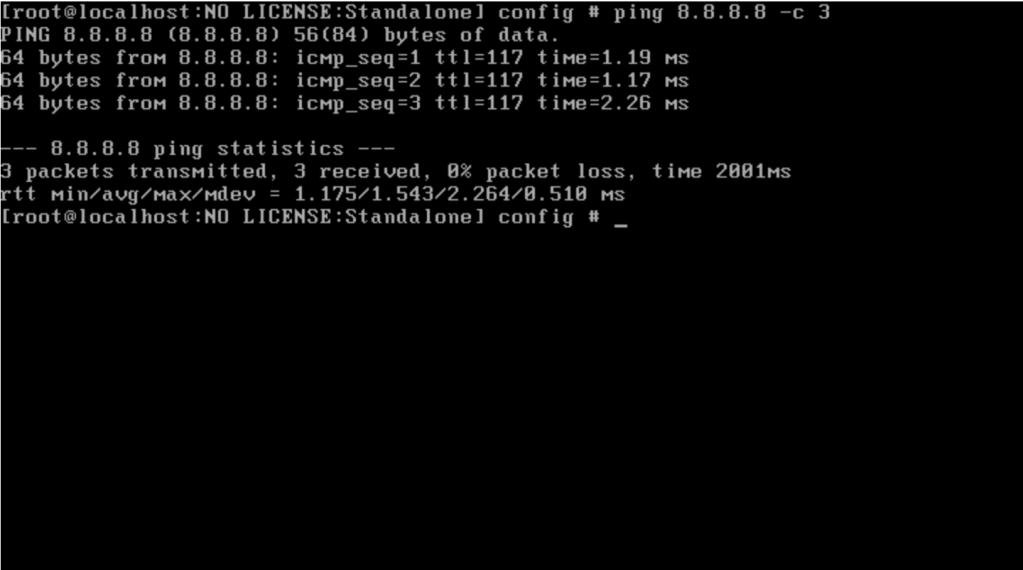
To validate your configuration, from the command prompt type to ping an Internet site such as Google (8.8.8.8). It should respond successfully.
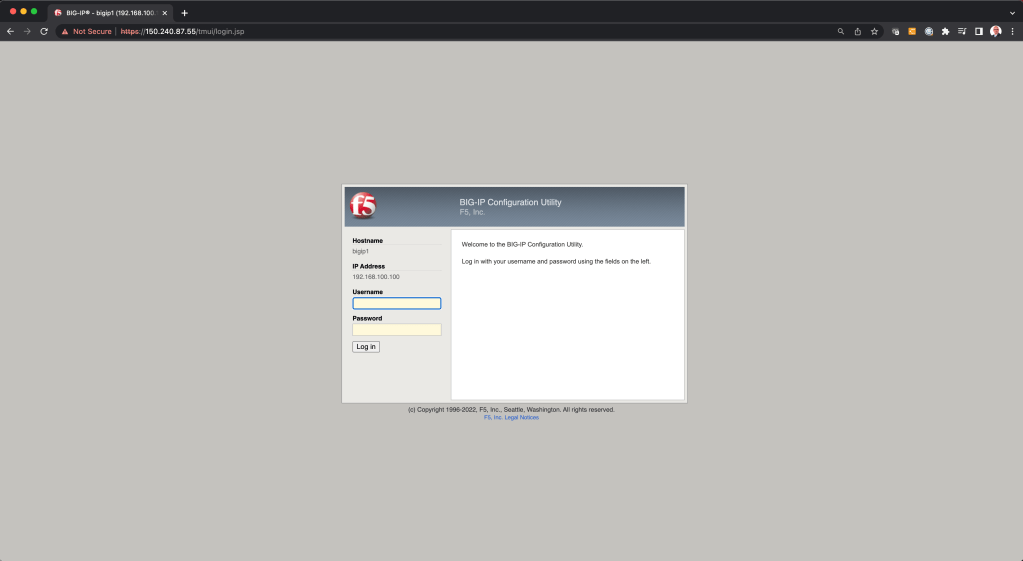
You may also from the browser of your laptop attempt to access the UI of the F5. It should come up with the login page.
This concludes part two of this tutorial. In the next part I’ll go through the next part of configuring the F5.


Leave a reply to Integrating F5 BIG-IP into VMware vCloud Director – Part Three | Virtual Musings Cancel reply