In part one of this series, I covered the initial network deployment prior to installing the F5 appliance. Part two covered the actual installation of the F5.
In this third part, I will go over the initial configuration and activation of the F5 appliance.
If you have been following along, at the end of the previous part we had installed the F5 and were at the login prompt of the web UI. This is where we will begin this part.
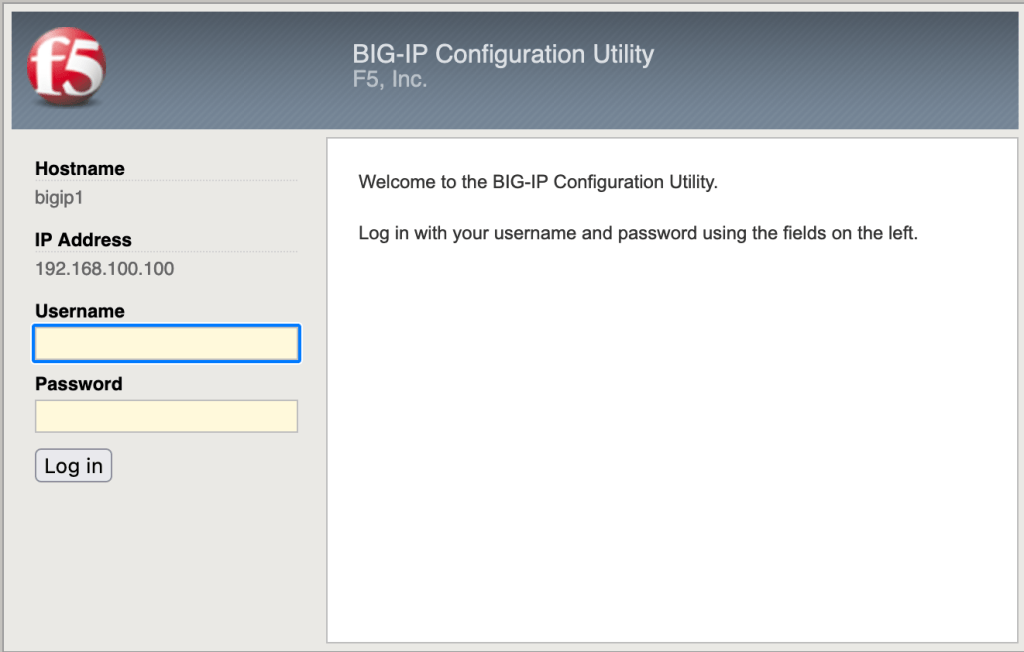
Begin by logging in with the username of admin and the password you set in the previous part, remembering that when you changed the root password in the initial configuration via the CLI you also changed the admin password to match. Going forward, the root and admin passwords will be maintained separate.
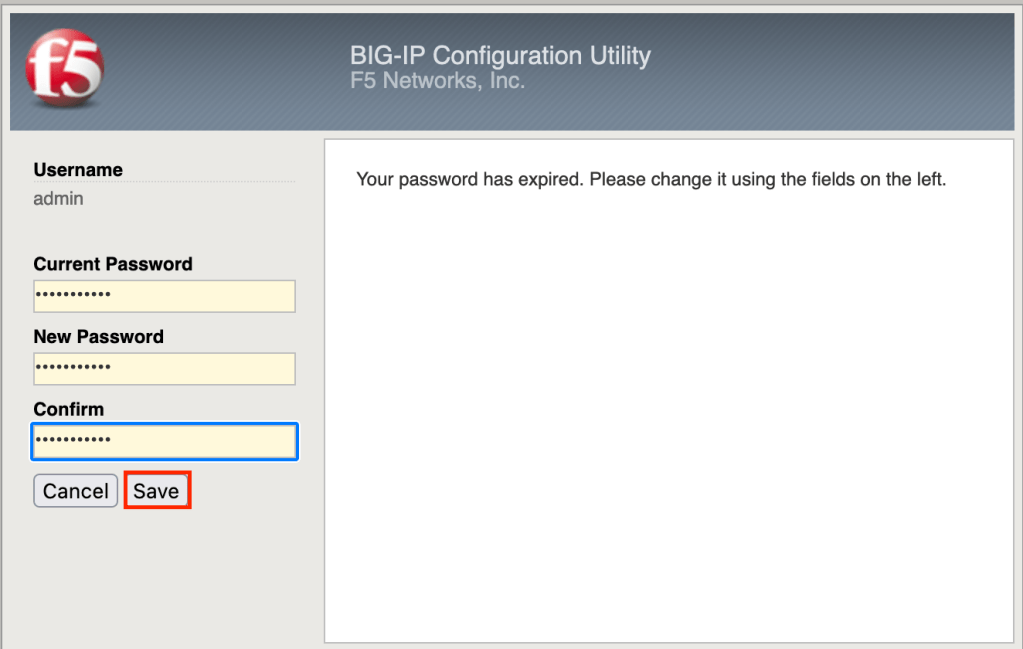
Once you log in with admin you will be asked to change the password. Do so and click Save to complete the operation.
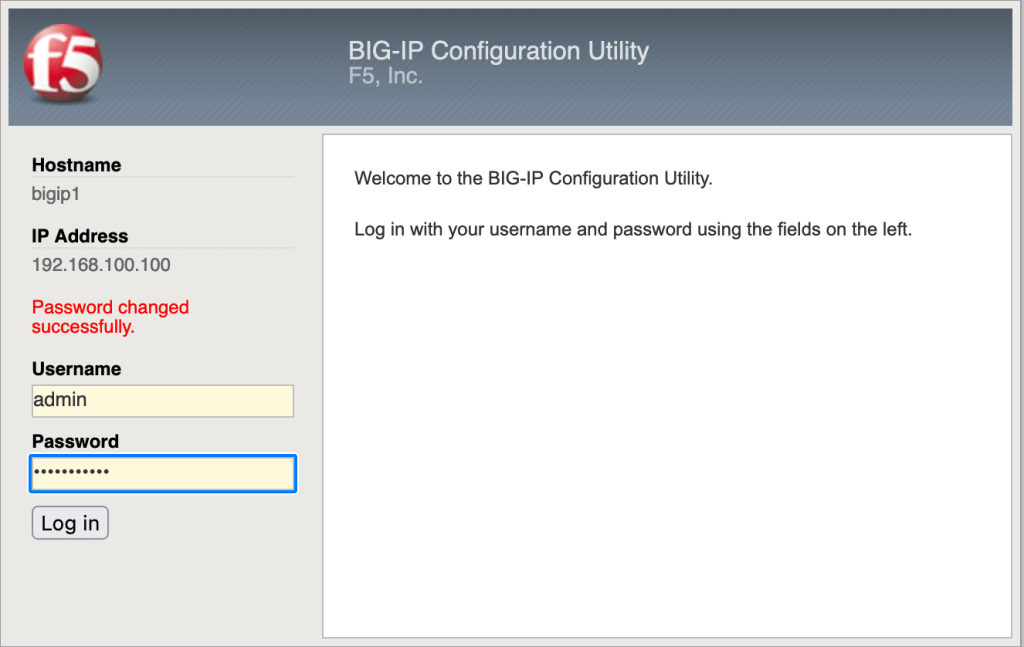
You will be returned to the login page, and notified that the password has been changed successfully. Once again, log in with admin and the new password you just created.
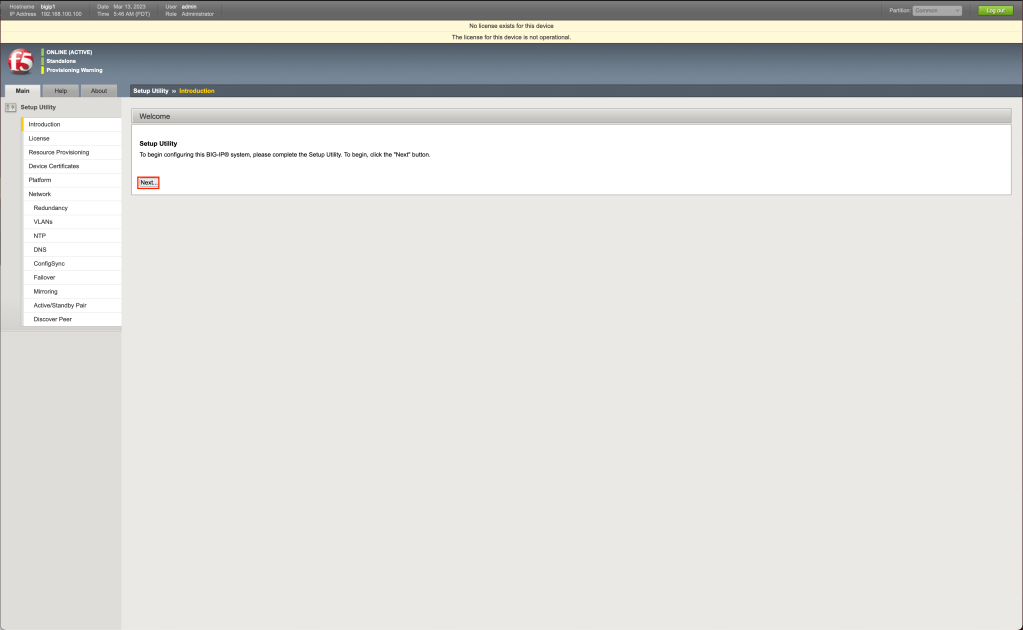
You will automatically enter the Setup Utility for the F5 appliance. Click Next to continue.
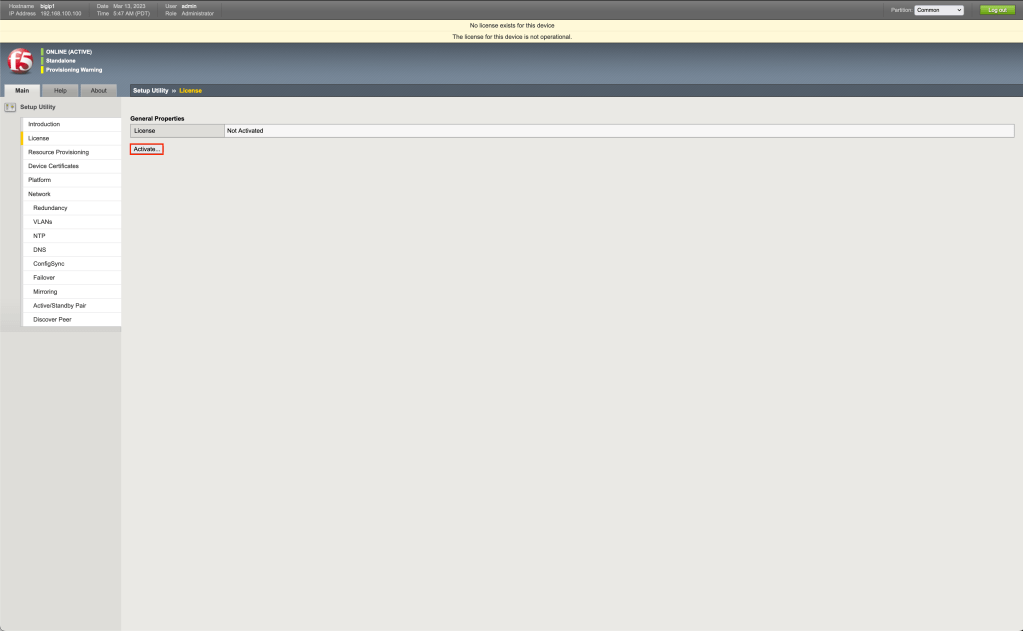
The device will show that the license key is not activate, click on Activate to begin the activation process.
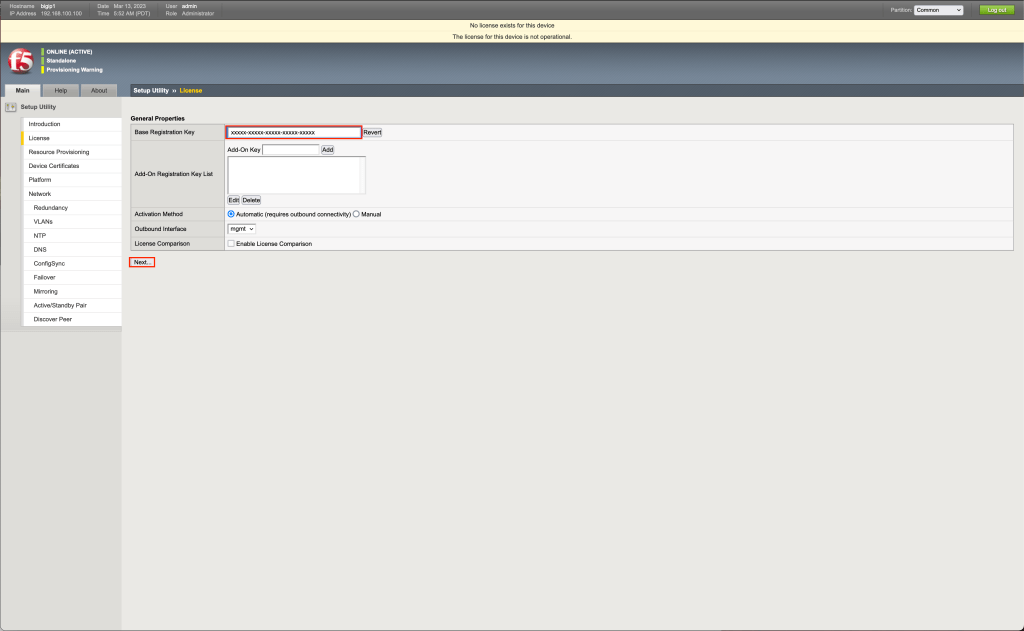
Input your license key (either trial or full) and click on Next to continue. As we setup NAT rules in previous steps to allow Internet connectivity the F5 appliance can go out to the Internet to activate. It may take several seconds after you click Next to respond.
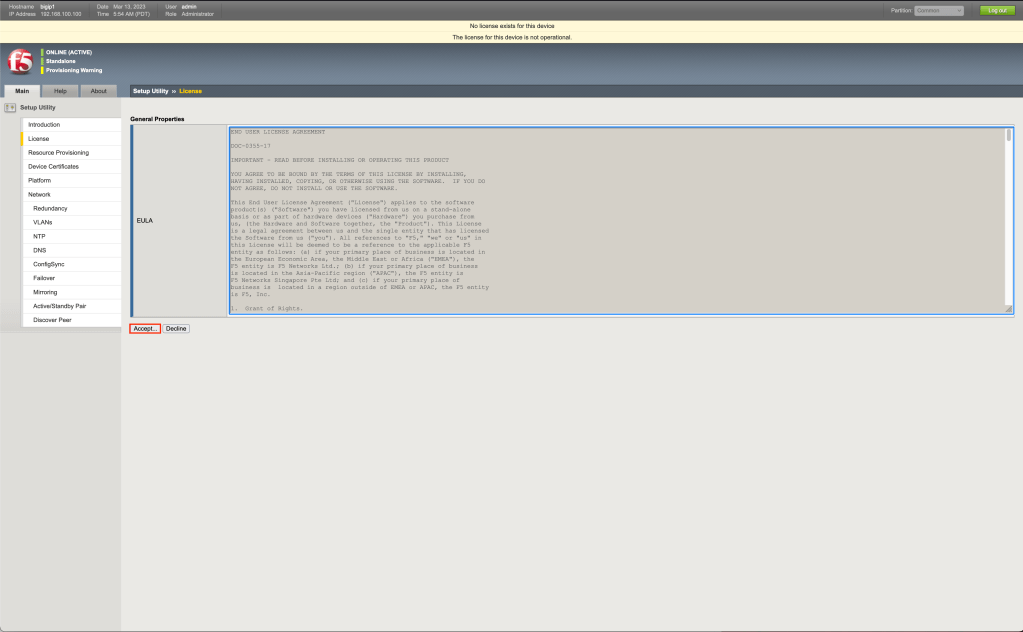
Review the license agreement and click Accept to continue.
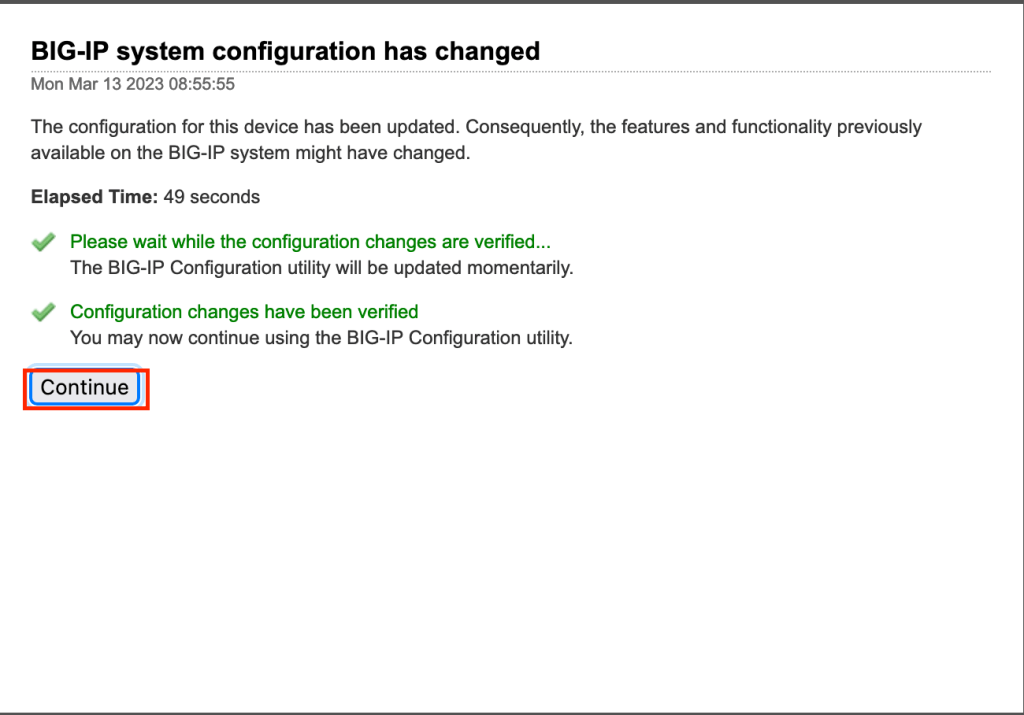
You will get a notification that the configuration has changed, click Continue.
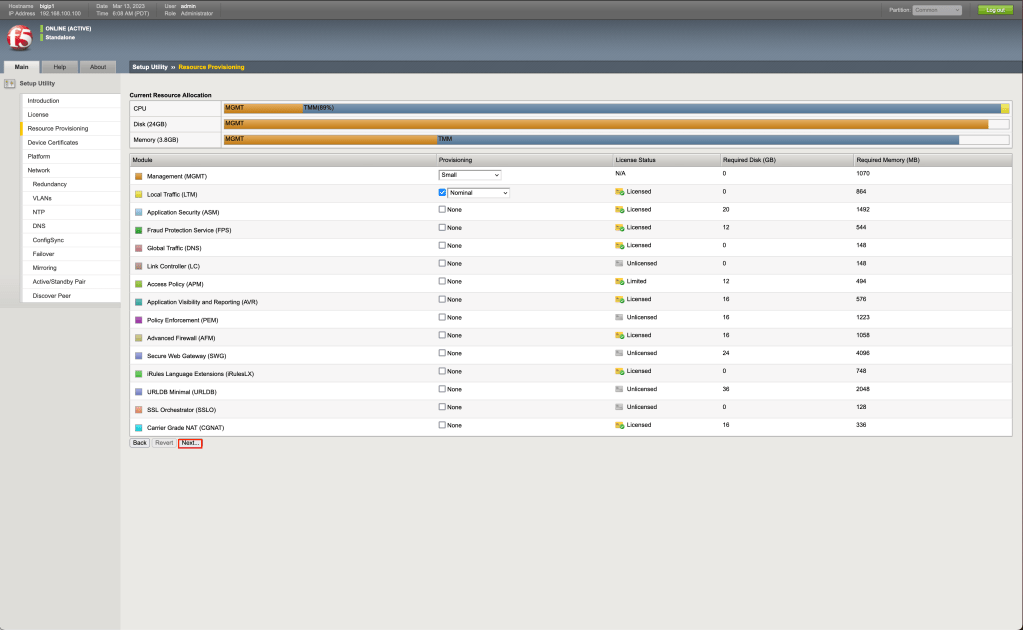
You will be sent to the resource provisioning tab of the setup utility. For now, we will make no changes so click on Next to continue.
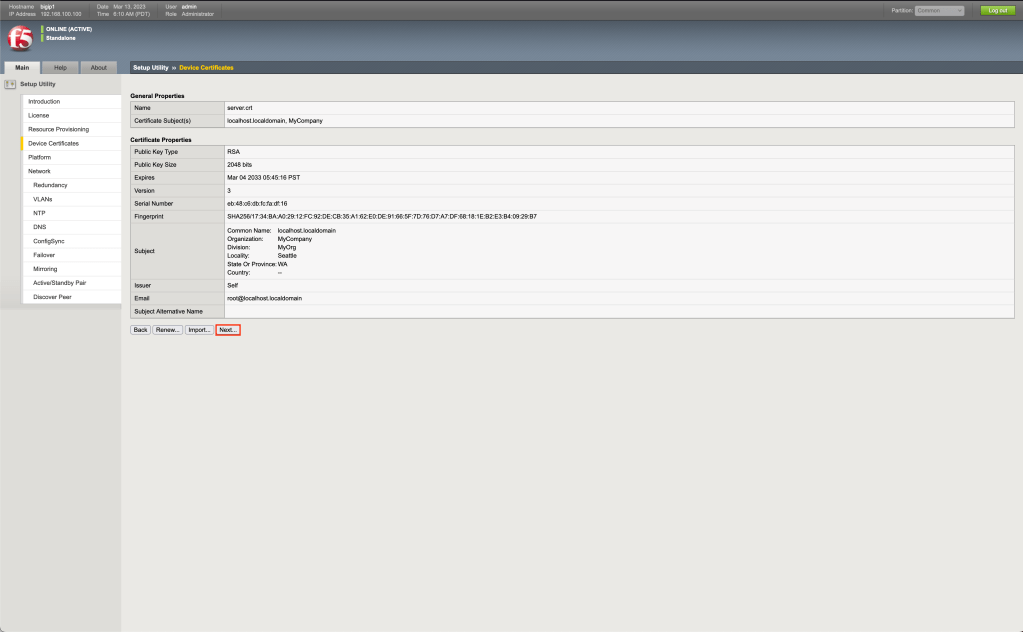
As this is an example configuration we will use the self-signed certification, so on the device certificates page of the setup utility click Next to continue.
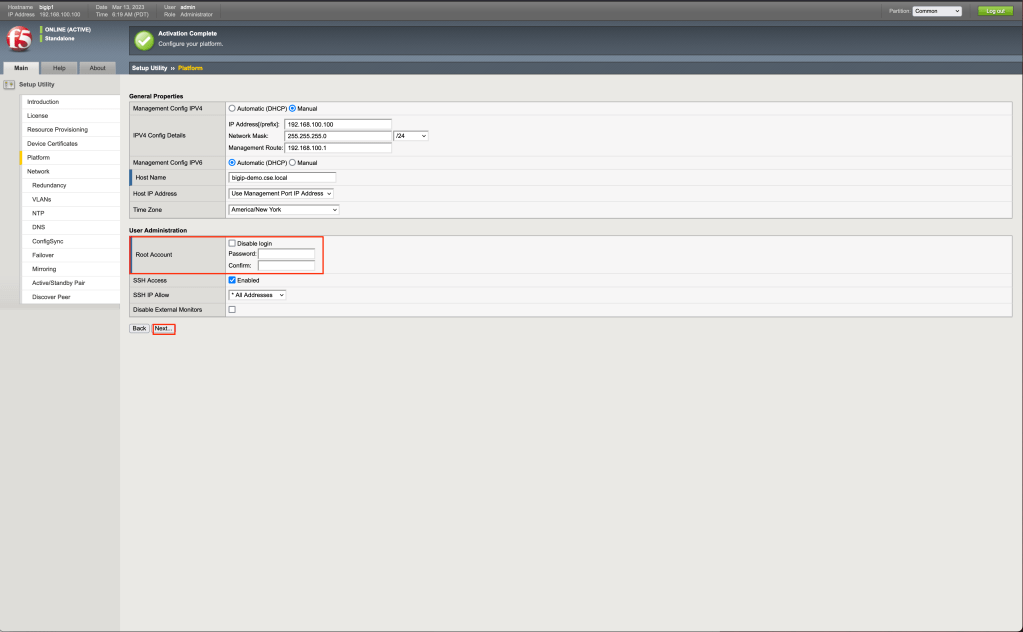
On the platform page of the setup utility you are required to set the hostname and root password. I also recommend adjusting the time zone to your local time zone. Do so and click Next to continue.
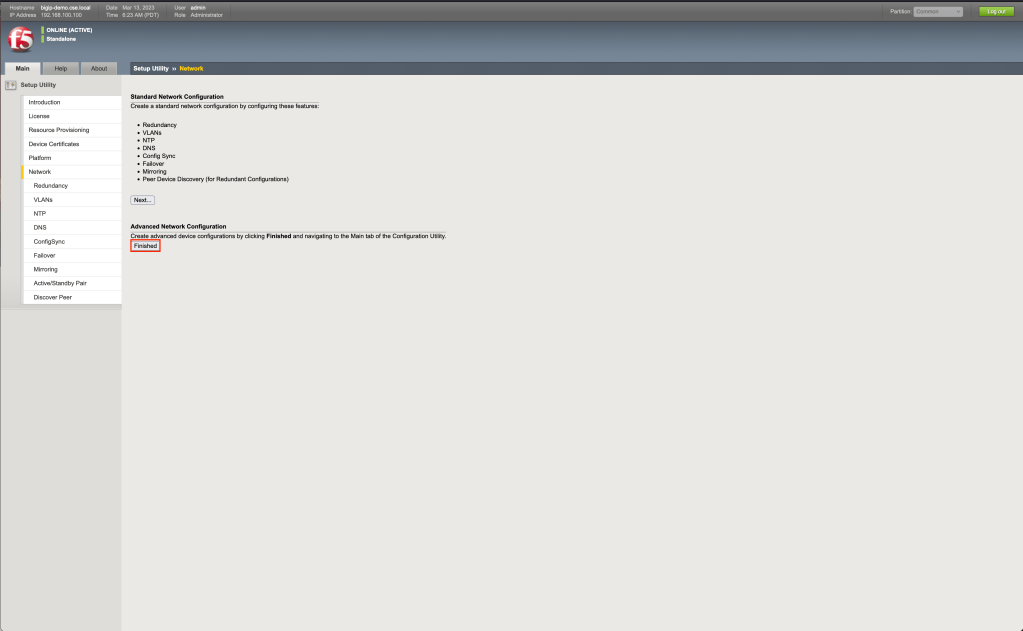
On the network page of the setup utility click on Finish. While at this point you could choose to continue to configure the device, for the purposes of this series we will leave it as is, as configuring networks for other traffic will be covered in later parts of this tutorial series.
At this point you will be returned to the home page and the setup utility will be complete. Next part, I will cover configuring both VMware Cloud Director and the F5 to host your application workloads.


Leave a reply to Integrating F5 BIG-IP into VMware vCloud Director – Part Four | Virtual Musings Cancel reply